Skip table of contents

First Steps

Outbound messages enhance how you use LiveChat.

While the platform has always focused on customer support, the addition of the Outbound Messages brings a new feature that integrates well with the existing setup. This feature is designed with Sales and Marketing in mind, allowing you to send campaigns to a specific channel.

Key features include:

  • direct Outbound Messaging,

  • Outbound Campaigns reporting,

  • effortless customer filtering and segmentation,

  • automatically adding and updating the customers list from all supported channels such as WhatsApp Business, Facebook Messenger, and more,

  • complete customer overview with an option to edit details,

  • quick access to the complete chat history,

  • agents' notes per customer.

Screenshot 2024-09-26 at 12.12.28.png

Onboarding flow

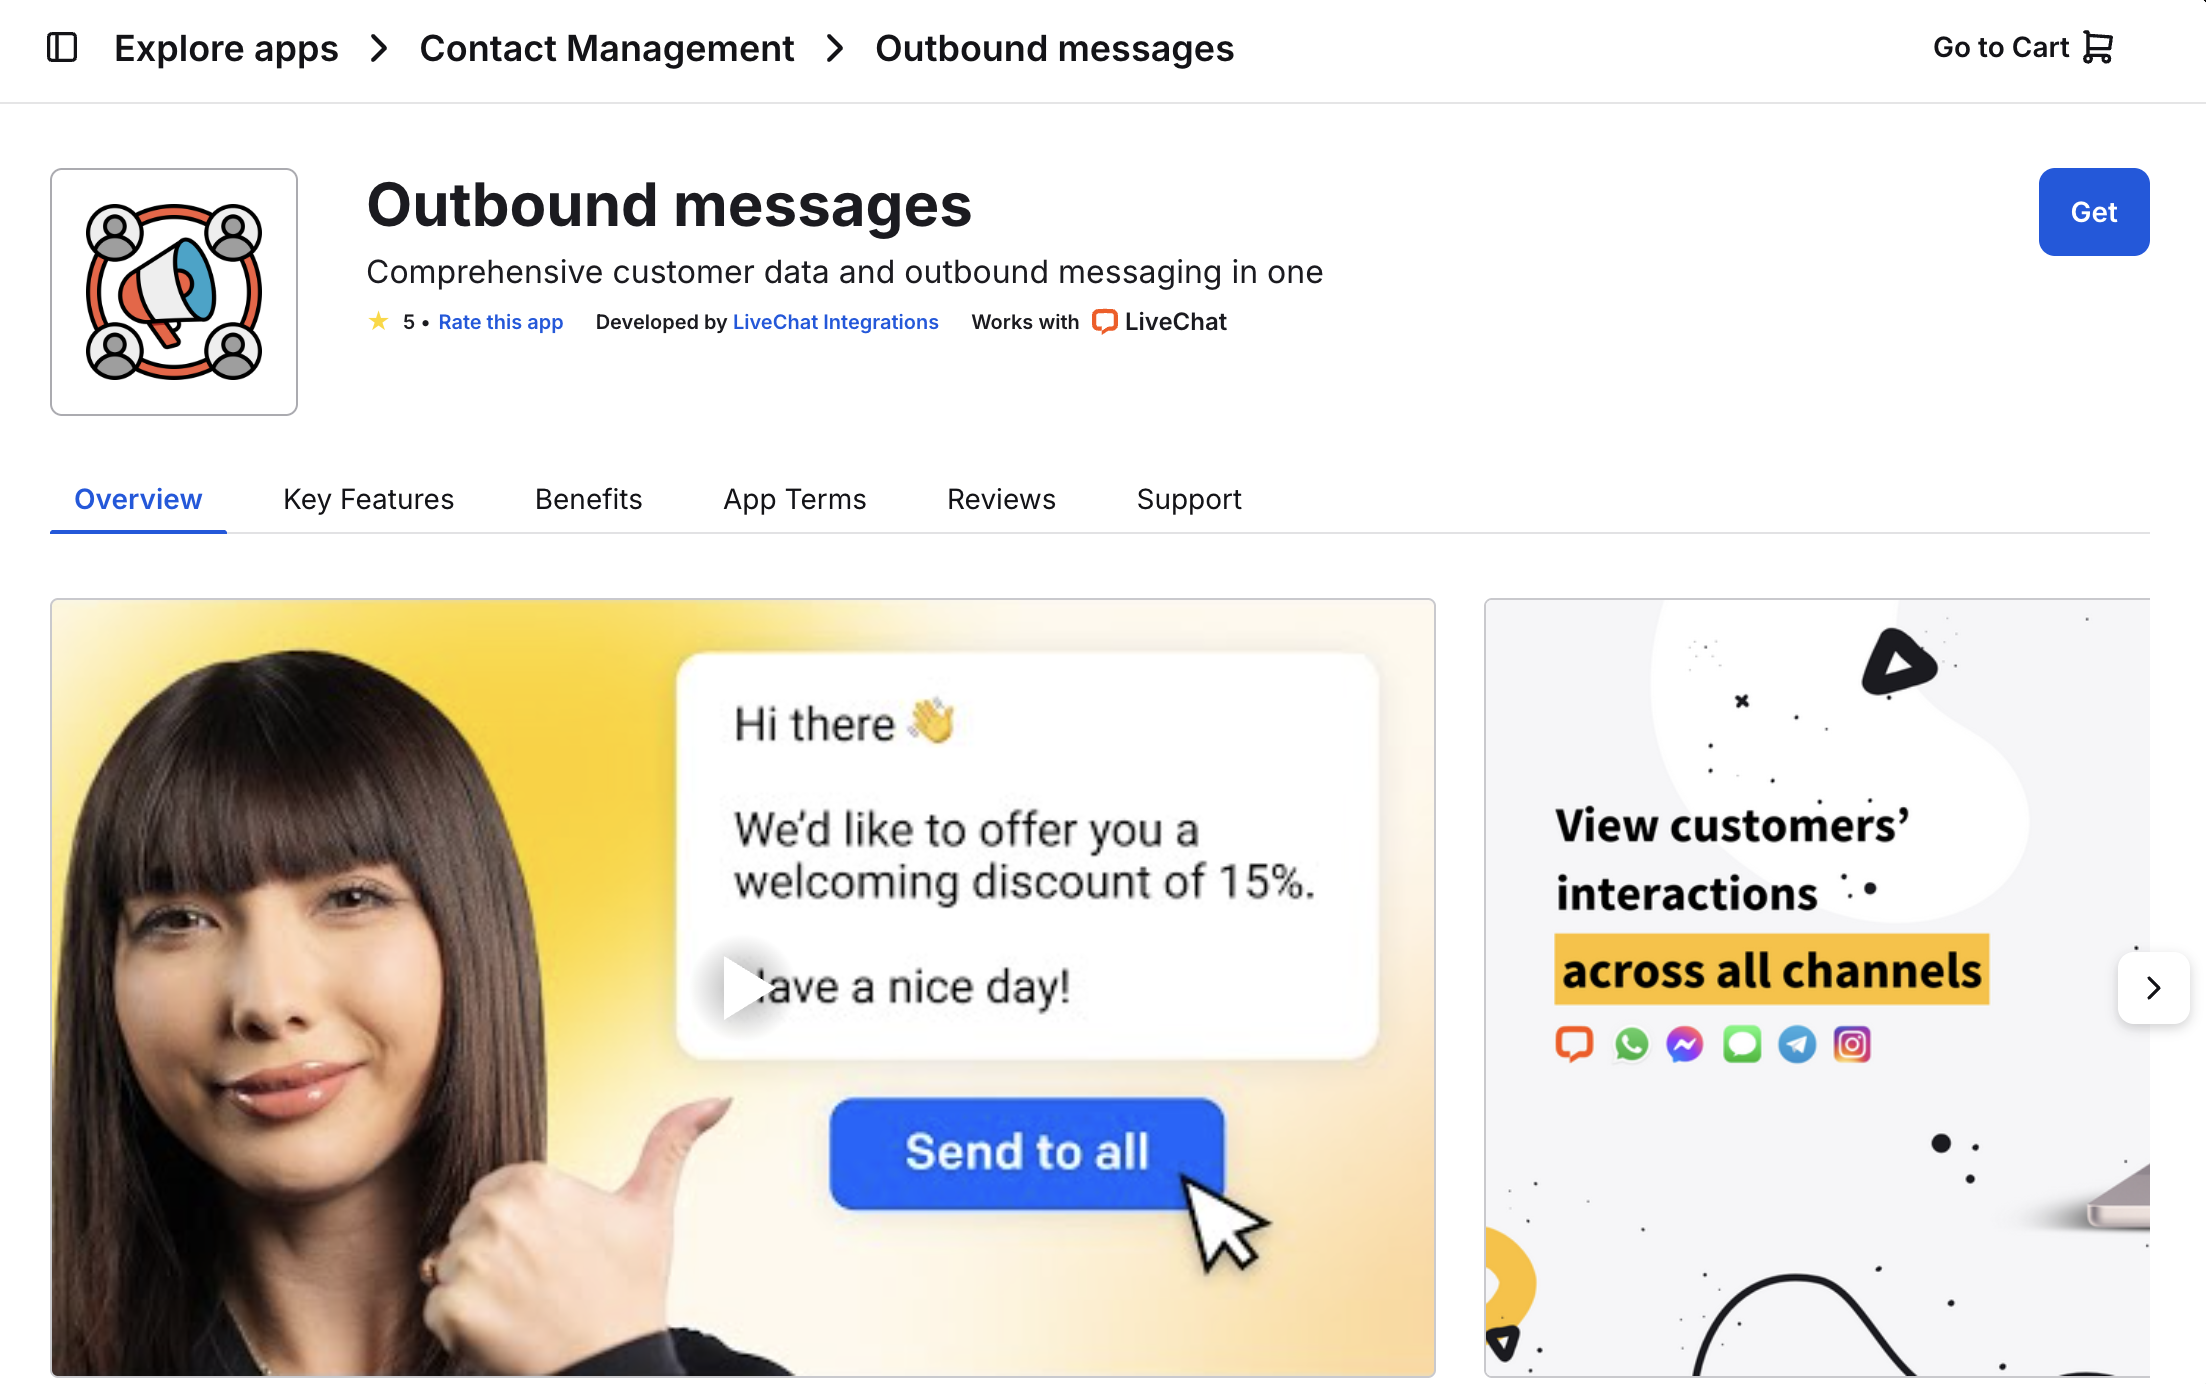
Installing Outbound messages in LiveChat

Start by going to the apps section in LiveChat. Find Outbound messages, and click Get.
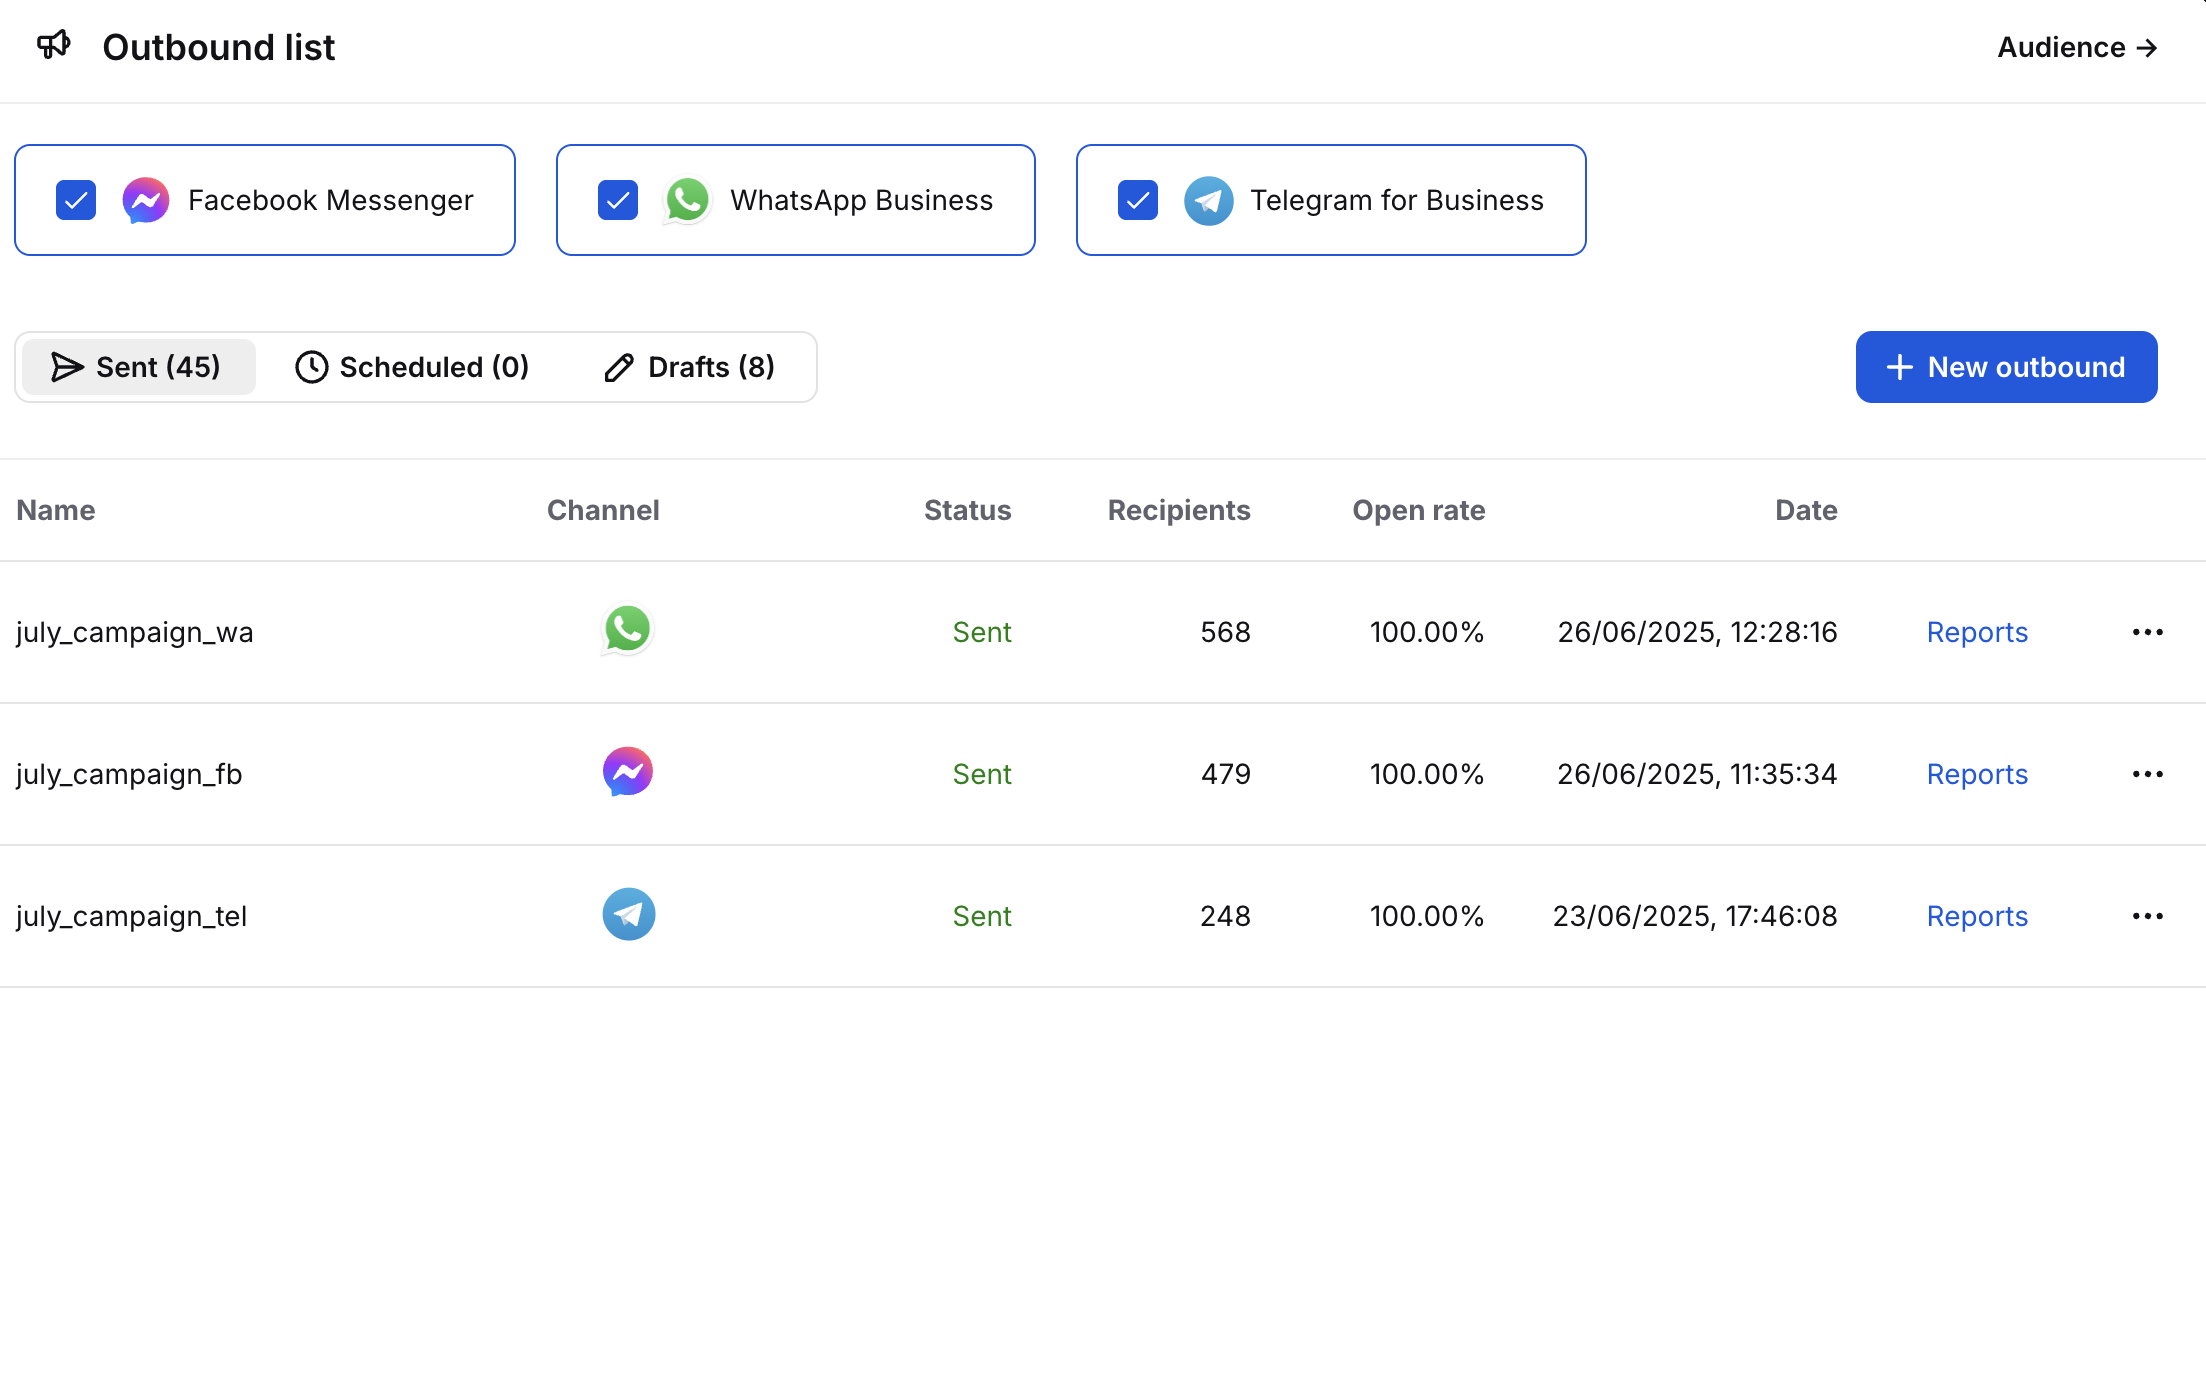
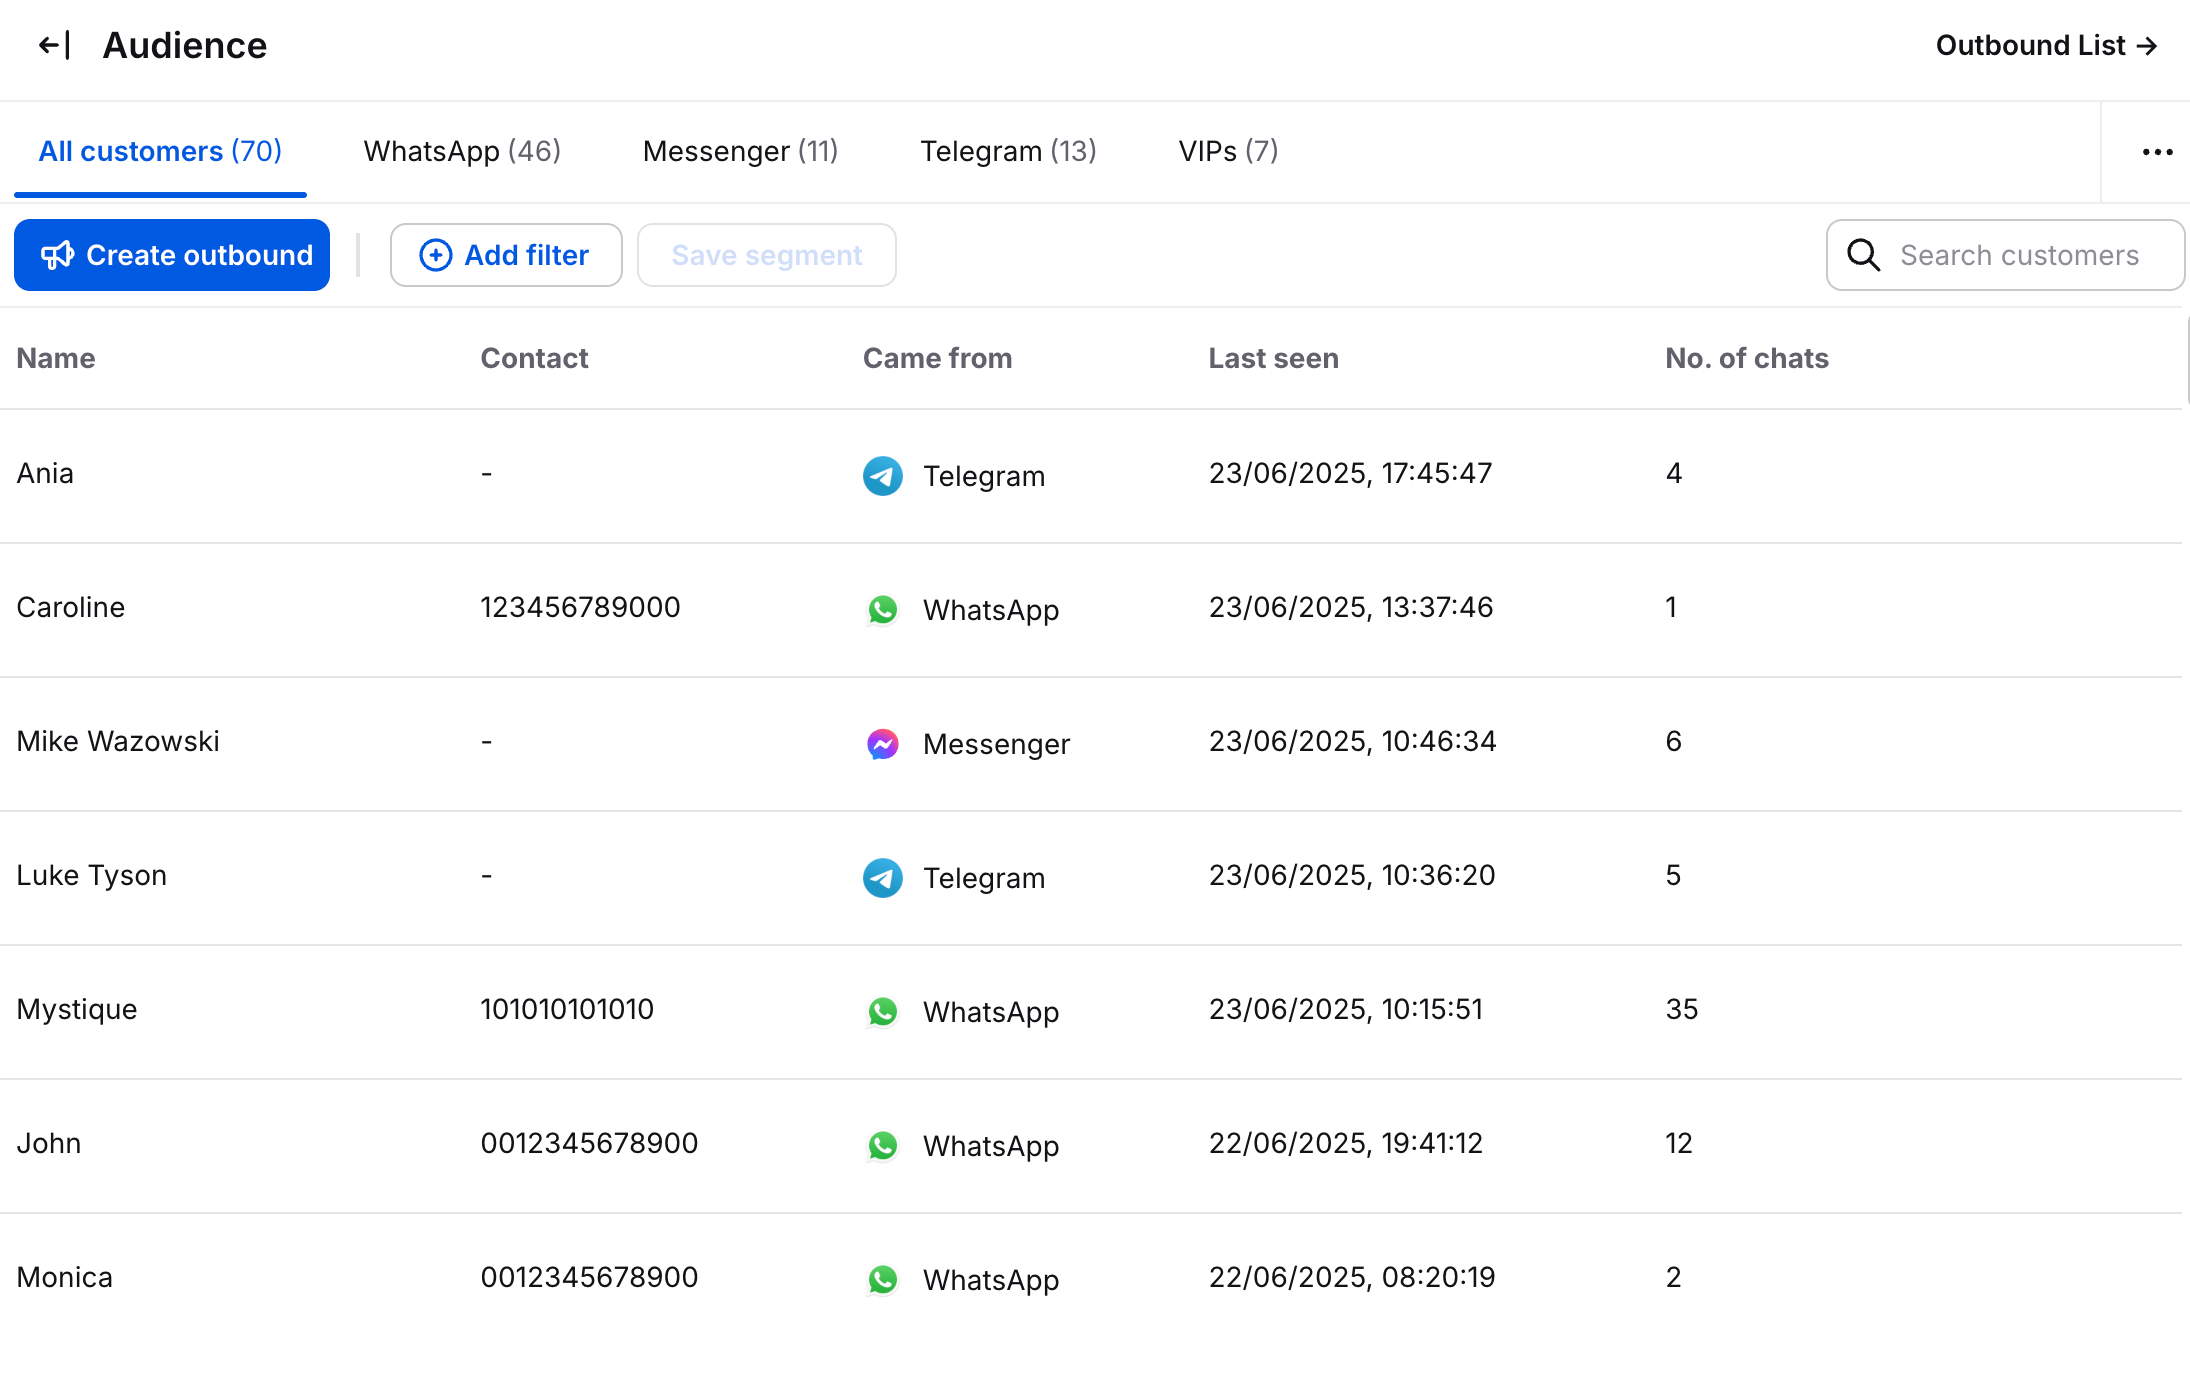
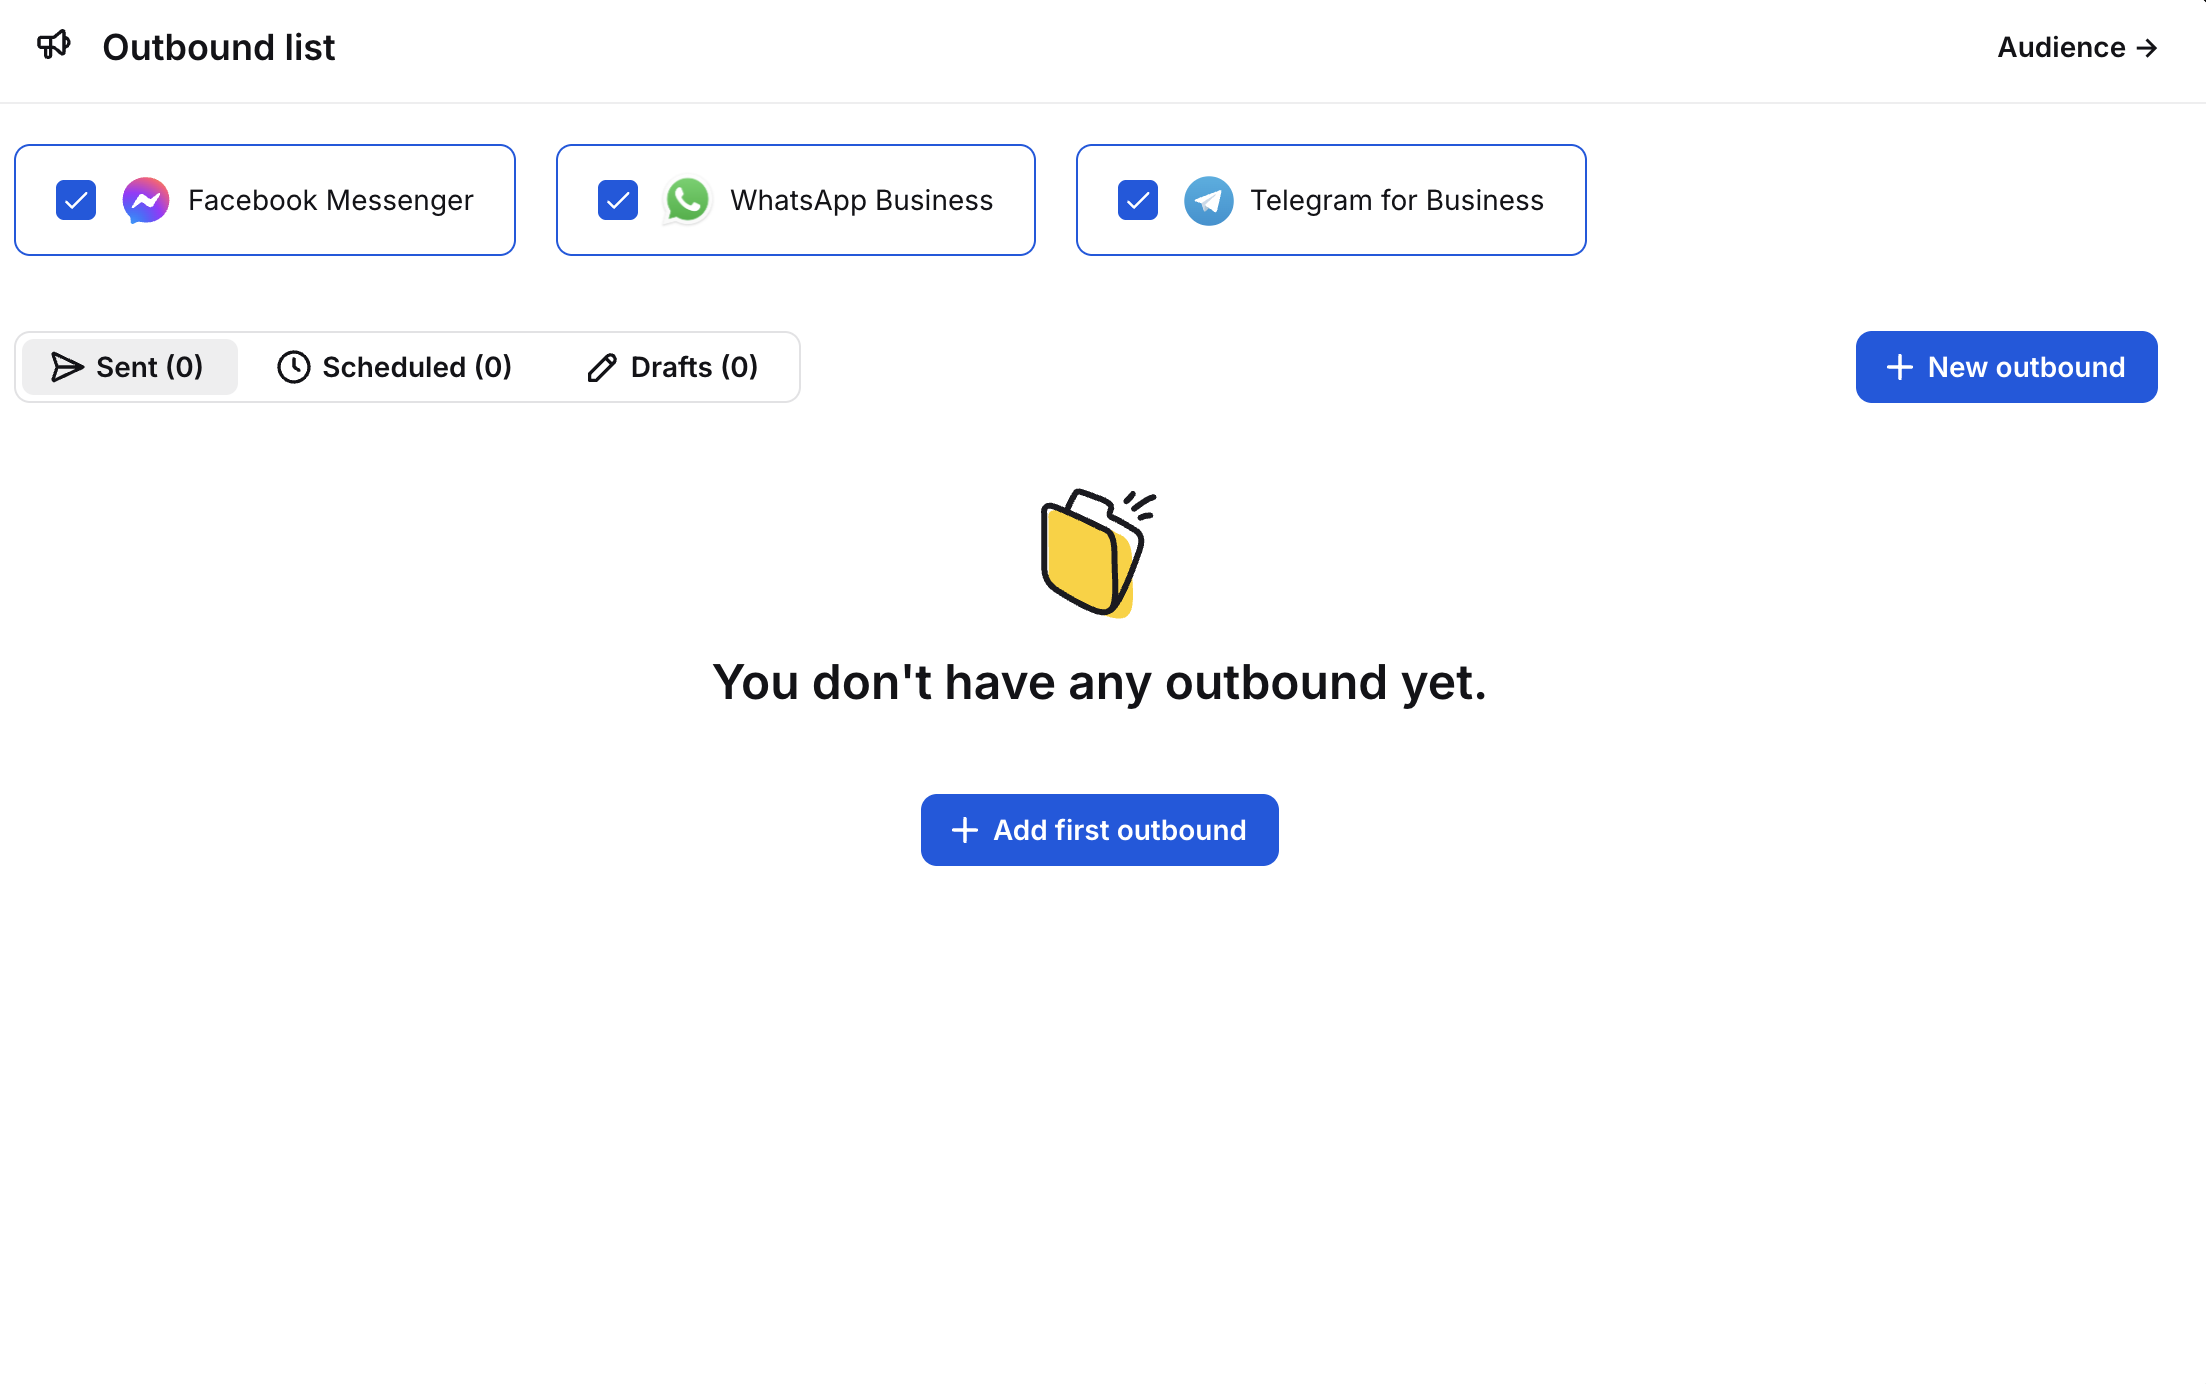
image-20250206-142516.png

You can pin the Outbound messages app, so it’s always visible in your main menu. Click on the pin icon next to the Fullscreen app under Apps>Your apps>Outbound messages.

image-20250206-143119.png

You can now access the Customers list from the Engage tab>Outbound messages. If you haven’t had any chats yet, it’ll be empty.

Screenshot 2024-09-26 at 13.55.53.png
Screenshot 2024-09-26 at 13.59.15.png

To see your first customers, just add the LiveChat widget to your site and connect messaging platforms like Messenger, WhatsApp, SMS, and others. After each chat, new or updated customer records will appear. Customers are added no matter which channel they come from, including chat, Messenger, WhatsApp, SMS, and more.

JavaScript errors detected

Please note, these errors can depend on your browser setup.

If this problem persists, please contact our support.