Customers data
Customer data
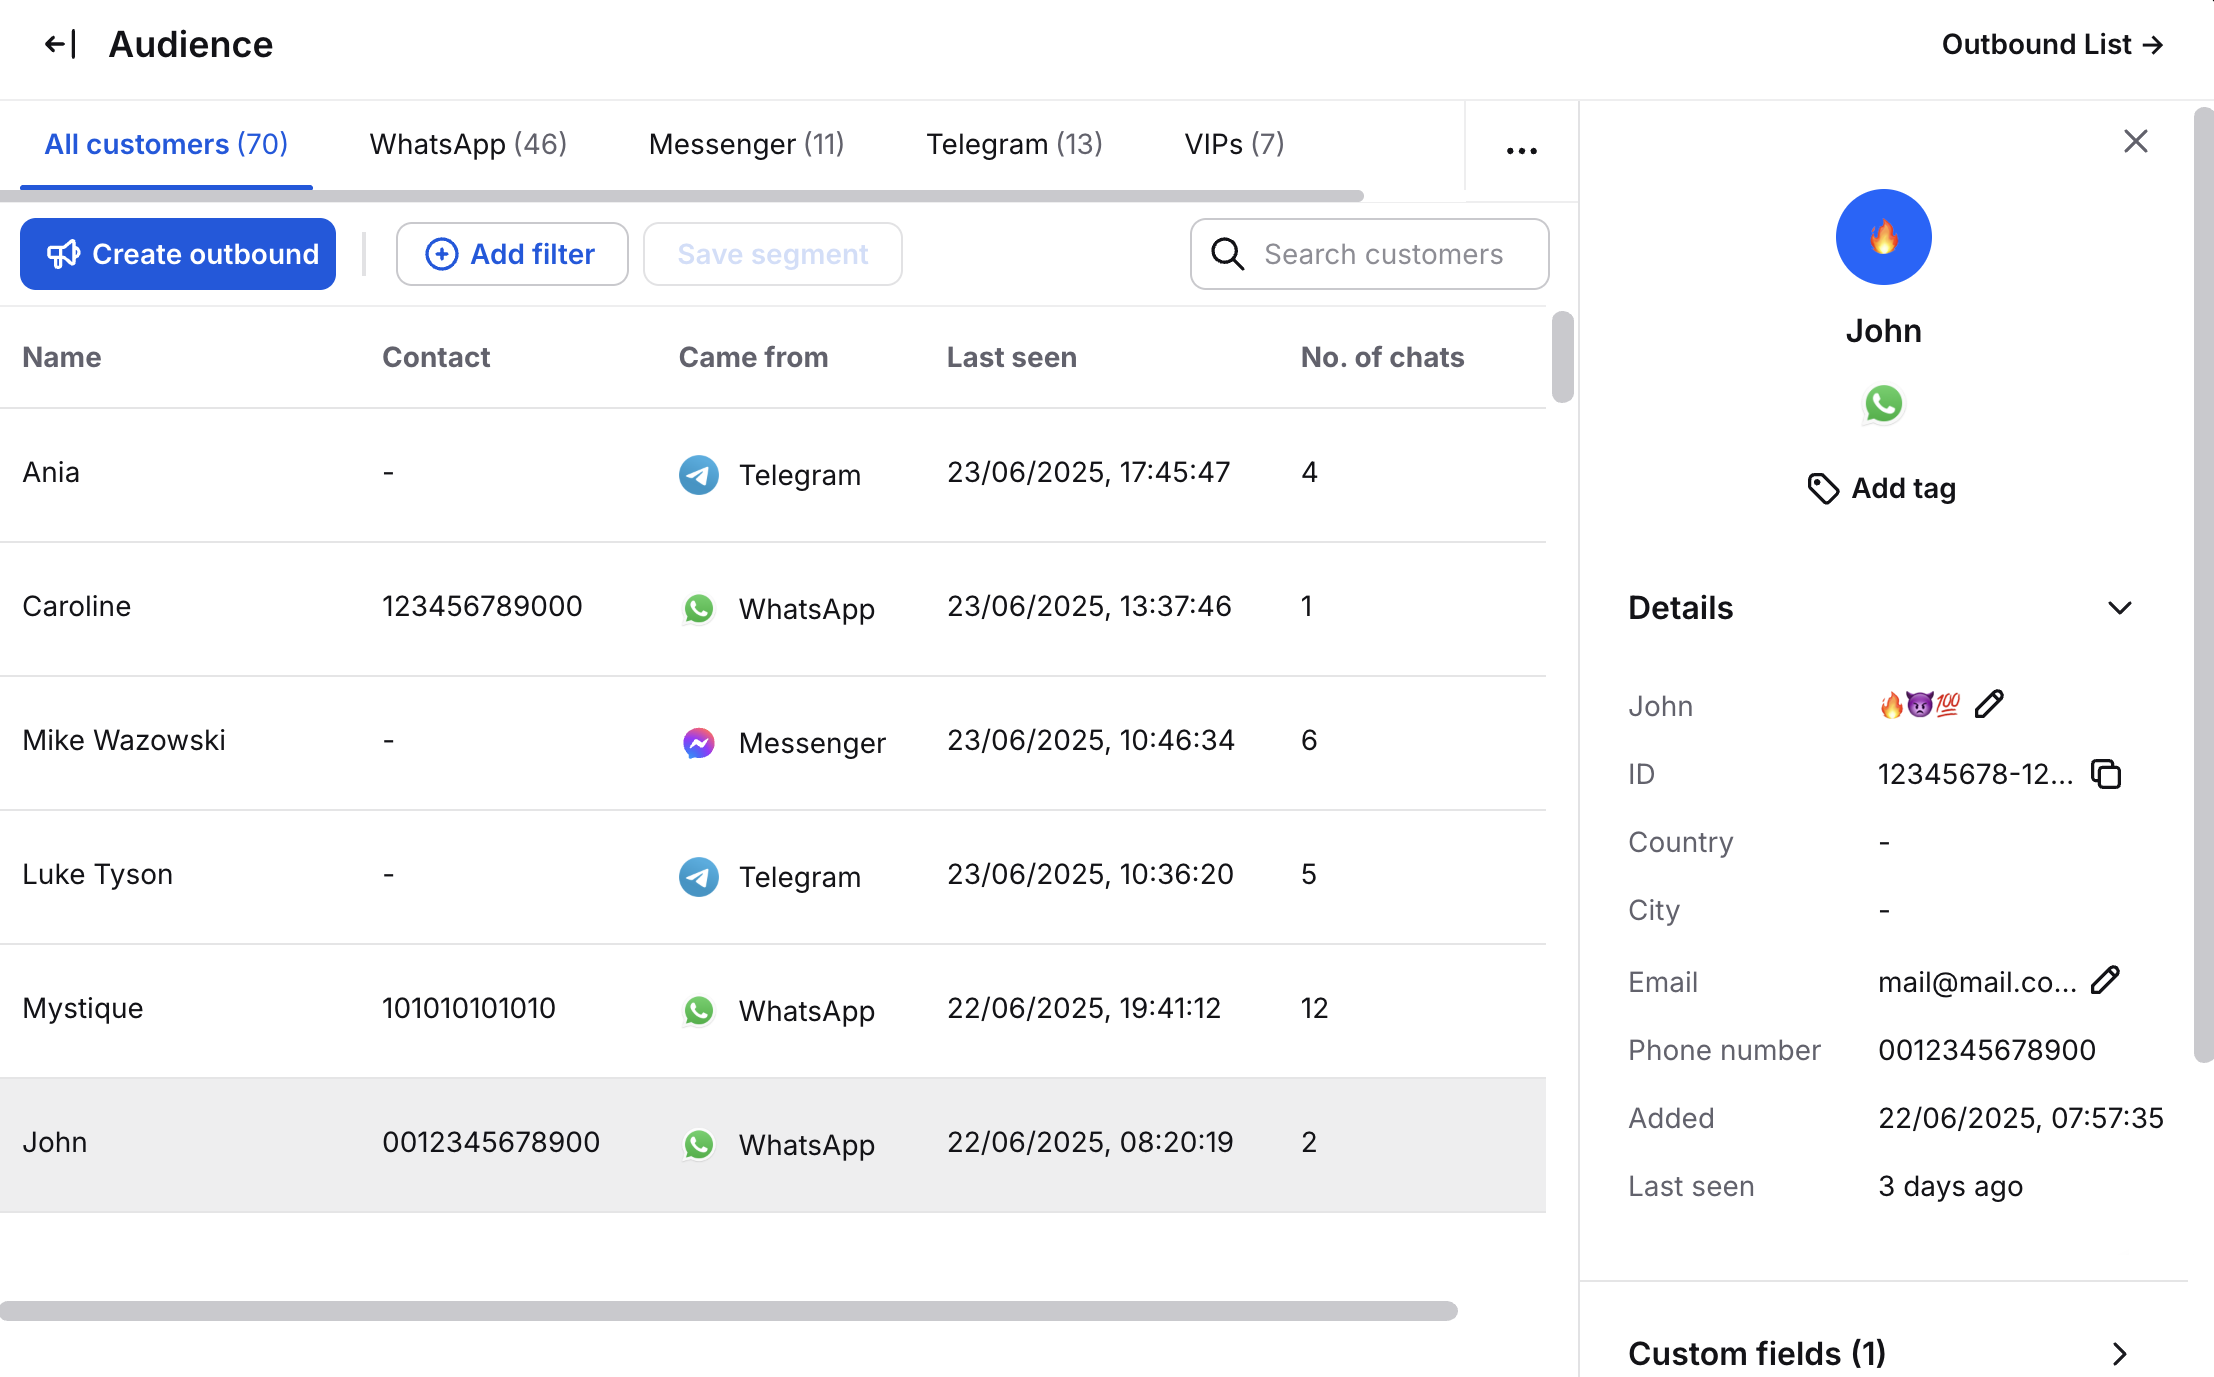
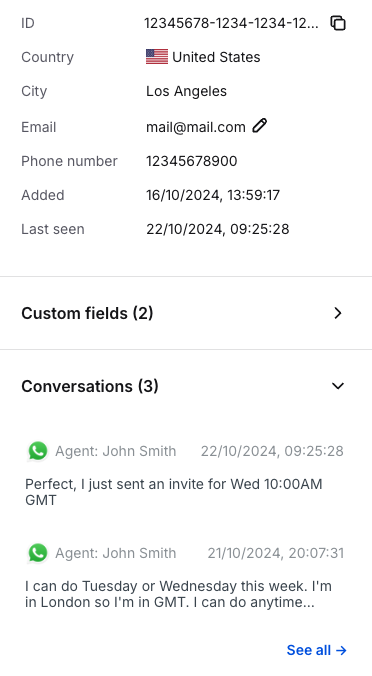
You can see the basic customer information in the customer overview. Go to the Engage section and select the Outbound messages tab. Click on Audience and select a customer from the list to expand the Details tab.
Editing customer data
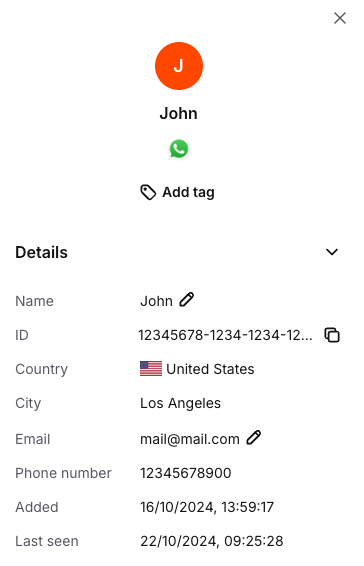
You can edit customer records (pencil buttons) in the Details section. Changes here update their info across LiveChat, in places such as Archives, Traffic, and ongoing chats.
Custom Fields
Custom fields let you collect and display relevant customer information, like shopping interests, to personalize interactions. You can also use them in Outbound messages for your campaigns.
You can add predefined custom information about your customer in predefined fields to any customer in the Customer Overview.
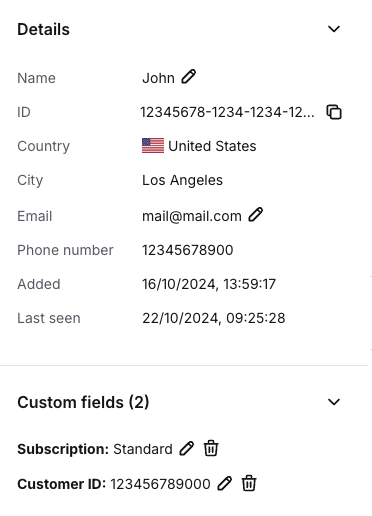
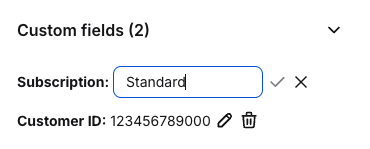
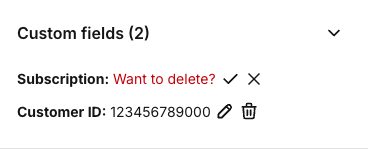
Click the pencil button next to the custom field and type your info. You can remove them by clicking the trash button.
Managing custom fields
Your custom fields are available in the Custom fields tab in the Outbound Messages Settings.
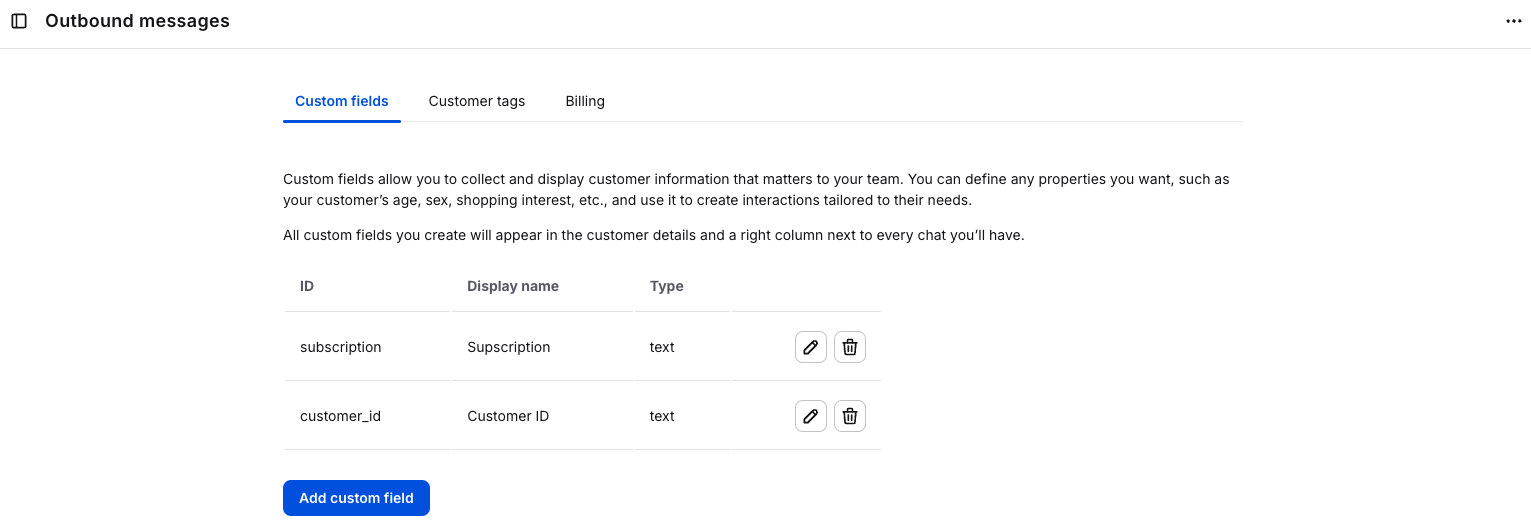
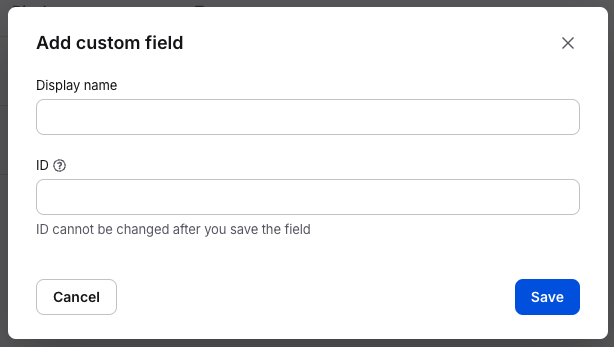
Here you can add a new custom field by clicking on the Add custom field button.
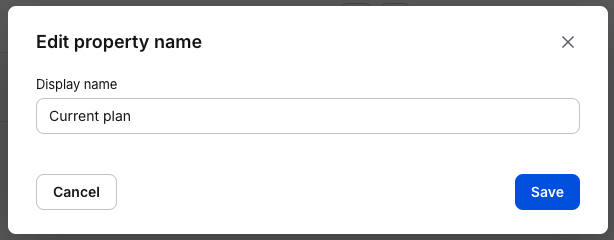
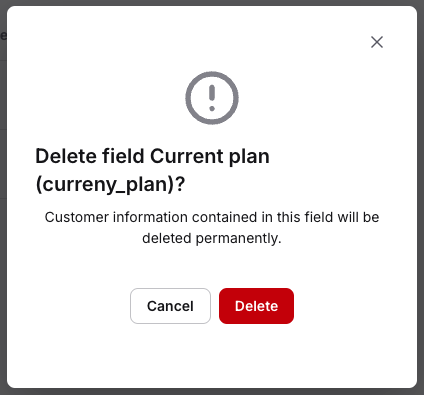
You can also edit (pencil button) and delete (trash button) your tags.
Conversations
Expand the Conversations tab to review your last two chats with a chosen customer. Select See all to enter archives that include all of your chats with this customer.
Notes
Expand the Notes tab to review the last two notes you or other agents assigned to this customer. Select See all to access all notes assigned to this customer.
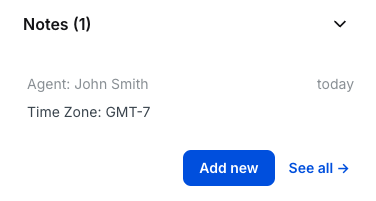
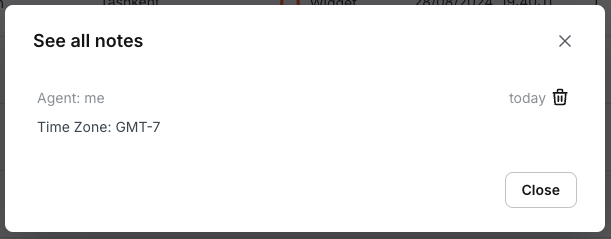
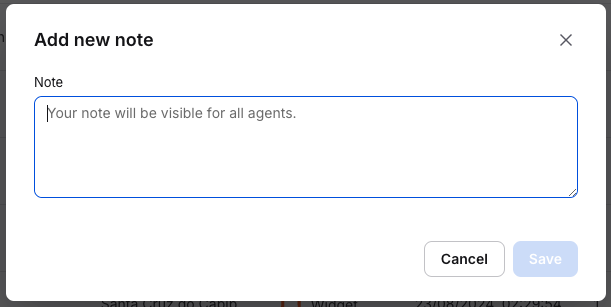
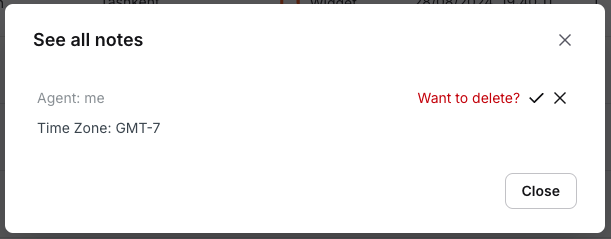
To add a note, select Add new. You can also delete it by clicking on it or on See all and then clicking on the trash button next to it.
Tags
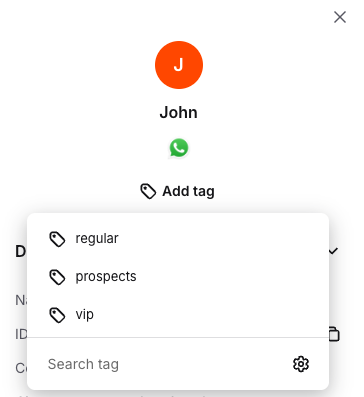
You can add predefined tags to any customer in the Customer Overview.
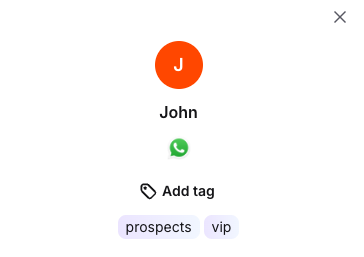
Click the Add tag button under the customer’s name and choose tags.
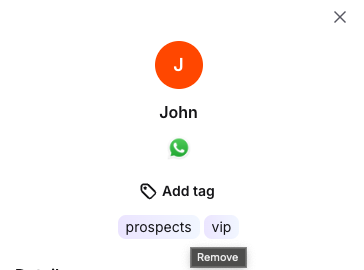
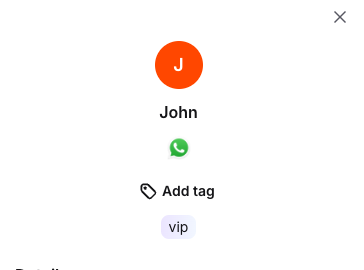
You can remove them by moving the cursor over them and then clicking the X button.
Filtering customers using tags
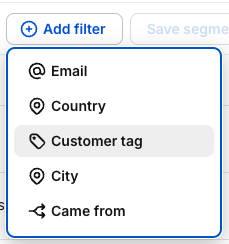
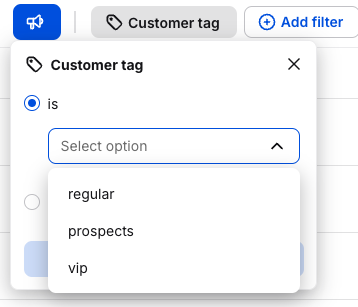
Tags can also be a filtering option in Outbound Messages. Click on the Add filter button and then choose Customer tag.
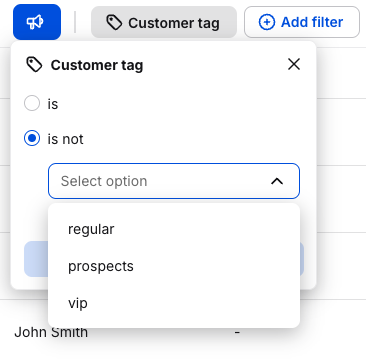
You can choose to include or exclude your tags from filtering.
Managing tags
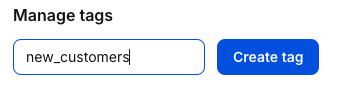
Your tags are available in the Customer tags tab in the Outbound Messages Settings.
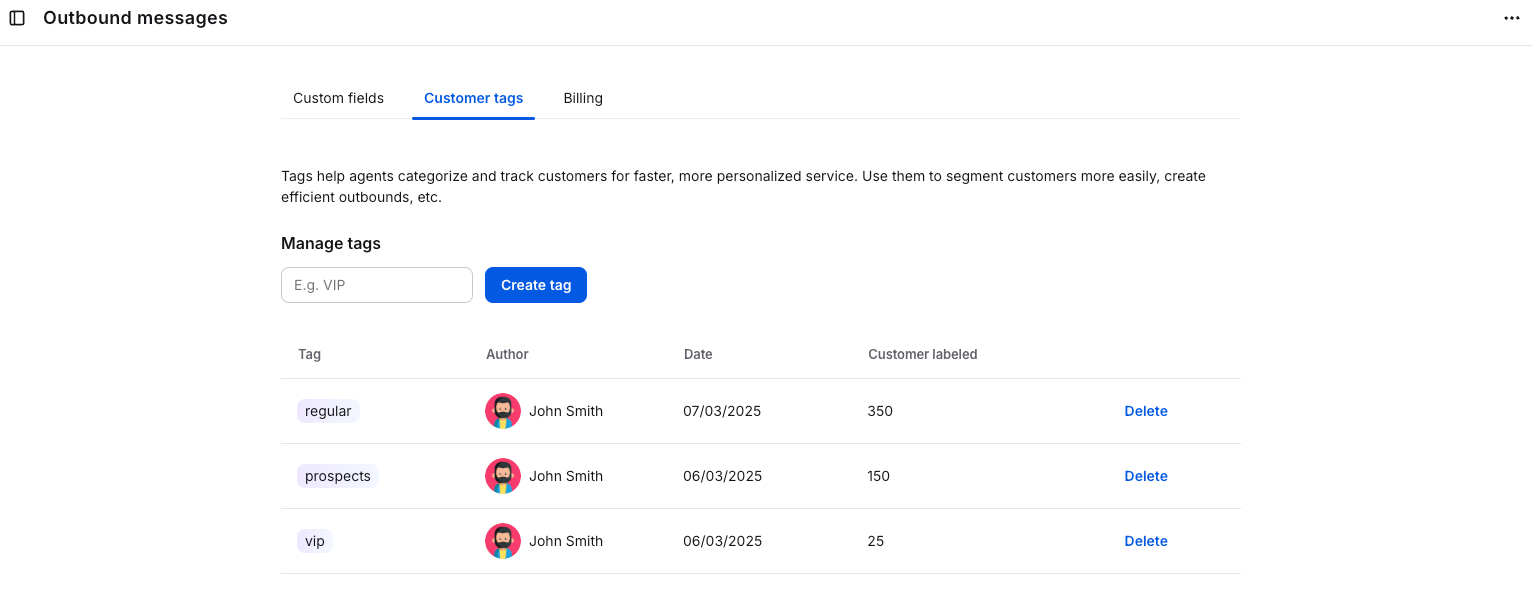
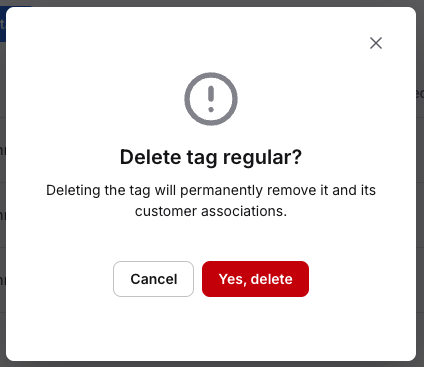
Here, you can add a new tag by clicking on the Create tag button. You can also delete your tags.
Only your LiveChat Admin can manage tags.
Tagging in ChatBot
If you want customers to be automatically tagged during their conversation with your chatbot, you can achieve this by using a dedicated webhook within your chatbot story.
Contact our team at contact@livechat-integrations.com to obtain the verification token required for webhook authentication.
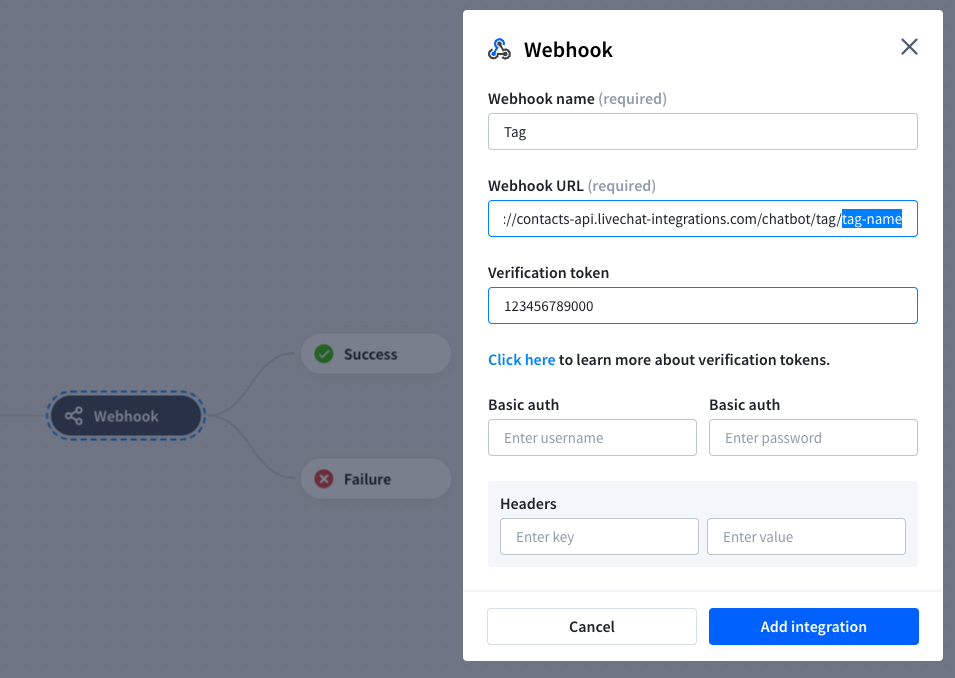
In your chatbot story, add a Webhook action and create a new webhook.
Configure the webhook:
Enter a name for your webhook.
In the URL field, use the following format:
https://contacts-api.livechat-integrations.com/chatbot/tag/tag-name
Replace tag-name with the previously created tag you want to assign.In the Verification token field, paste the token you received from our team.
Once configured, the webhook will automatically apply the specified tag to customers as they interact with your chatbot.