ChatBot Integrations
First customer message
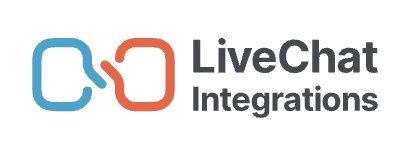
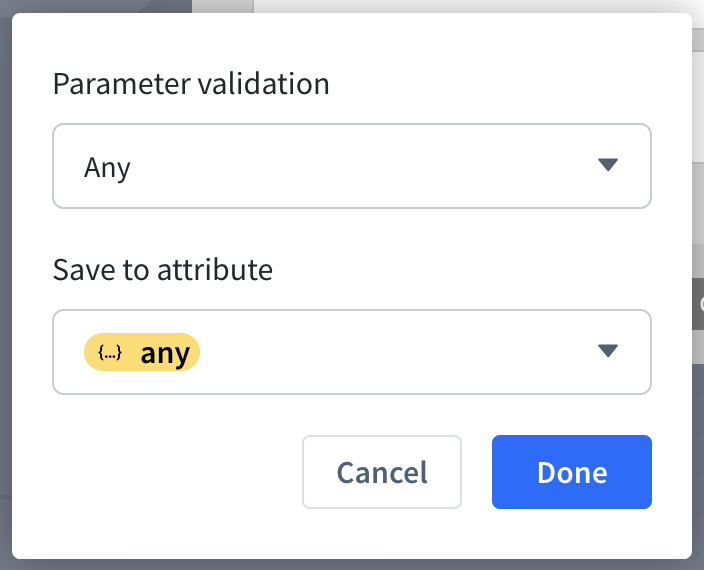
Add a User Input after the Start Point. Hover over the User says field and click on the {} icon. Hover over the User says field and click on the {} icon. Leave both fields set to any{} and save. This allows your bot to accept any initial message from the user.
Menu
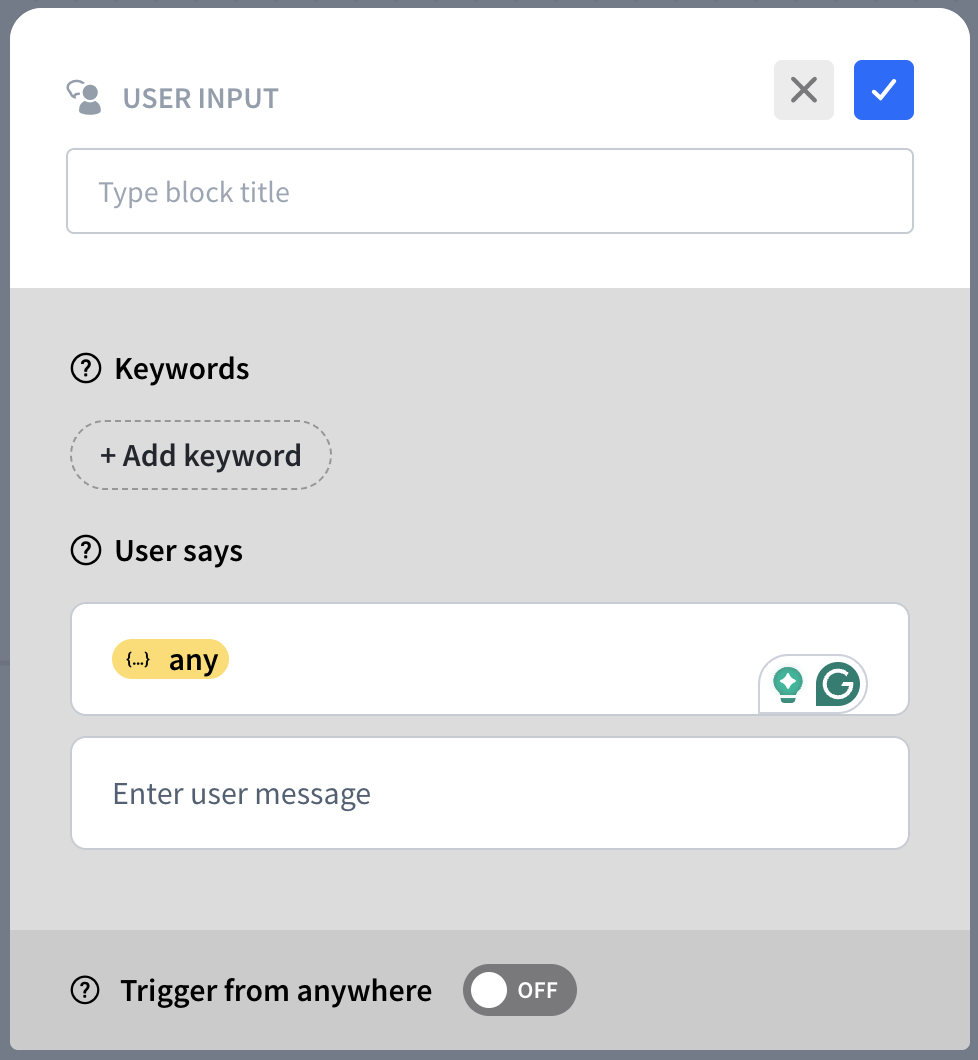
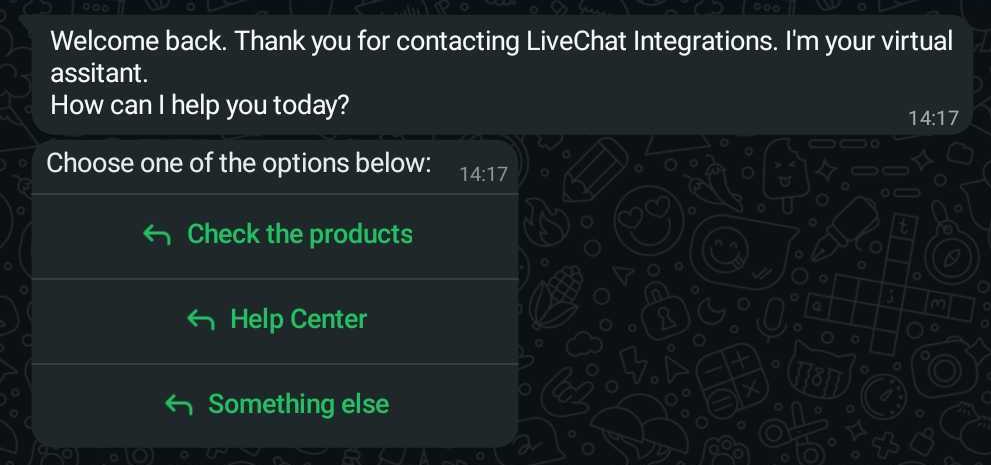
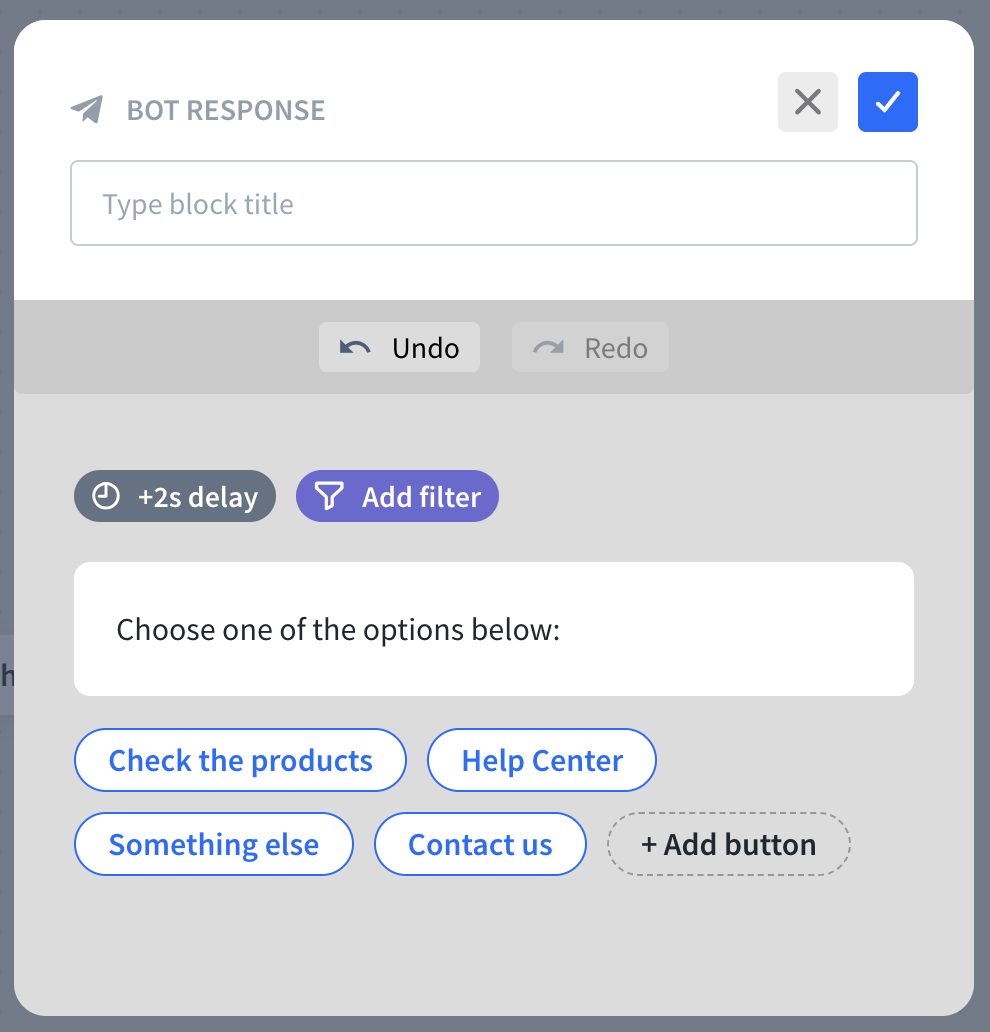
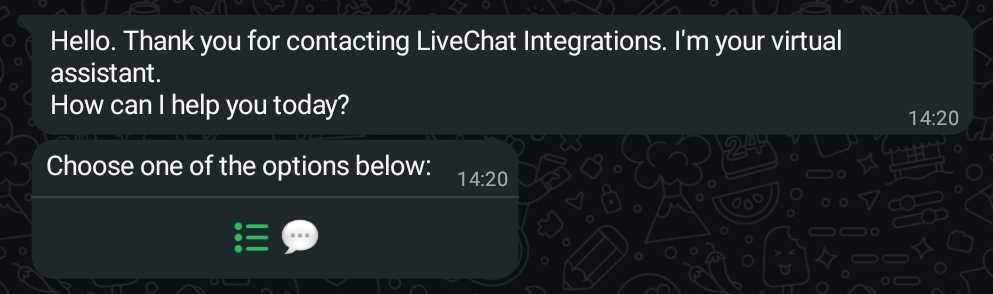
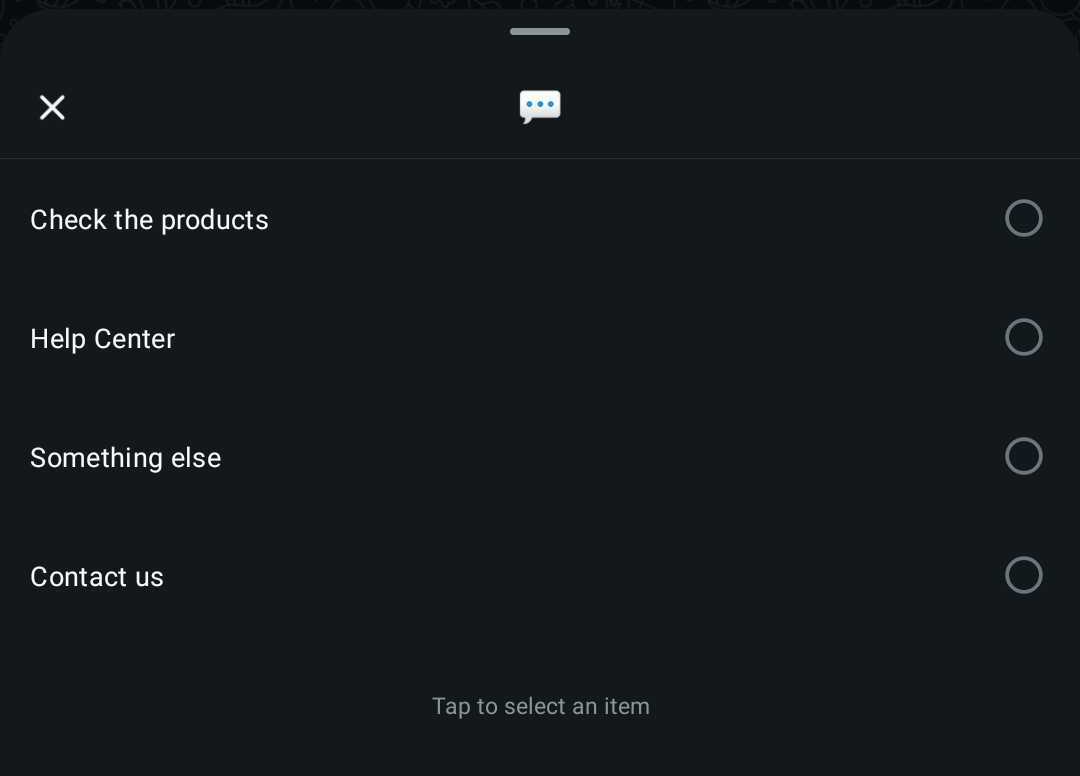
You can create a menu to send at the beginning of the interaction. This is a quick way to guide and help the customer. You can use the Quick reply option, under the Bot Response action in the chatbot story. WhatsApp supports up to 3 quick reply buttons. If there are more buttons, it is sent as a list picker with all the buttons.
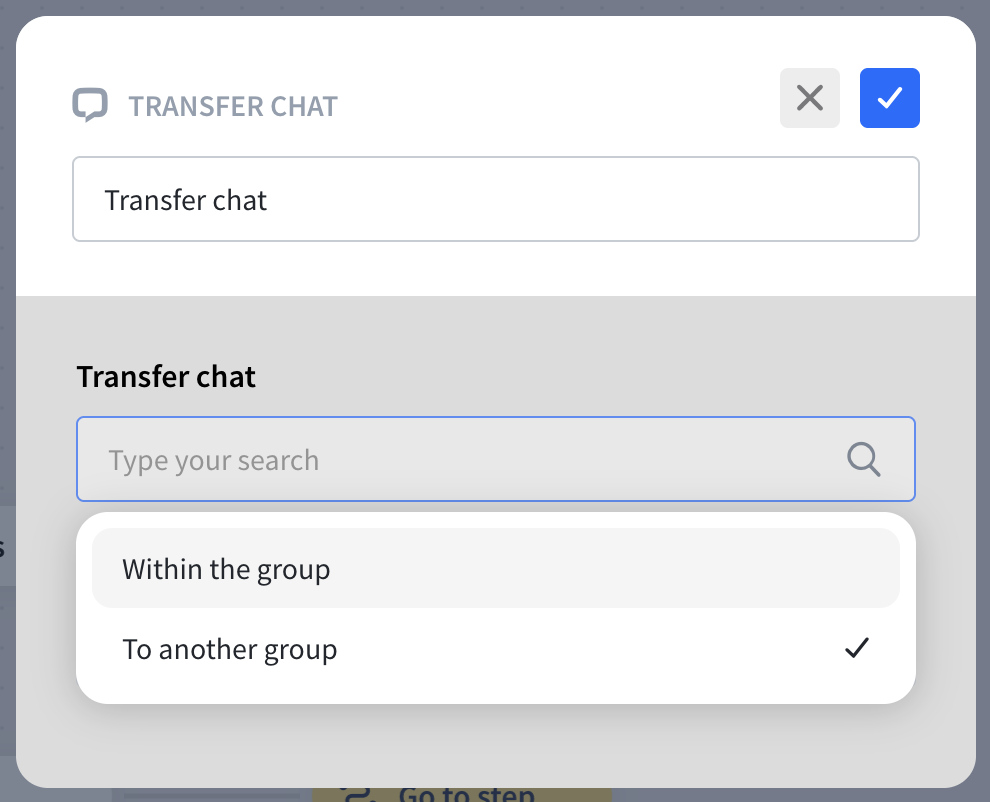
Agent routing
You can create routing options that will allow your customers to be transferred to other agents within the same or to a completely different group. To do that, add a Transfer chat action in the chatbot story.
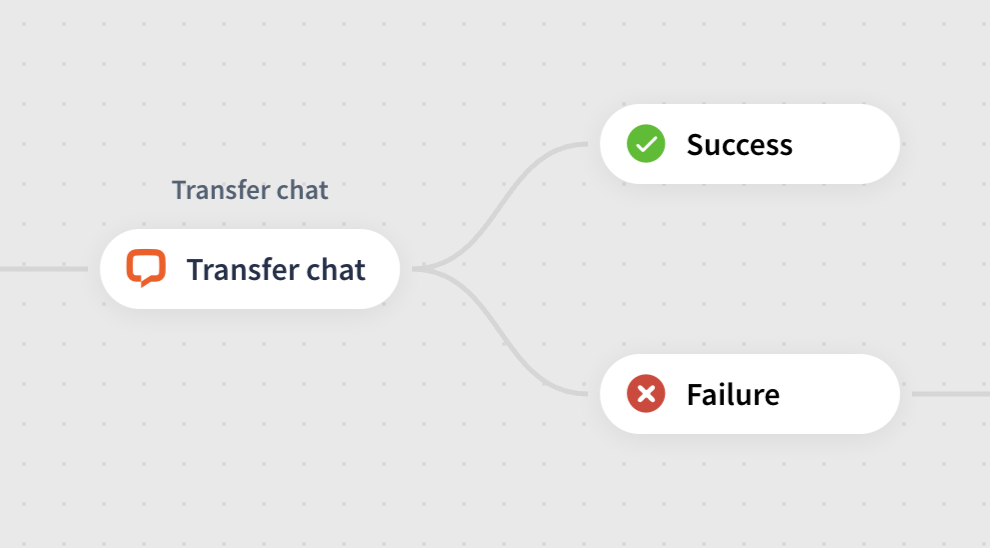
More information about transferring in ChatBot: Transfer chat for LiveChat
Sending Message Templates
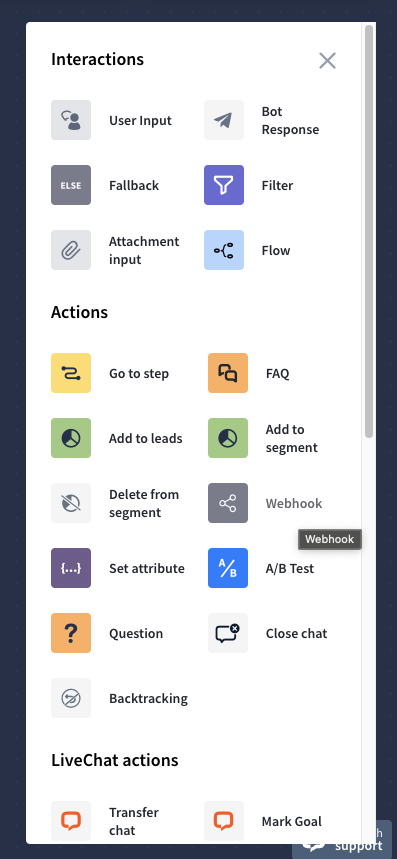
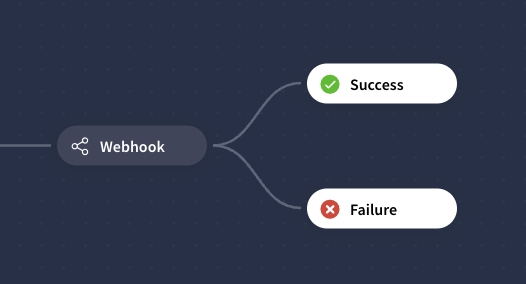
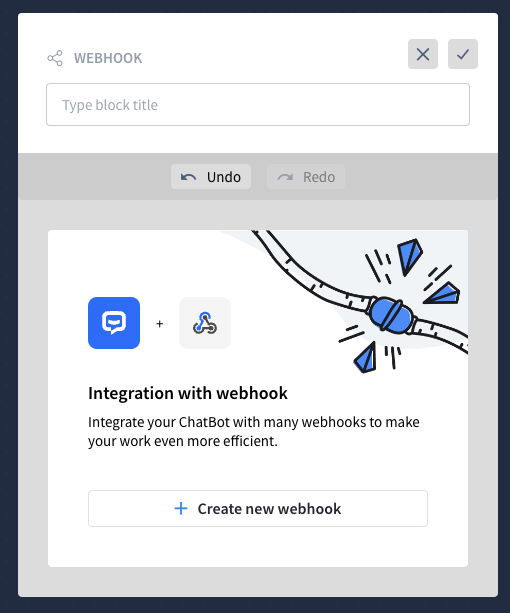
If you want the chatbot to send a specific Message Template (including catalog and media ones) that you created in Meta, you can use the Webhook action to do that.
First, add a Webhook action in your chatbot’s story. Click on the Webhook to edit it.
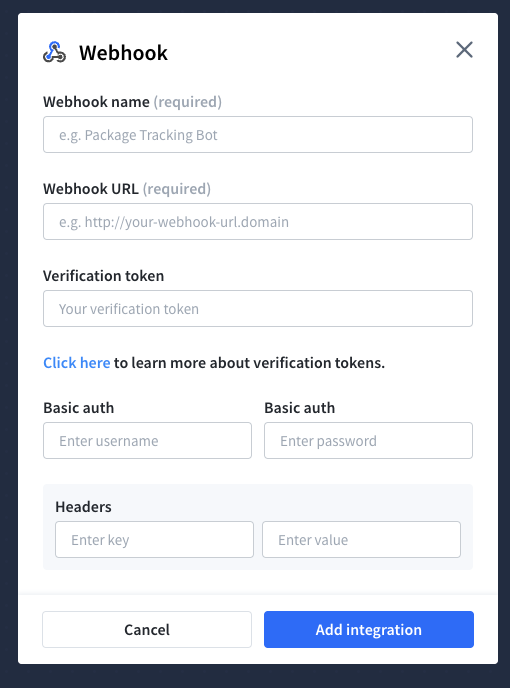
Click on Create new webhook. Here, add its name, then add https://lwb-api.livechat-integrations.com/wh/lc-chatbot in the Webhook URL field. Add a token in the Verification token field, and then create Headers with the following data in the key and value fields:
key | value |
|---|---|
| name of the Message Template |
| language of the Message Template |
| number of minutes after which the Message Template should be sent |
| ID of the business number from which the message should be sent |
| url of the image |
| url of the video |
| url of the document - named “Untitled” by default |
| name of the document - optional |
Only Message Templates without variables can be sent.
The minutes can be set to a maximum of 525,600.
Contact us for the token and the number ID.
Save by clicking the Add integration button.
After-hours bot
You can also create a second bot, used outside working hours, that informs customers that support is unavailable. It first states the company is out of the office and asks if they’d like to leave a message. Then, it accepts any input with the parameter any{}. The default reply confirms they’ll be contacted as soon as possible and closes the chat without further input.
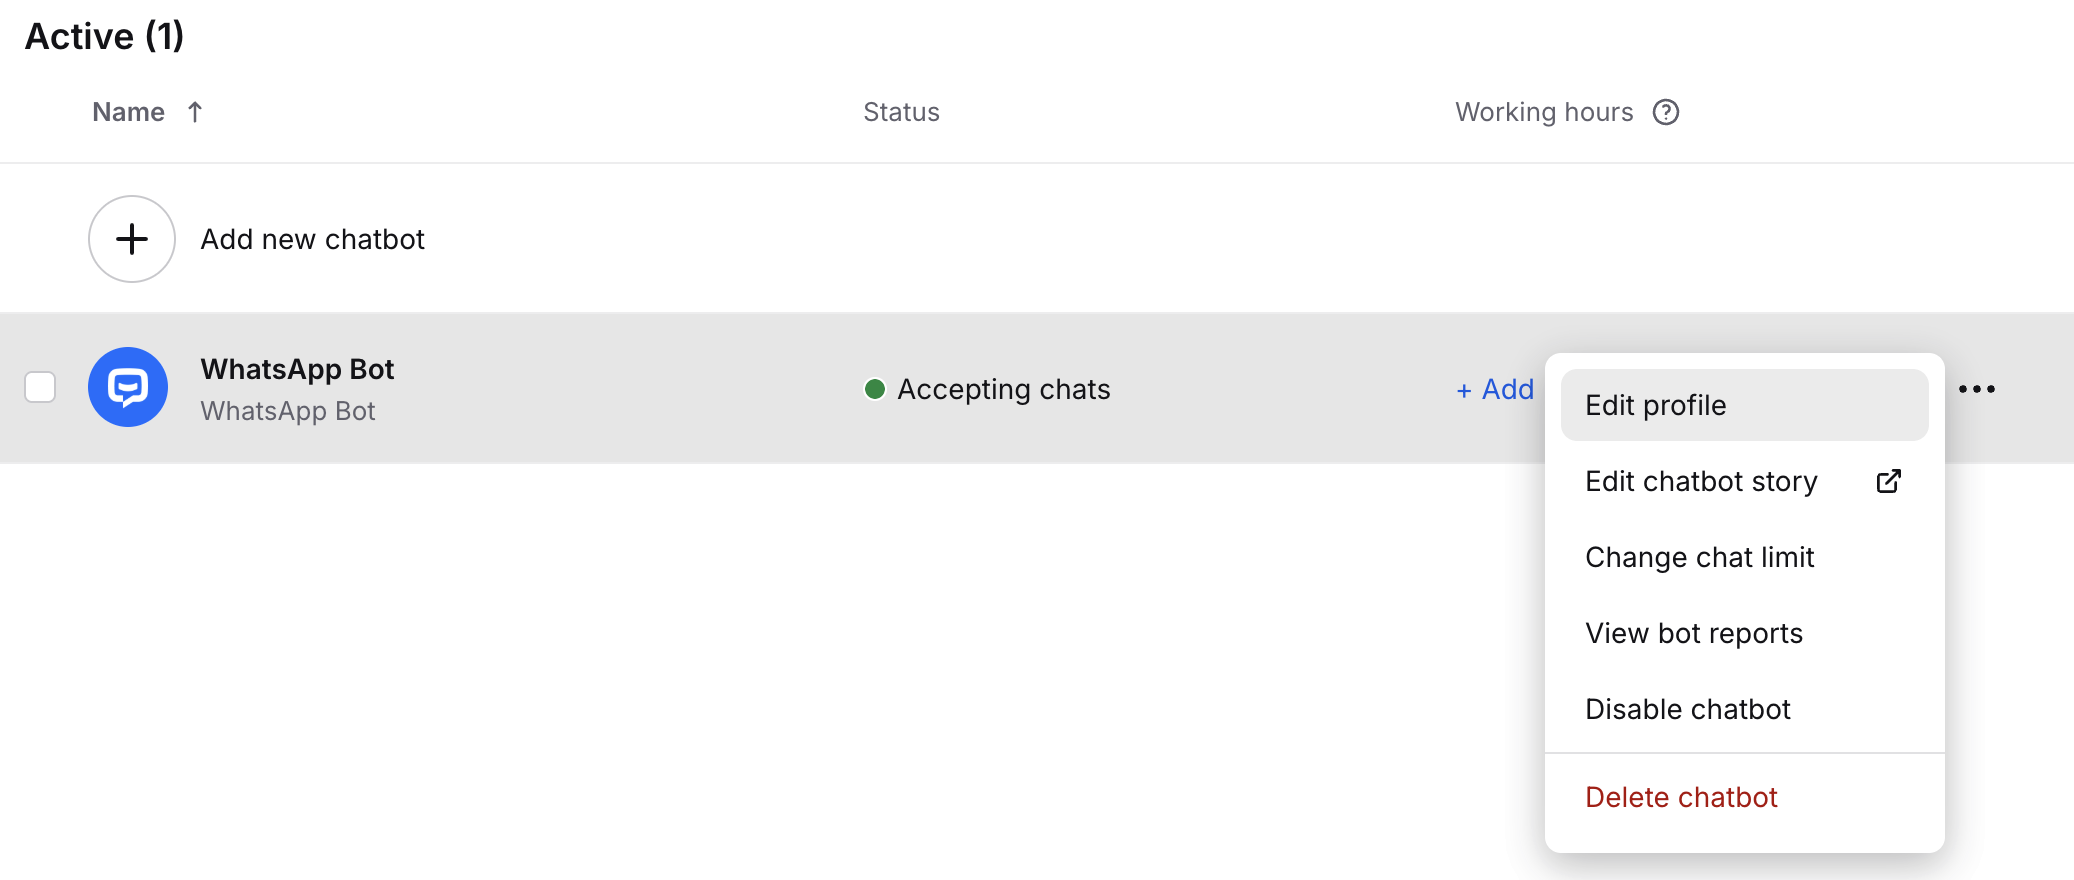
Setting bots' working hours
To change bot hours, go to Team>Chatbots, click the three dots → Edit profile, then scroll to Working hours to set daily schedules. Set the bot's hours. Save and enable it.
More information about setting working hours in LiveChat: Configuring working hours