Creating Apple Business Account
To integrate LiveChat with Apple Messages for Business, you’ll need to set up and configure your Apple Messages for Business, connect your Apple Messages for Business account with LiveChat, and add a way for your customer to contact you via Messages. Here’s how to do it:
Create a Messages for Business Account
First, go to Apple Business Register and connect your Apple ID with Apple Business. We recommend using an Apple ID that is connected to your business email.
Add Business Account for Messages
Next, add a Business Account for Messages:
Go to Manage connections.

In the Messages section, find Business Accounts for Messages and click + Add service.

Click Done at the bottom of the page.
Configure your Messages for Business Account
Next you will need to add a Messages for Business Account:
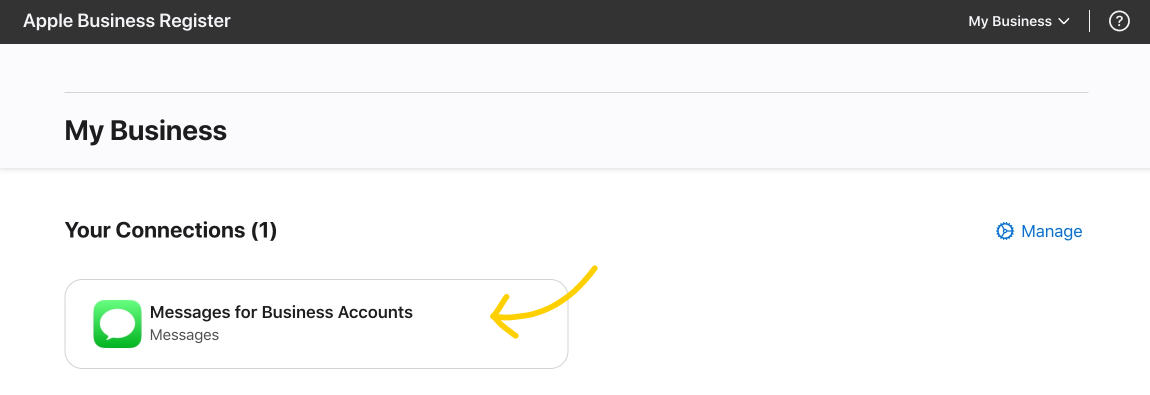
In Your connections, select Messages for Business Accounts.

In the new window, click on + Add new in the top left corner.
Then, click on Get Started.
Read and agree to Apple Messages for Business policies. Check all boxes and click Next to proceed.
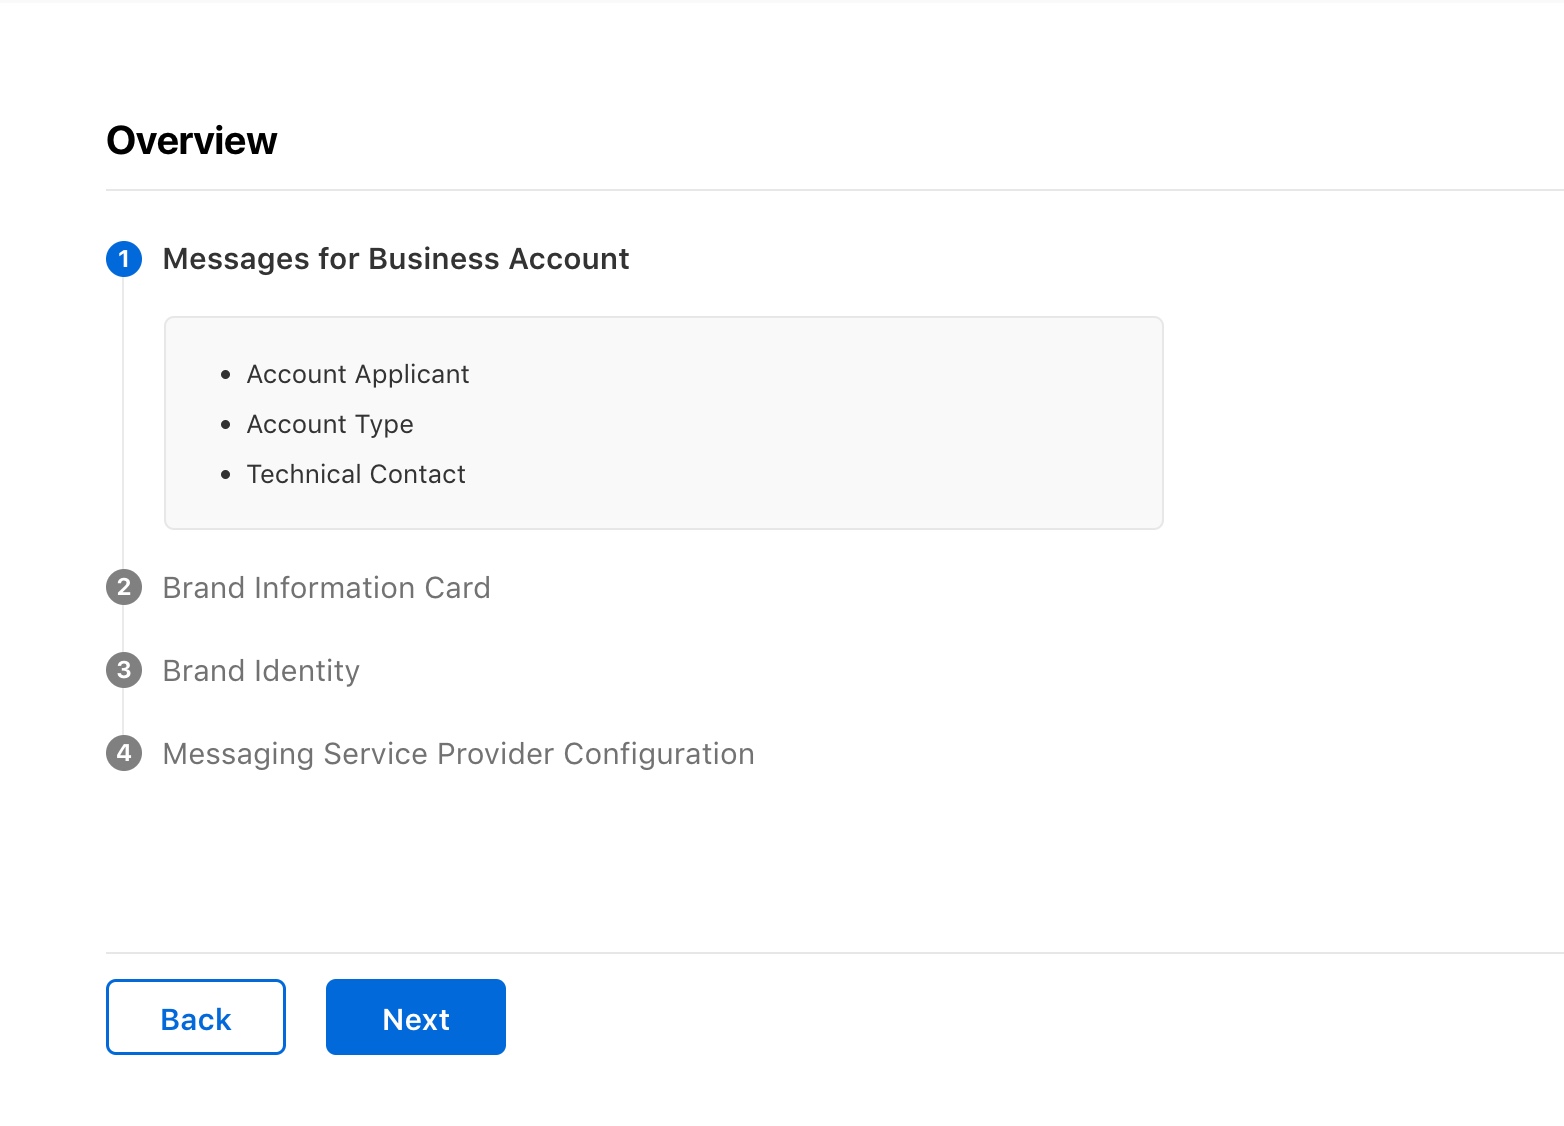
Now you need to fill out your application. It will need to be reviewed by Apple before you can start using Messages for Business.

The first part of the application consists of general questions about your business, such as basic company details and the contact person in your company. Fill out all mandatory fields, and click Next to move on to the next steps.
In the second part of the application, you need to provide information that will be displayed on the Brand Information Card. For example, your website address and agent response hours.
In the third part of the application, you’ll need to upload your brand logo that will be displayed in the Messages app.
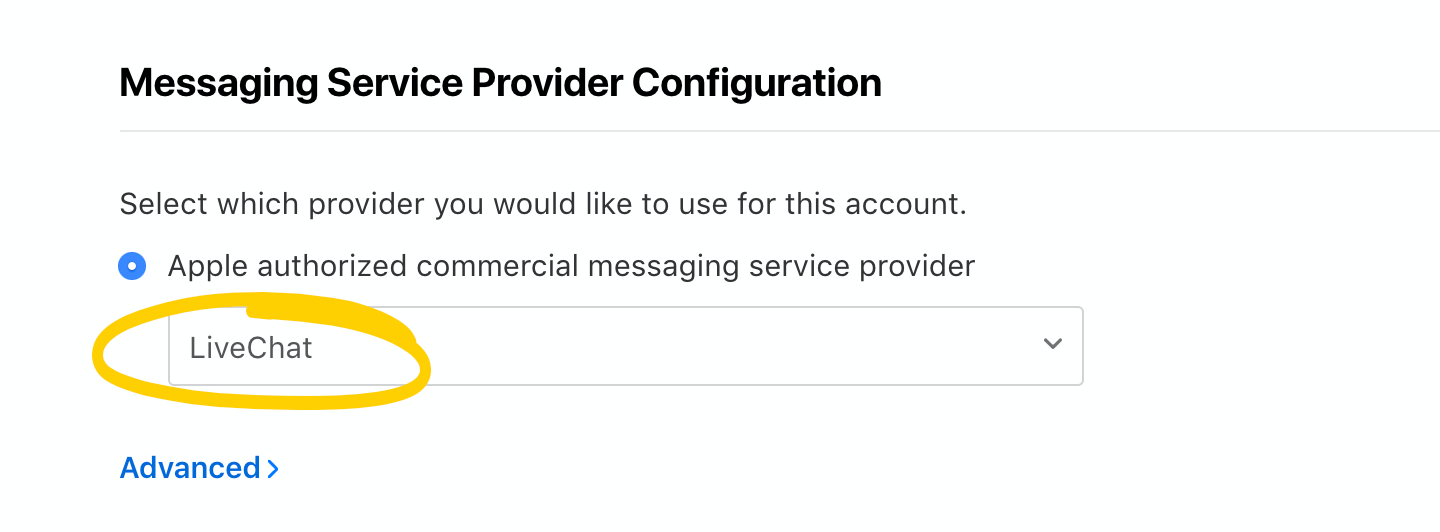
In the last part of the application process, you need to select the messaging service provider – in this case it’s LiveChat.
To do so, click on the dropdown list, and select LiveChat from the list.

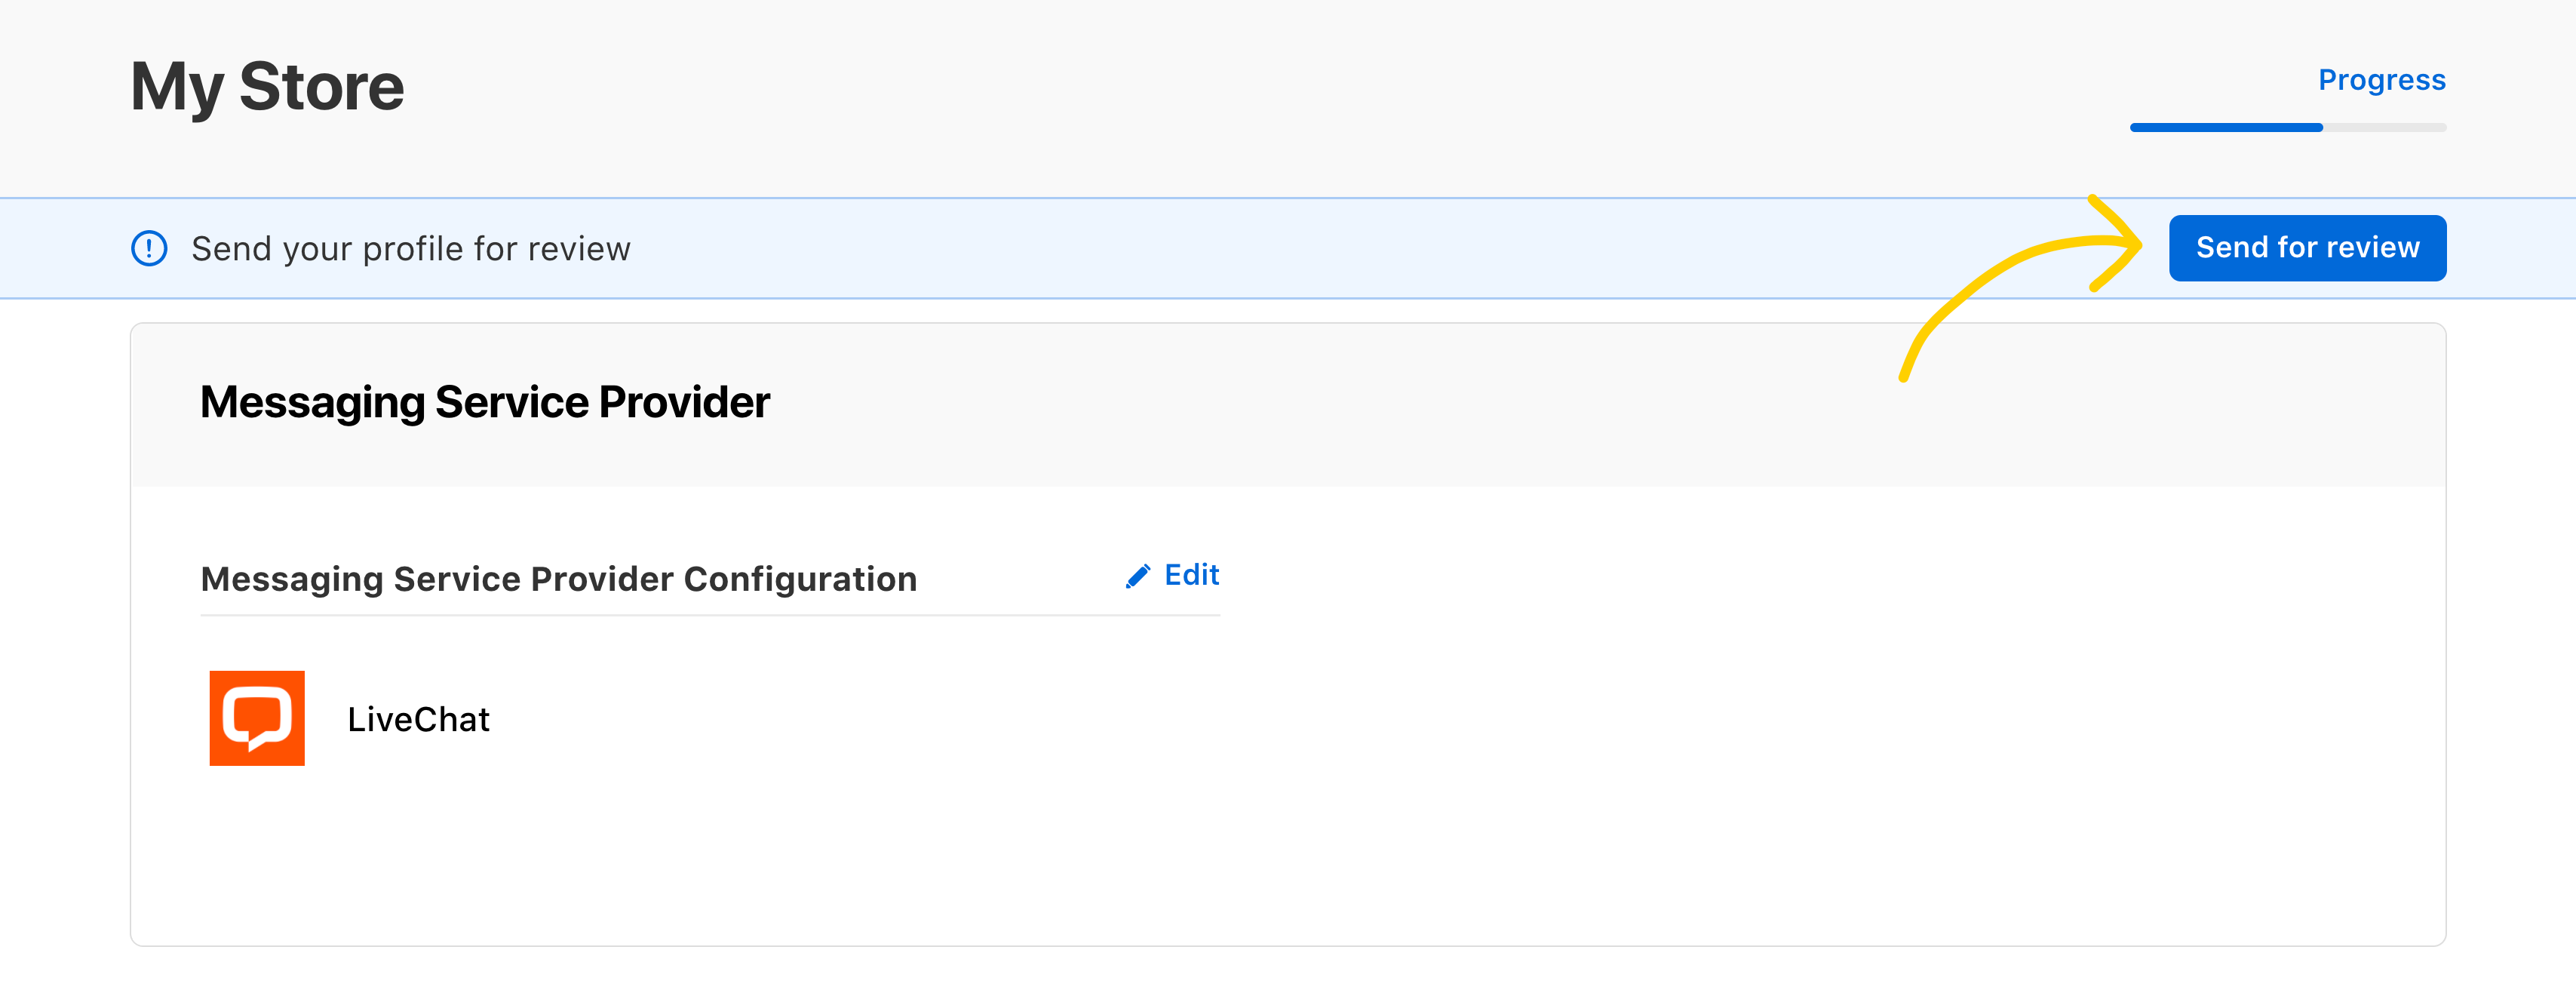
Finally, check if all the information you provided is correct and click Send for review.

