Technical configuration
User input
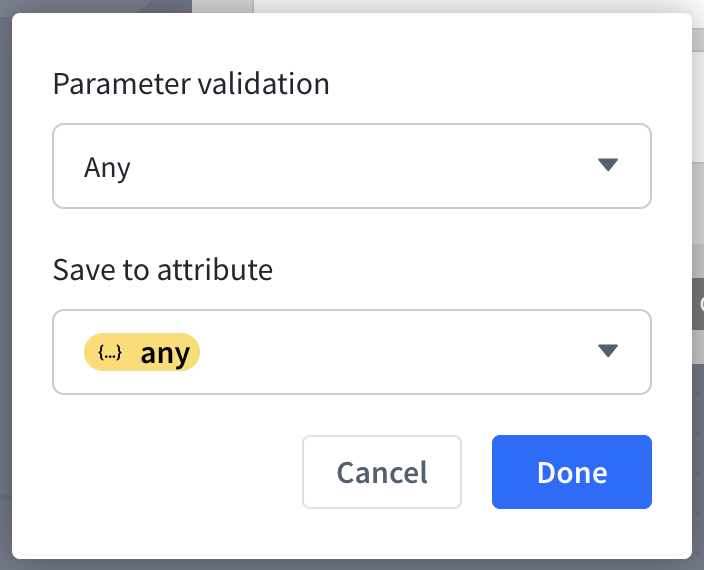
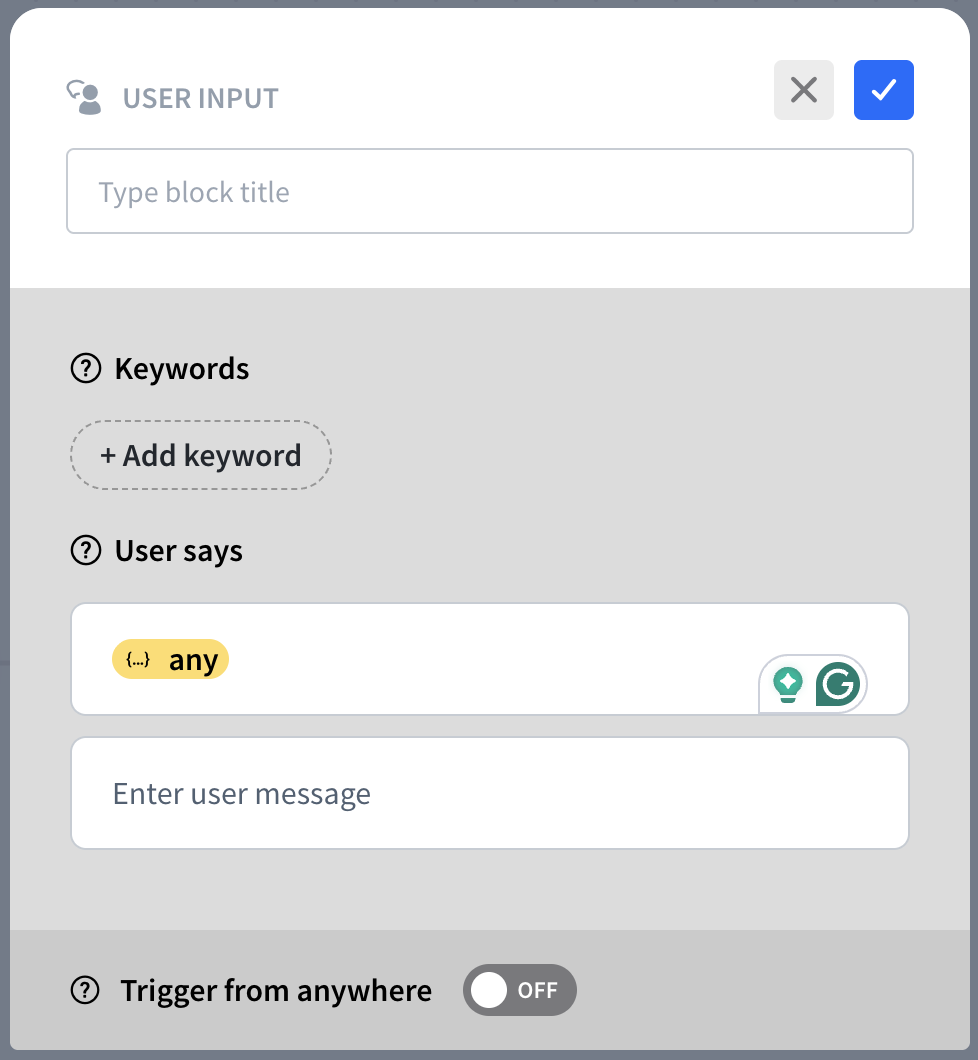
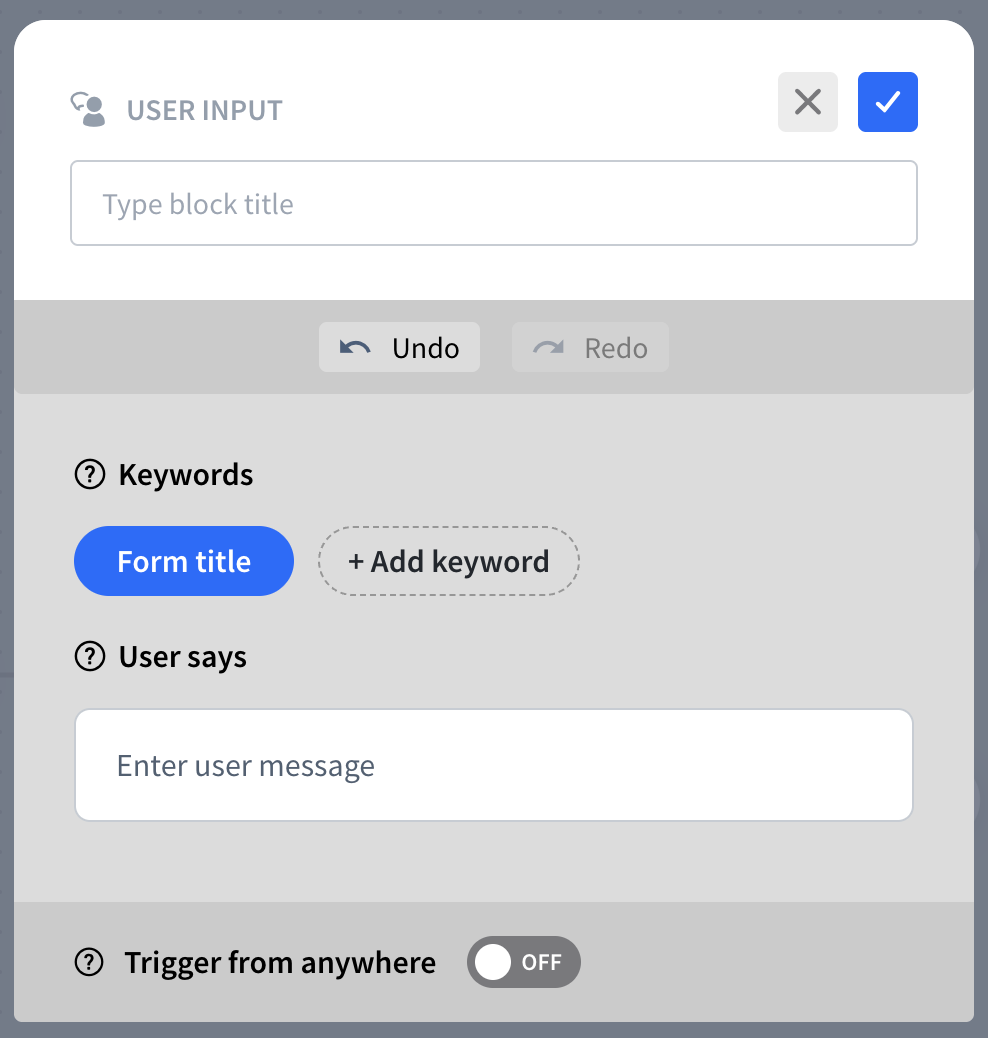
Add a User Input after the Start Point. Hover over the User says field and click on the {} icon. Leave both fields set to any{} and save. This allows your bot to accept any initial message from the user.
Filtering customers
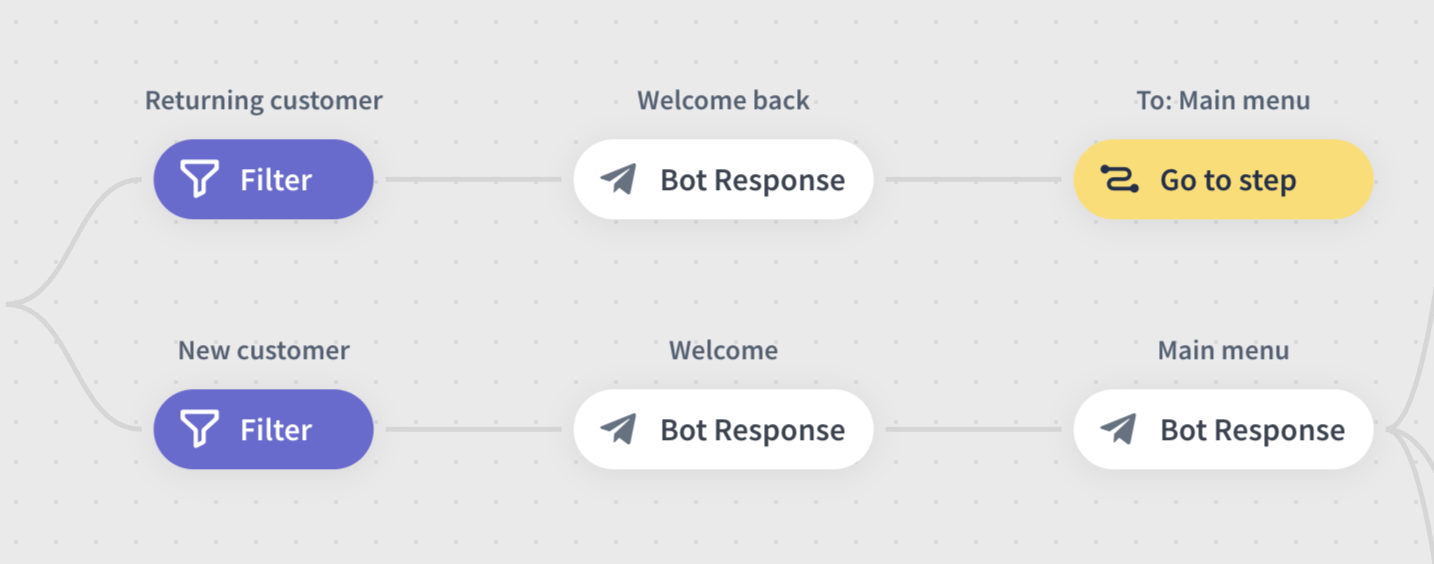
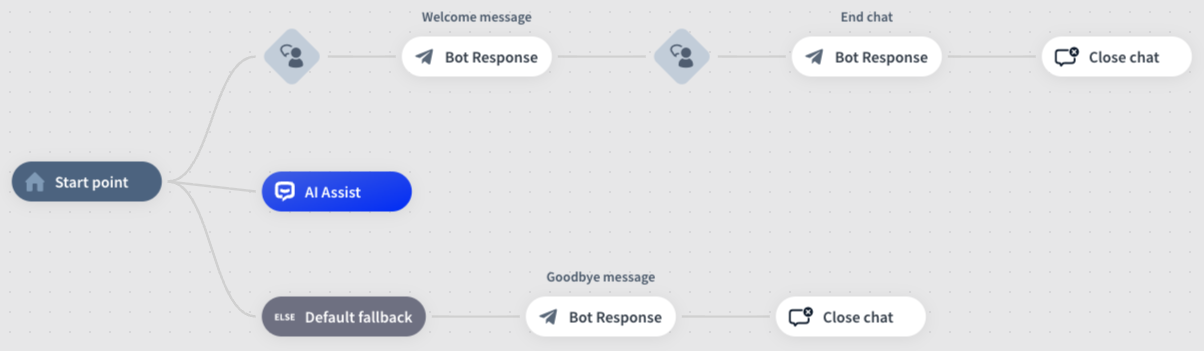
Create two Filter actions, each with a distinct welcome message, and place them immediately after the corresponding Bot Responses actions. Ultimately, one of the paths must lead directly to the first Quick Response action, and the second path can redirect to it with the Go to step action.
New customers
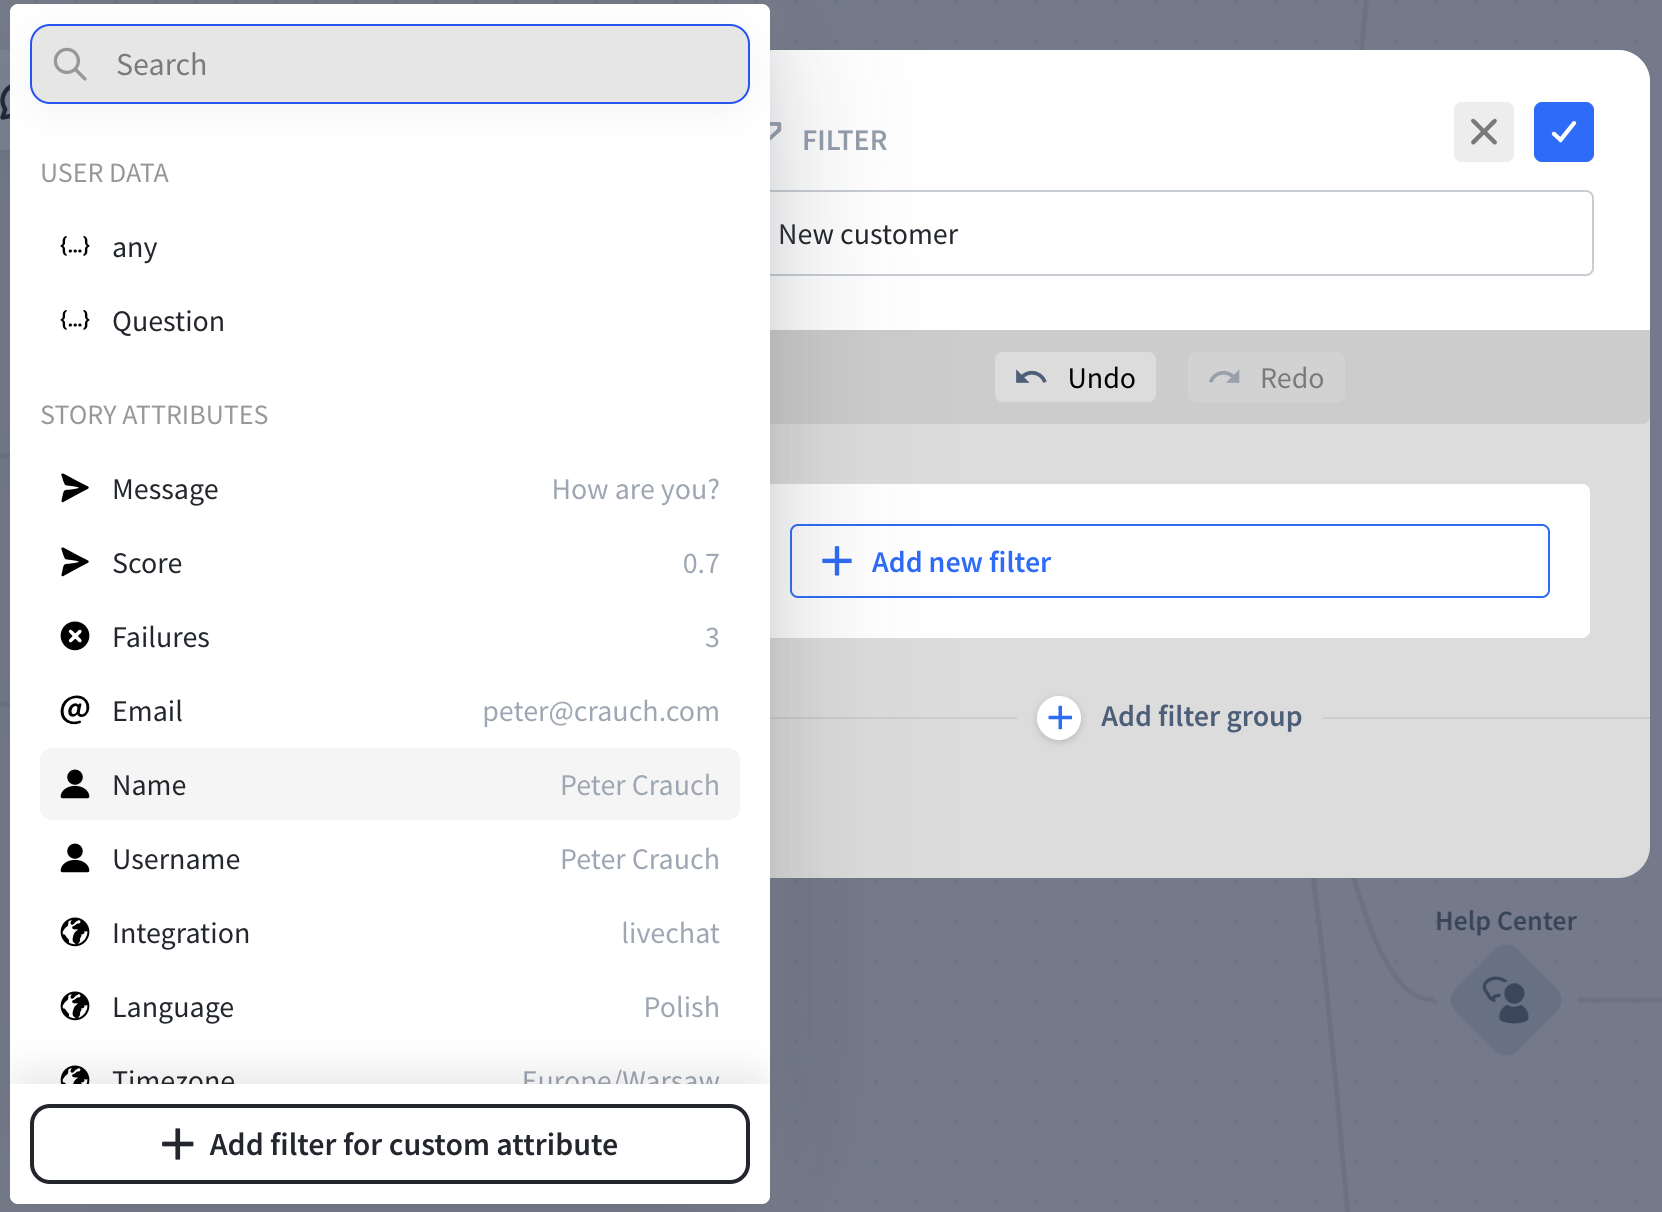
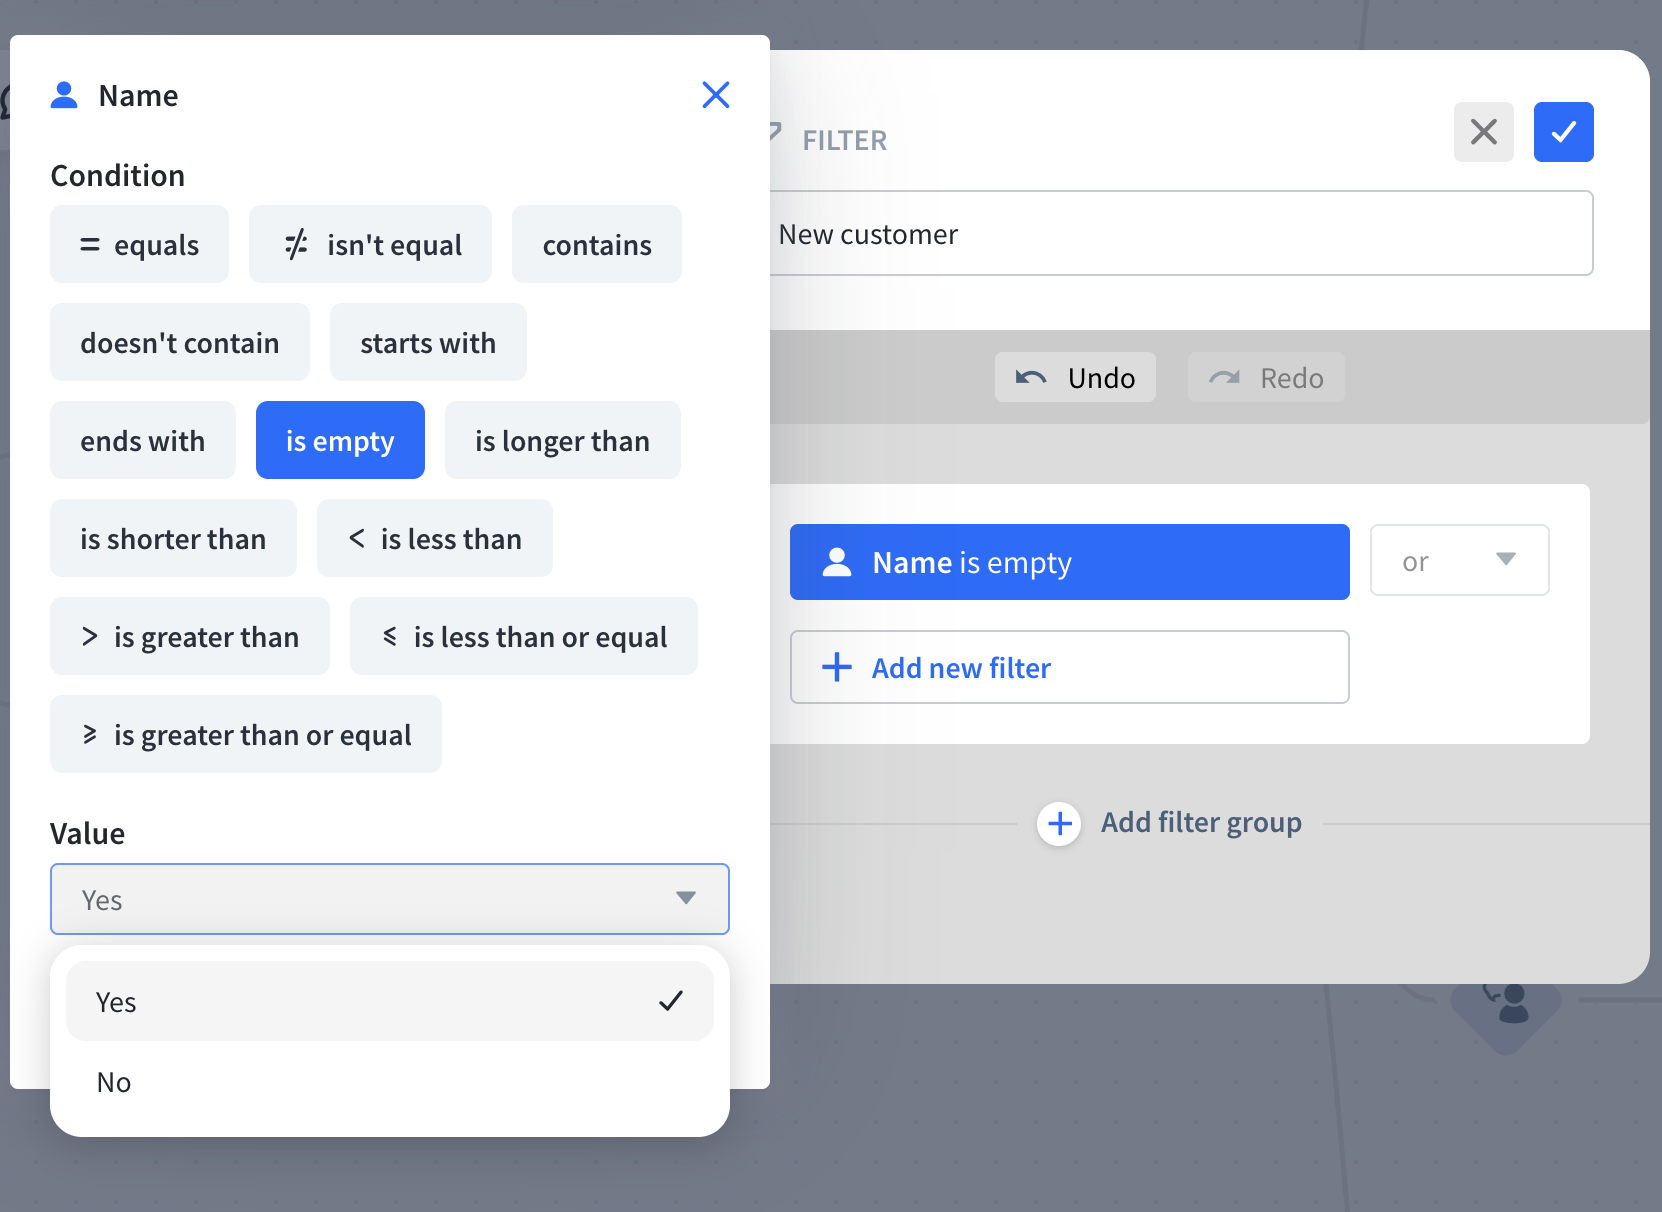
To filter out new customers, one of the Filter actions needs to be based on the Name value set to empty (is empty condition with value Yes).
Existing customers
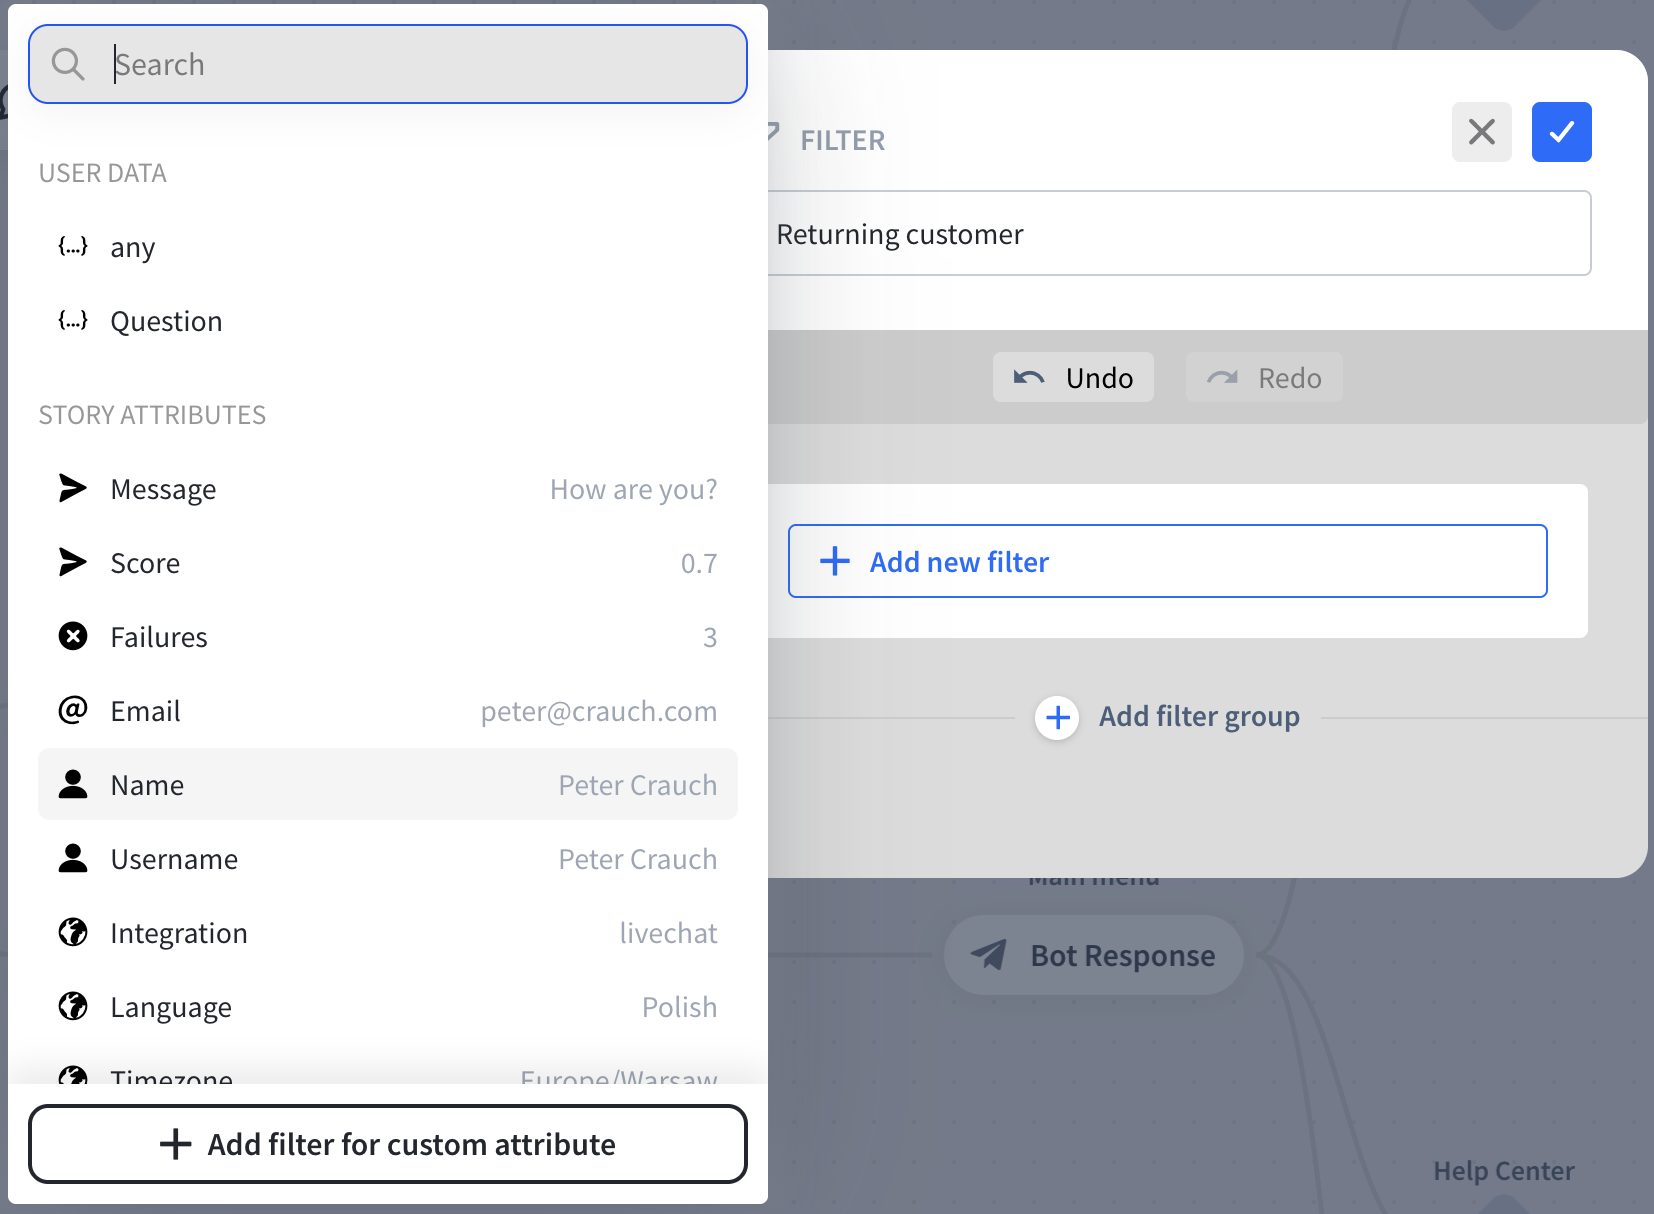
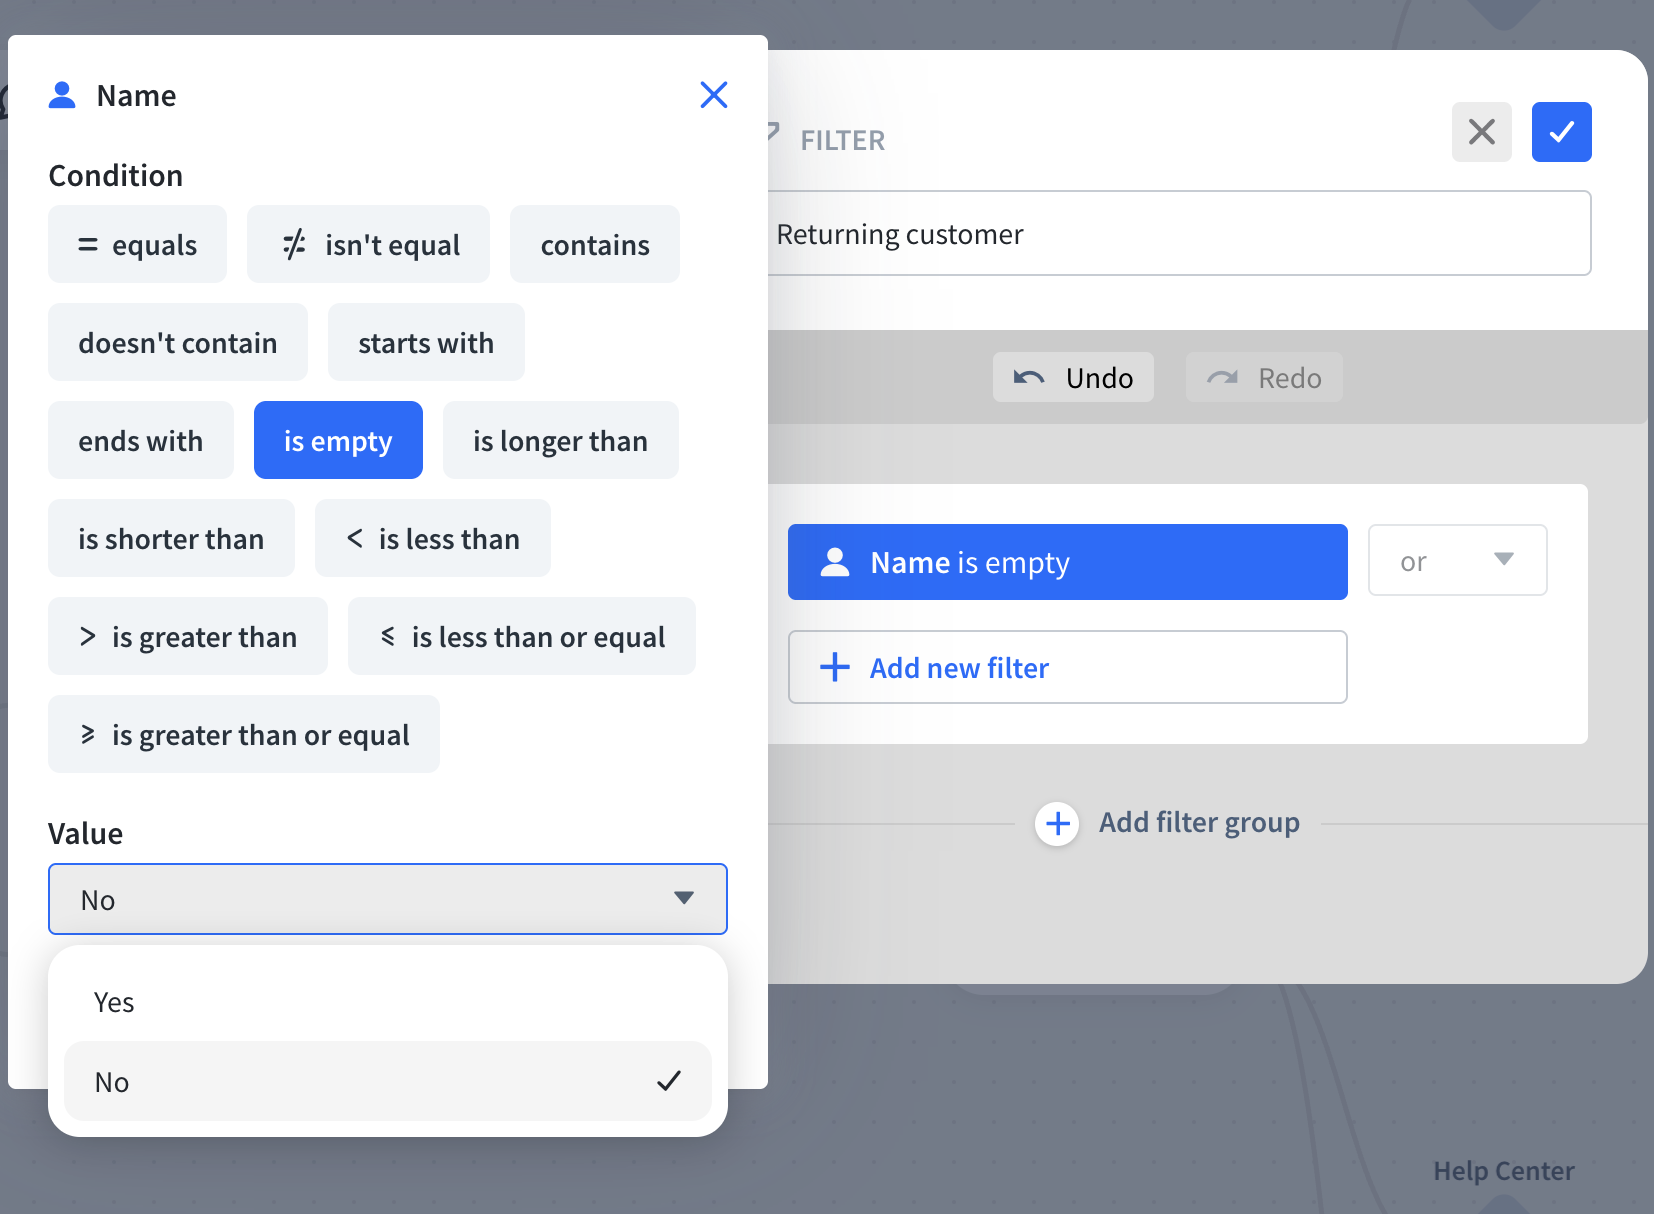
To filter out existing customers, one of the Filter actions needs to be based on the Name value set to not empty (is empty condition with value No).
Agent routing
“Help” message
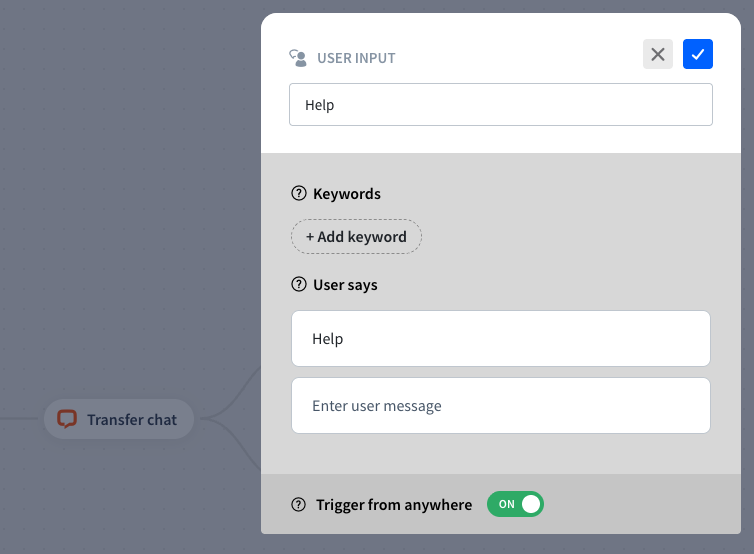
To trigger a transfer when the user types "help", add a User Input at the Start Point.
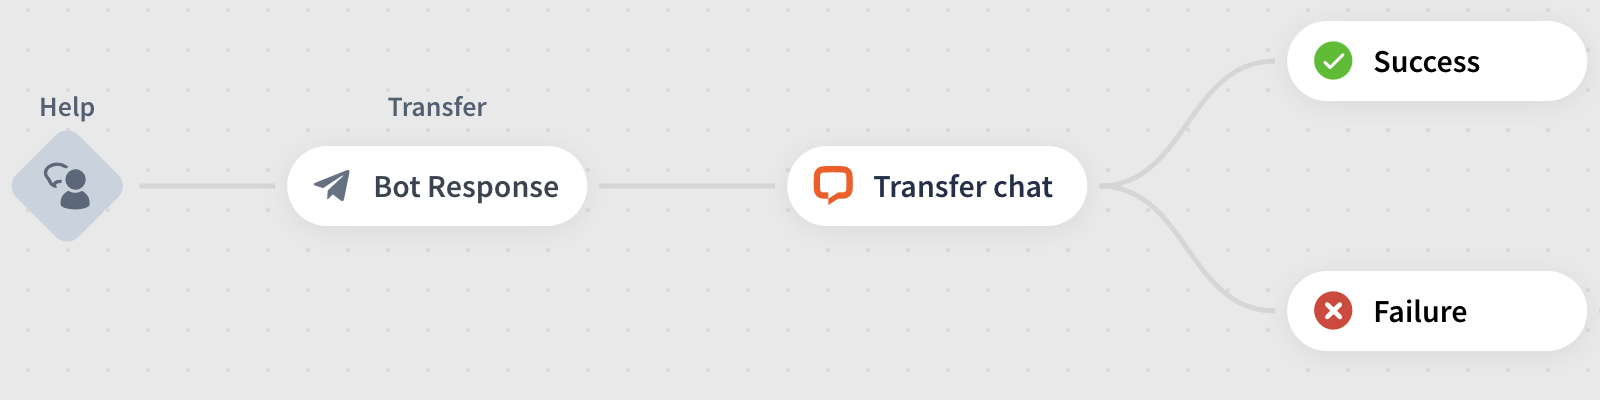
In the User Input settings, in the User says field settings, add the help word and enable the 'Trigger from anywhere' option.
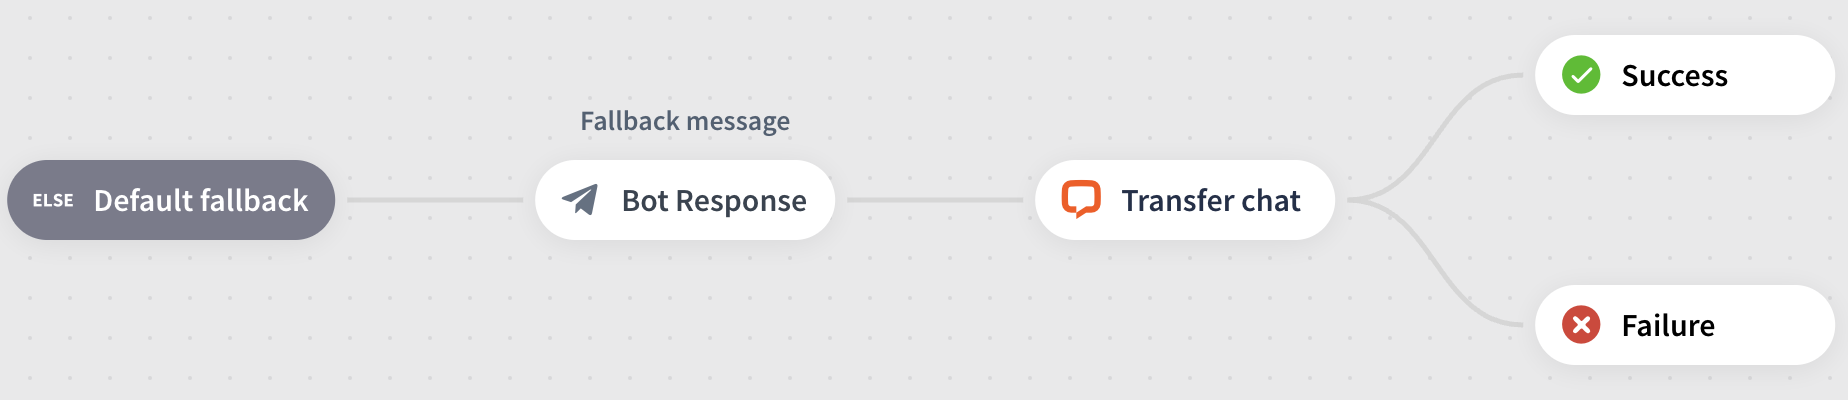
Fallback routing
To trigger a transfer when the user types something outside of the scope of the bot, use the Default fallback in ChatBot. It’s triggered from anywhere by default.
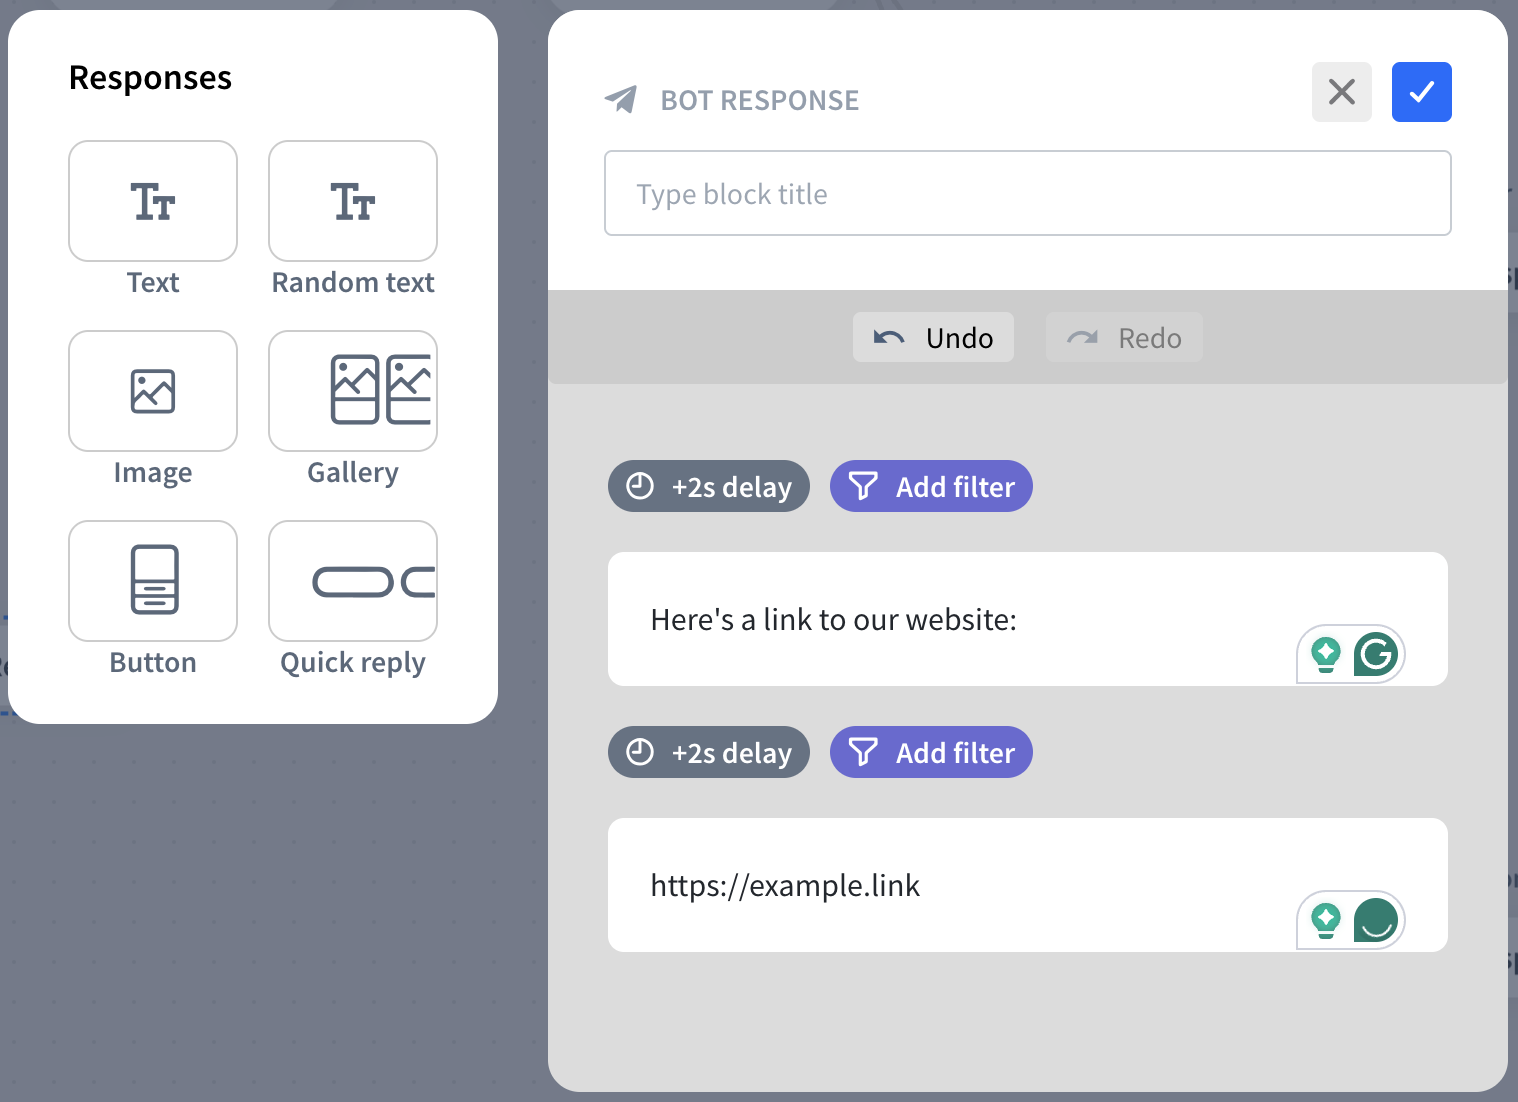
Rich Links
To create a Rich Link, share the link in a separate message without text. Simply add a link in a separate message without any additional text.
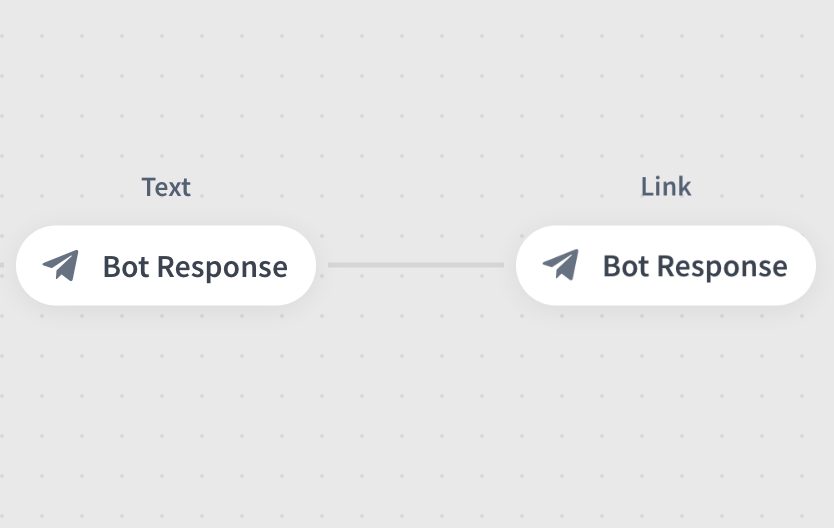
The image will be visible only if you set the OG image tag on your website before. More information can be found here: Add images to link previews.
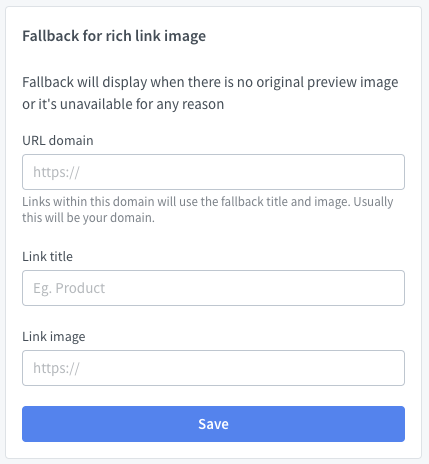
Fallback to rich link image
You can also use Fallback for rich link images that can add an image if there’s no preview image or when it’s unavailable. To set it up, go to any chat made through Apple Messages in LiveChat, click on the Apple icon in the right sidebar, click the Settings icon, and scroll down. Here, you can set the URL, the link title and add a link to the image.
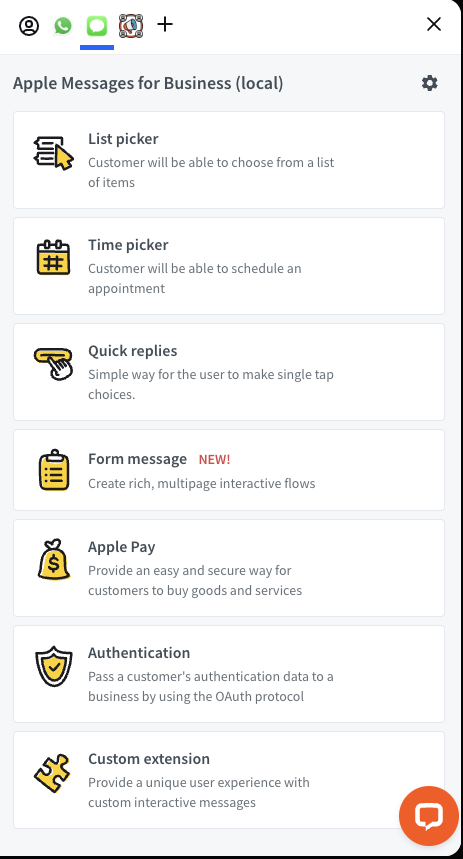
Feature bubbles
Form message
Create a new Form message by opening an archived Apple Messages for Business chat, clicking the “i” icon, then the Apple Messages icon to access the feature bubbles list. Select Form message.

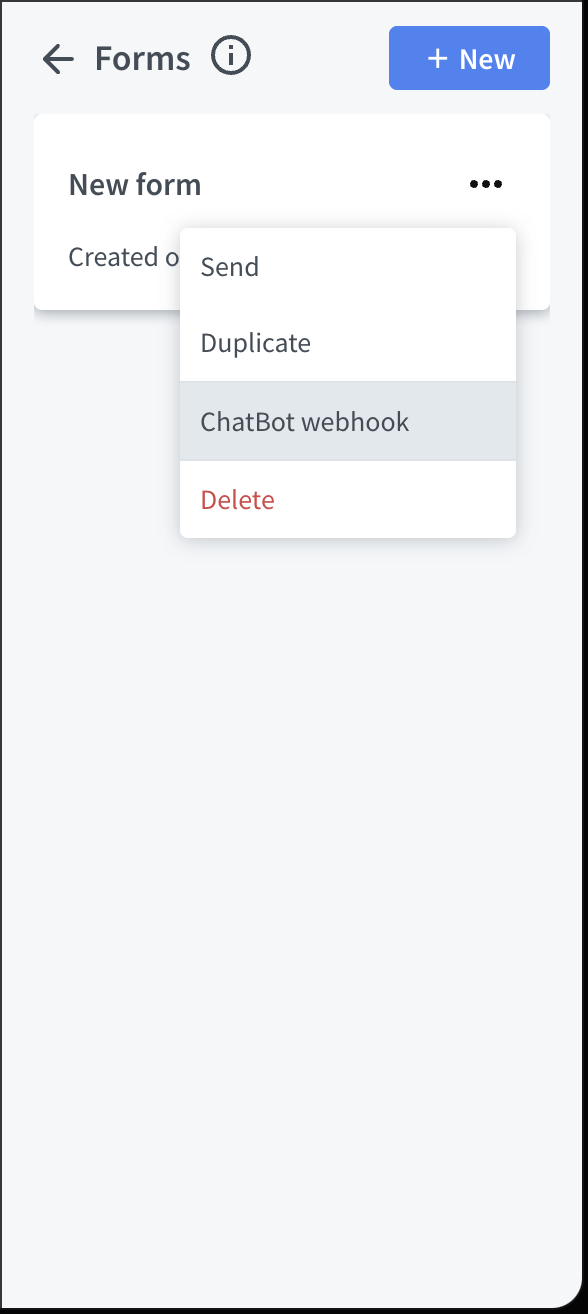
Fill in the title, subtitle with call-to-action, and add a thumbnail image. Click Save changes. Then, in the new view, click the three dots → ChatBot webhook to copy the form link.

To add the Form message to the ChatBot, add a Webhook action there. Click on the Webhook to edit it.

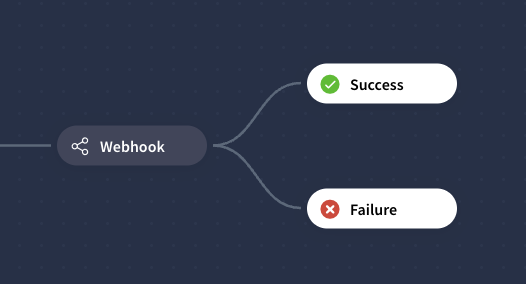
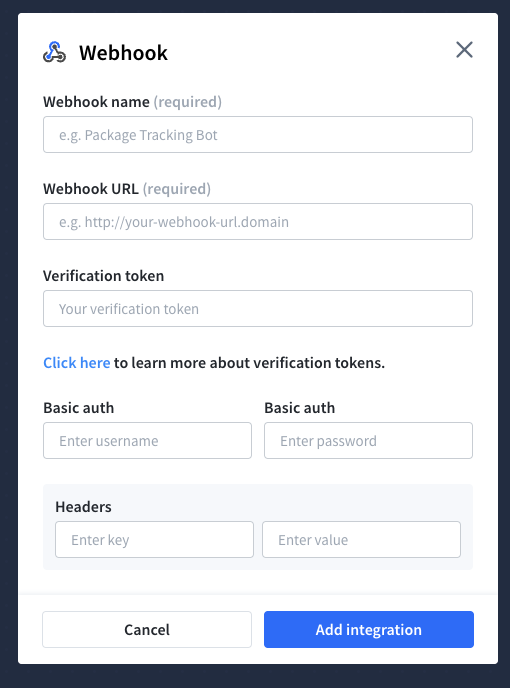
Click on Create new webhook. Here, add all the necessary information about it, and in the Webhook URL, paste the previously copied link. Save by clicking the Add integration button.

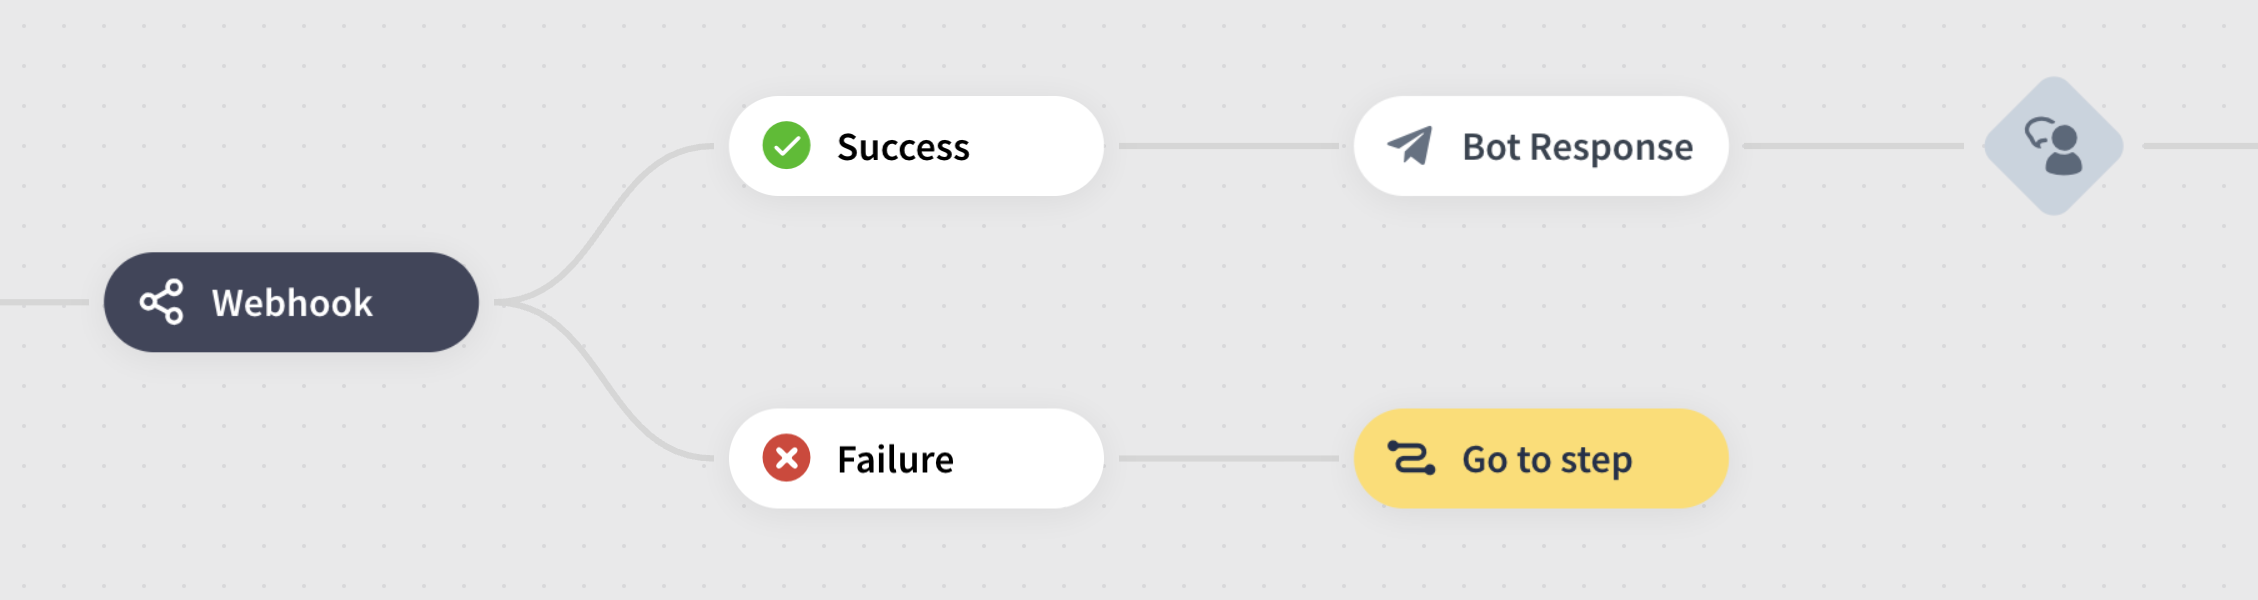
After adding the Webhook, add an empty Bot Response, then a User Input with your Form message title as the keyword to get the bot working after receiving the Form message response.

List picker
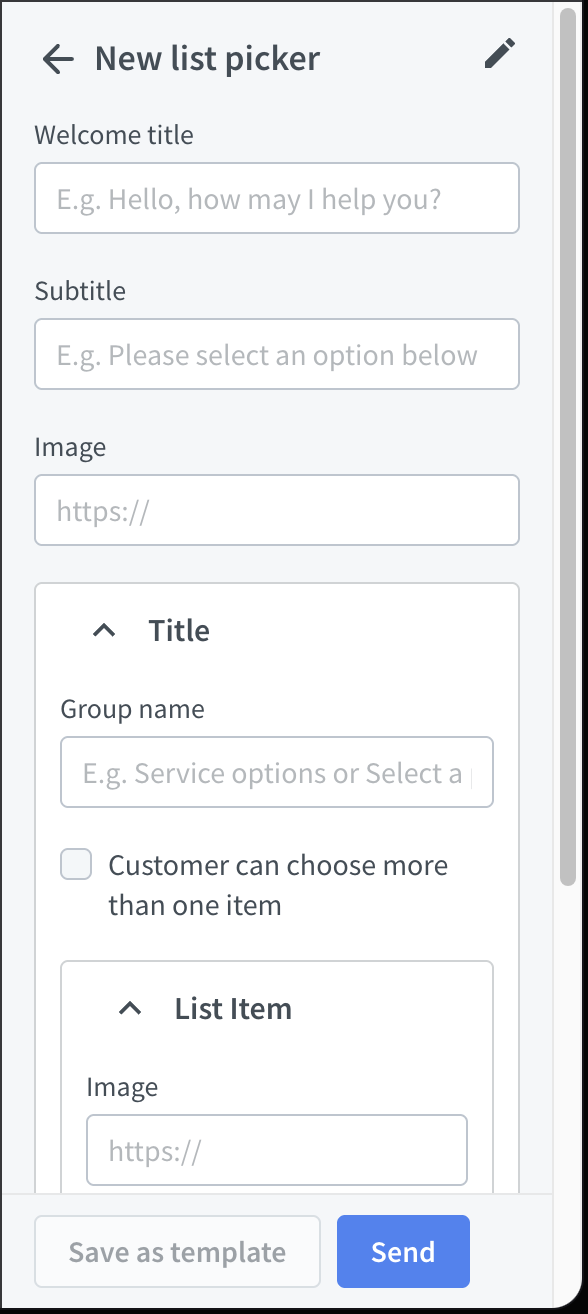
Create a new List picker by opening an archived Apple Messages for Business chat, clicking the “i” icon, then the Apple Messages icon to access the feature bubbles list. Select List picker.
Fill in the title, subtitle with call-to-action, and add a thumbnail image. Click Save changes. Then, in the new view, click the three dots → ChatBot webhook to copy the form link.
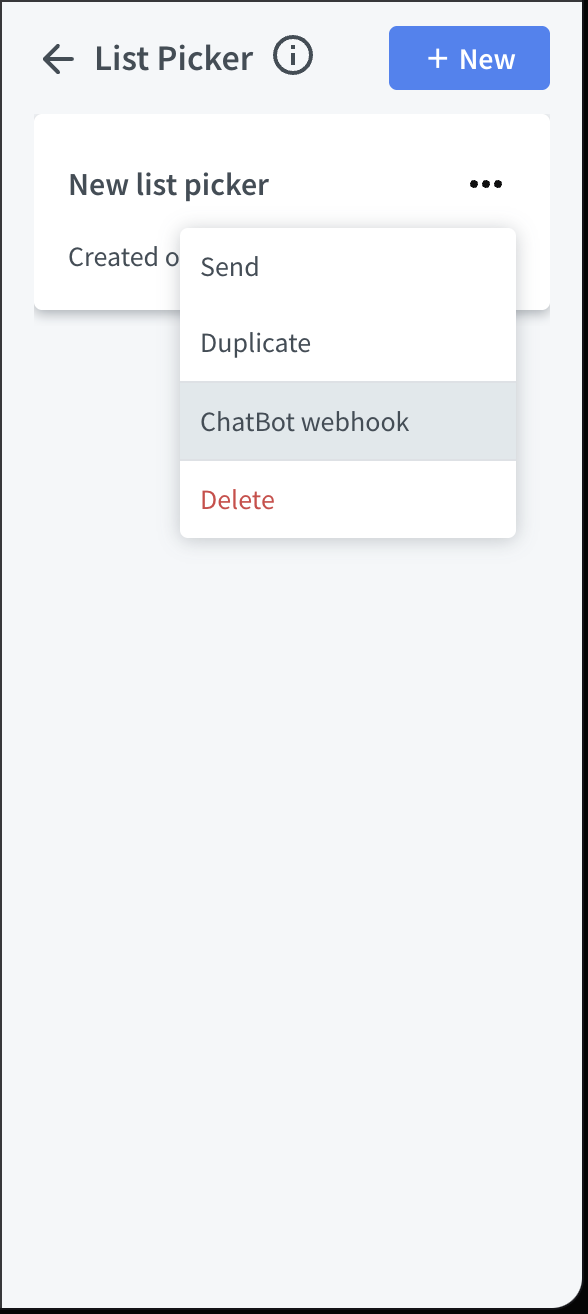
To add the List picker to the ChatBot, add a Webhook action there. Click on the Webhook to edit it.
Click on Create new webhook. Here, add all the necessary information about it, and in the Webhook URL, paste the previously copied link. Save by clicking the Add integration button.
Time picker
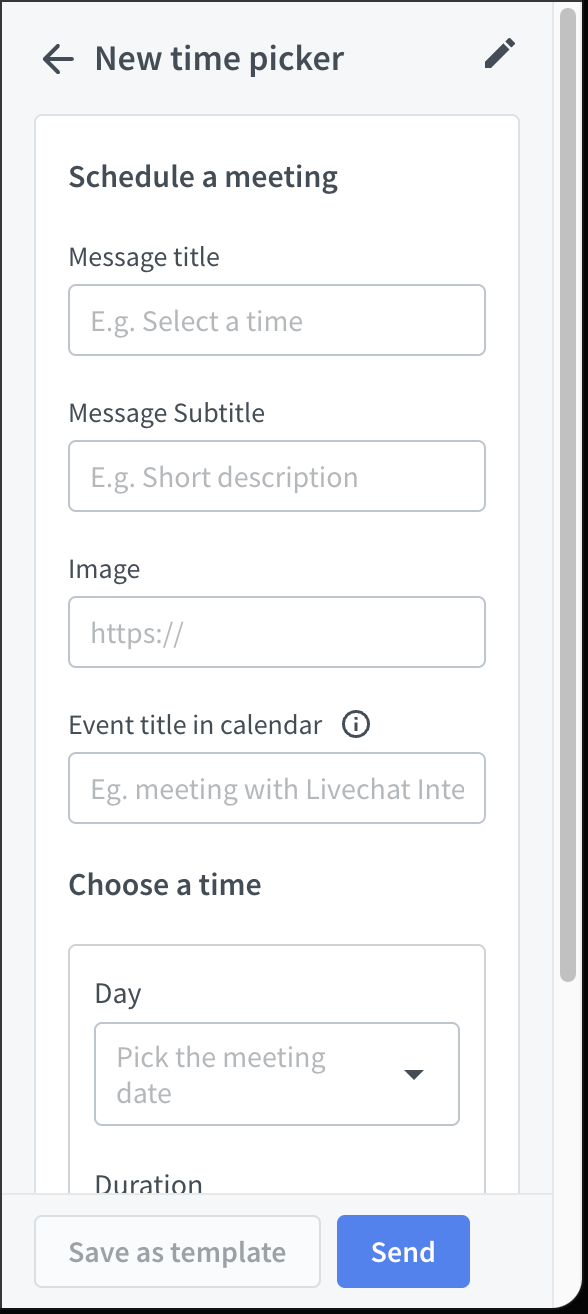
Create a new Time picker by opening an archived Apple Messages for Business chat, clicking the “i” icon, then the Apple Messages icon to access the feature bubbles list. Select Time picker.
Fill in the title, subtitle with call-to-action, and add a thumbnail image. Click Save changes. Then, in the new view, click the three dots → ChatBot webhook to copy the form link.

To add the Time picker to the ChatBot, add a Webhook action there. Click on the Webhook to edit it.
Click on Create new webhook. Here, add all the necessary information about it, and in the Webhook URL, paste the previously copied link. Save by clicking the Add integration button.
After-hours bot
The second bot, used outside working hours, informs customers that support is unavailable. It first states the company is out of the office and asks if they’d like to leave a message. Then, it accepts any input with the parameter any{}. The default reply confirms they’ll be contacted as soon as possible and closes the chat without further input.
To set the User Input with parameter any{}, please see this article: User input
Setting bots' working hours
To change bot hours, go to Team>Chatbots, click the three dots → Edit profile, then scroll to Working hours to set daily schedules. Set your company’s hours for the main Apple bot, and out-of-office hours for the second bot. Save and enable both.

More information about setting working hours in LiveChat: Configuring working hours