First Steps
Onboarding flow
Watch the video tutorial or follow our step-by-step guide below to learn how to integrate Facebook Messenger with LiveChat.
https://www.youtube.com/watch?v=FGvz4t7wbIAInstalling Facebook Messenger in LiveChat
Start by going to the apps section in LiveChat. Find Facebook Messenger, and click Get.
Starting the integration
Go to the Facebook Messenger Settings. Then click on Connect to Facebook and log in with your Facebook credentials.

Meta Wizard pop-up and authorization
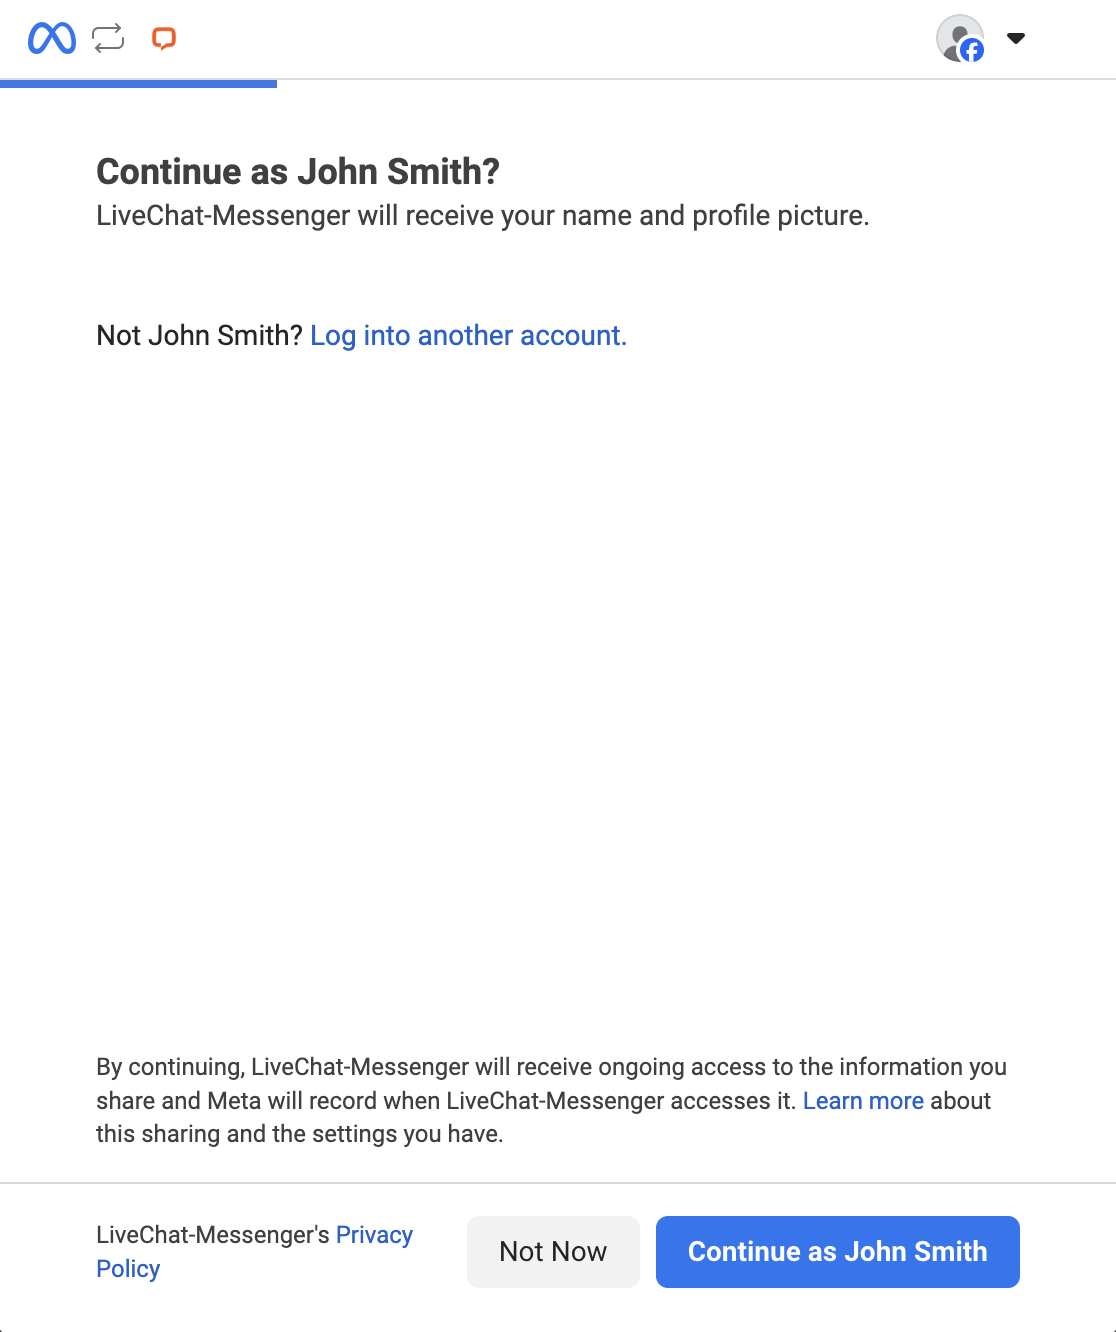
Choose to Continue as your Facebook account, select the Pages you want to integrate with LiveChat, and click Continue.
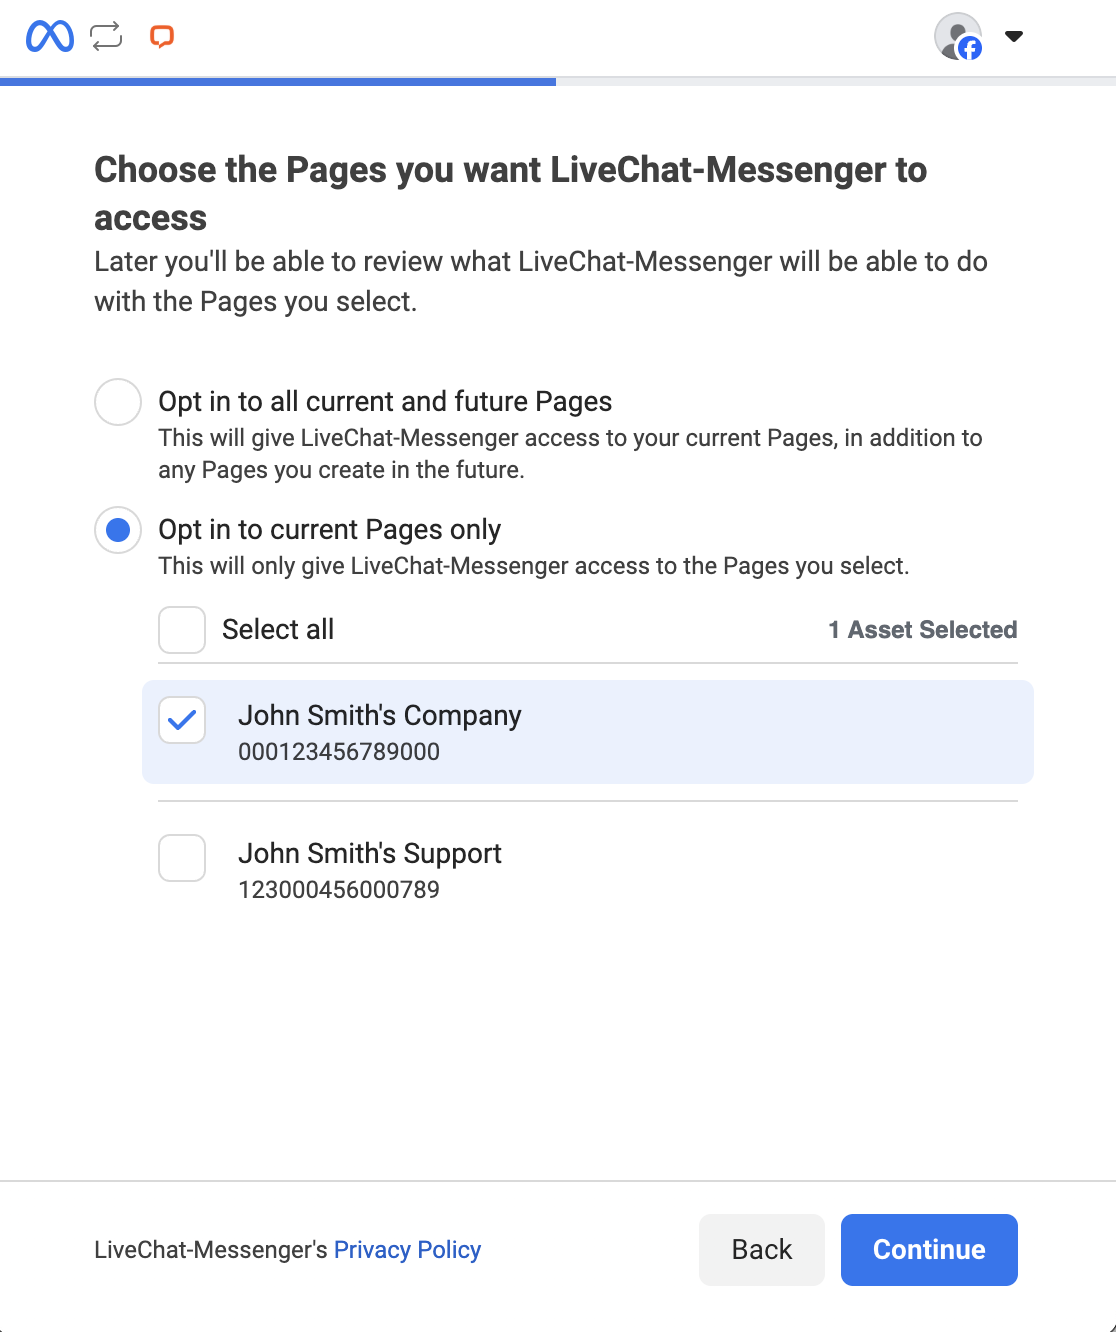
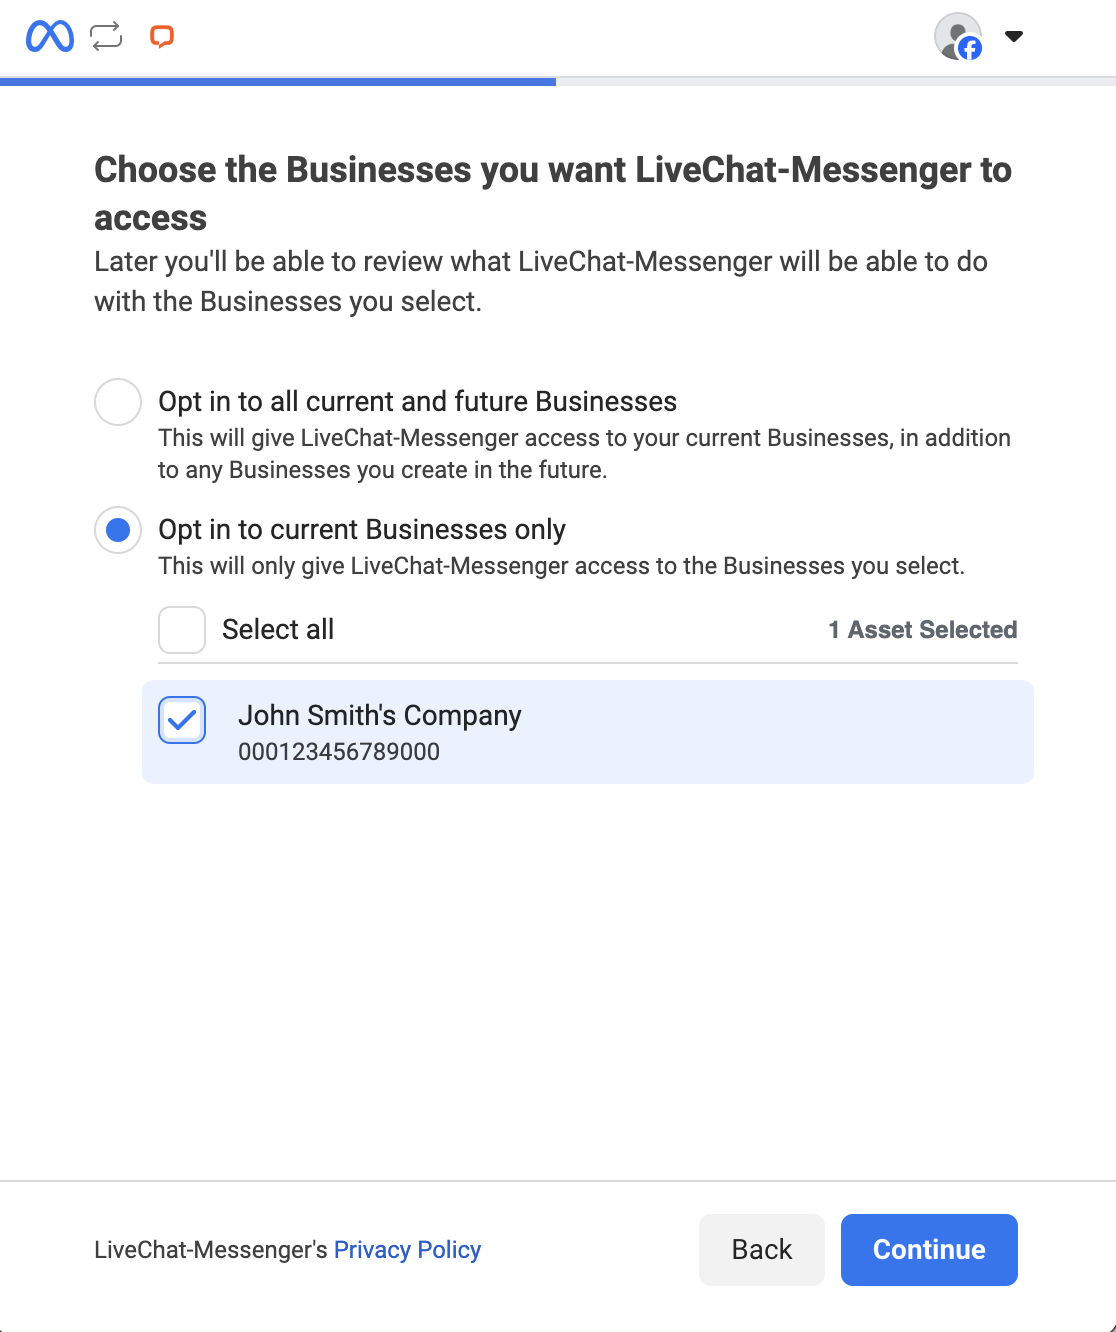
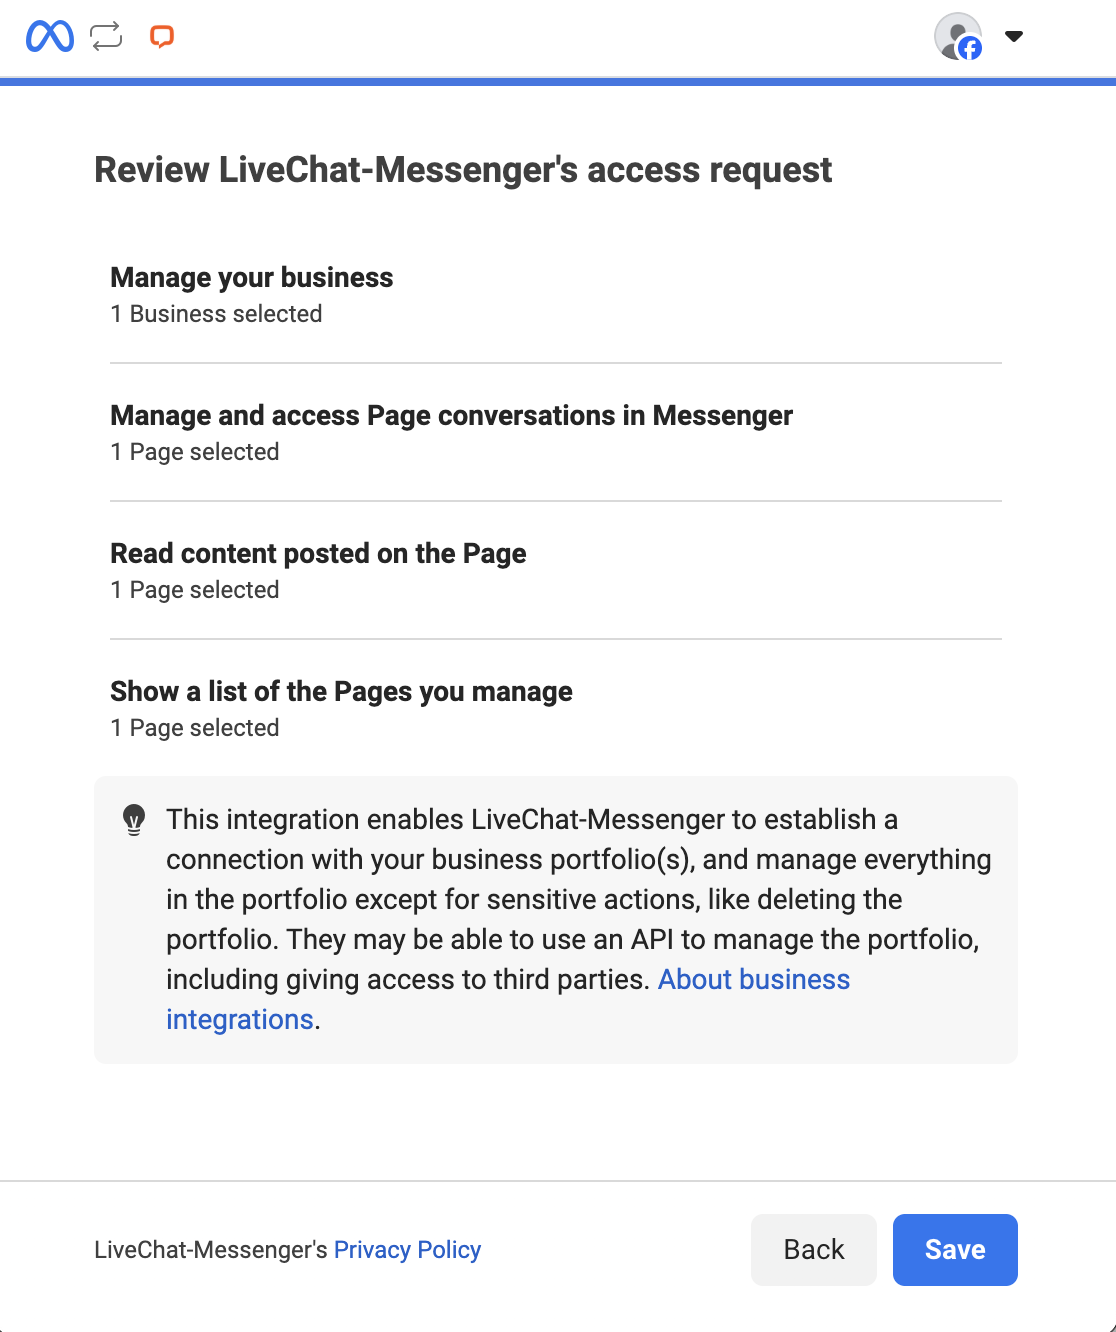
After that, you need to choose the Businesses that the Facebook Messenger app from LiveChat will have access to, and click Continue. After that, you’ll see all the permissions the Facebook Messenger app will need to work properly. Click Save.
At the end, you’ll see the closing screen. Click Got it to finish adding the website.
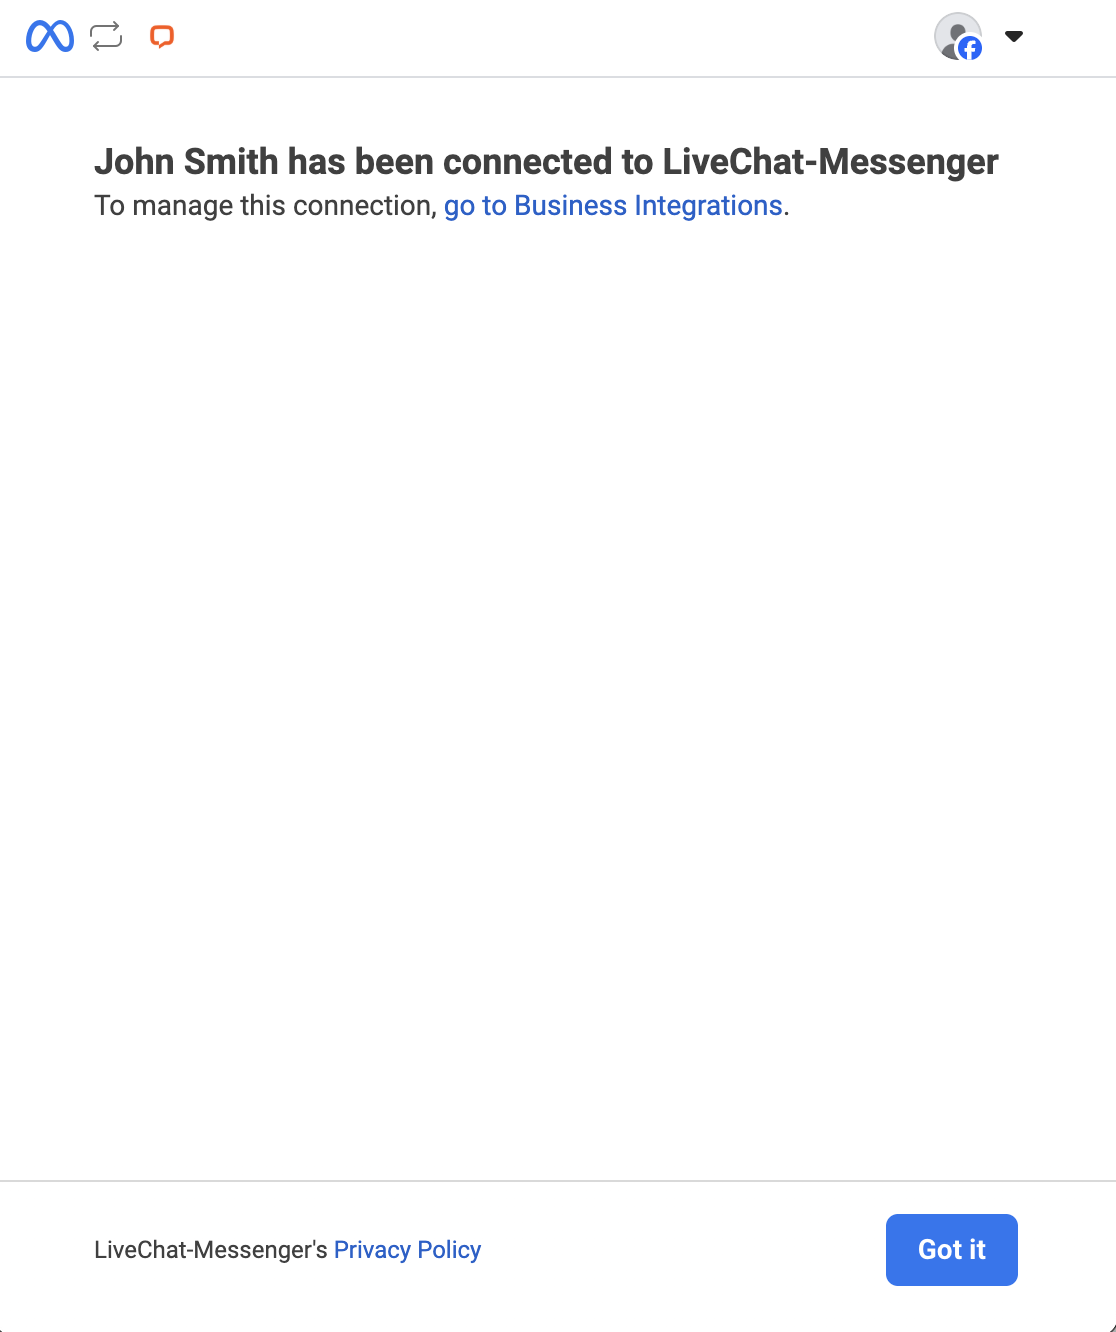
In the final step, you can select the group that will receive chats from a specific page (this is optional). To complete the process, click on Connect Page.

Setting opt-ins
To set up opt-ins to work, you need to have the Meta Business Portfolio. Go to the Pages tab under the Accounts section in your Meta Business Portfolio. Click on the blue + Add button and then on Add an existing Facebook Page.
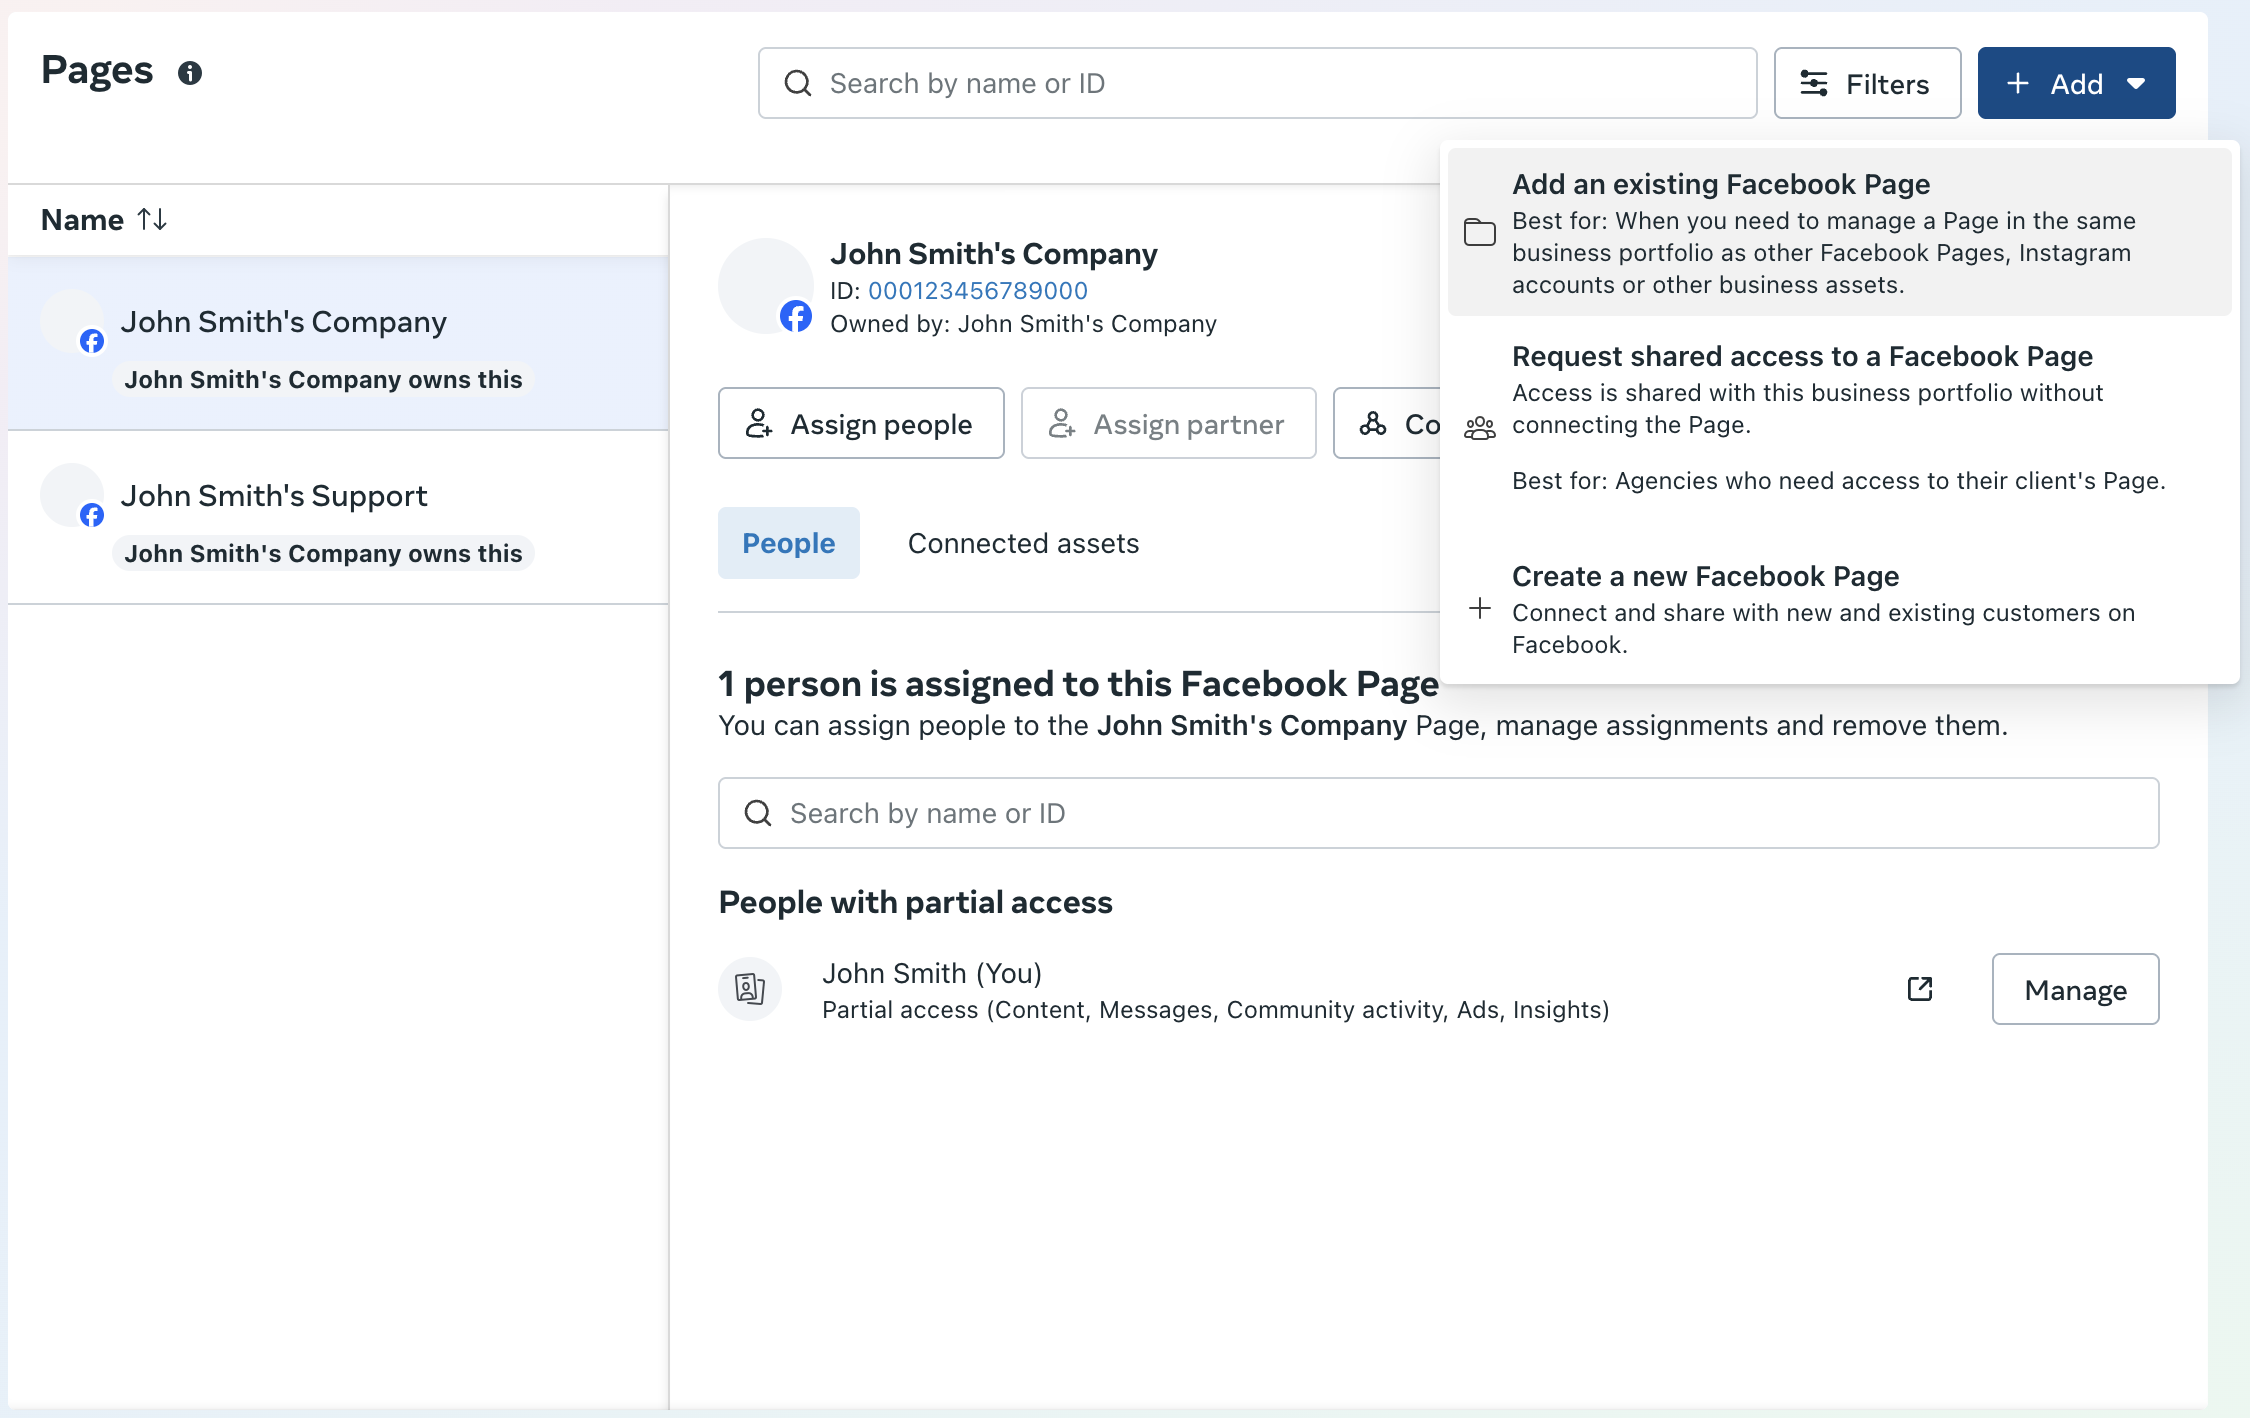
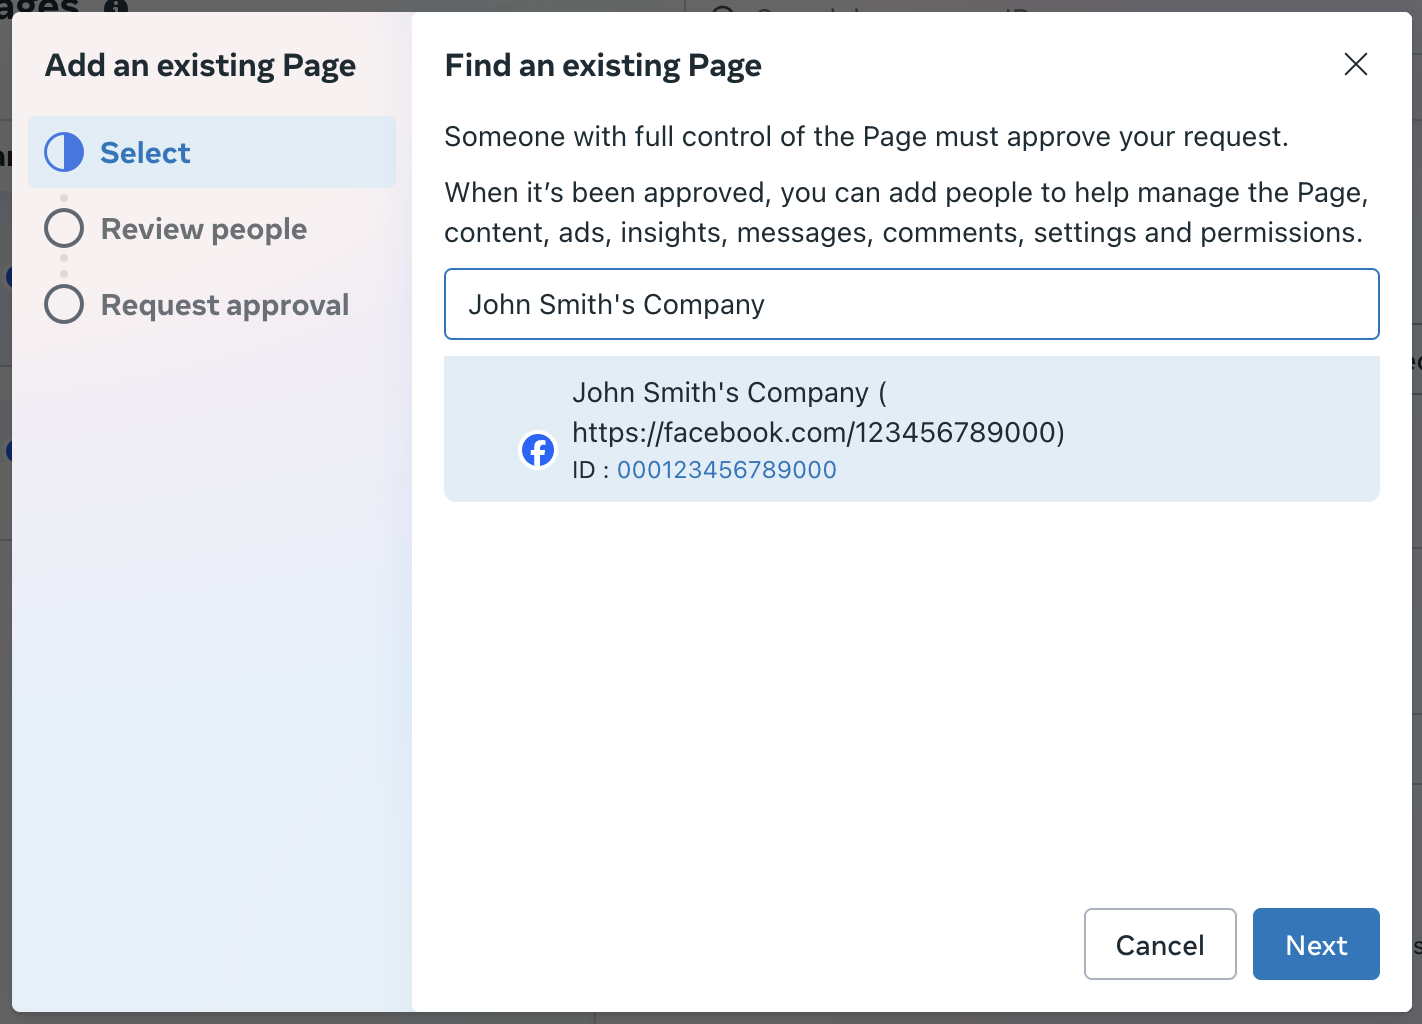
You’ll see a pop-up window. You need to type your Page name and click Next. After that, you will see a screen with access info. Click Next.
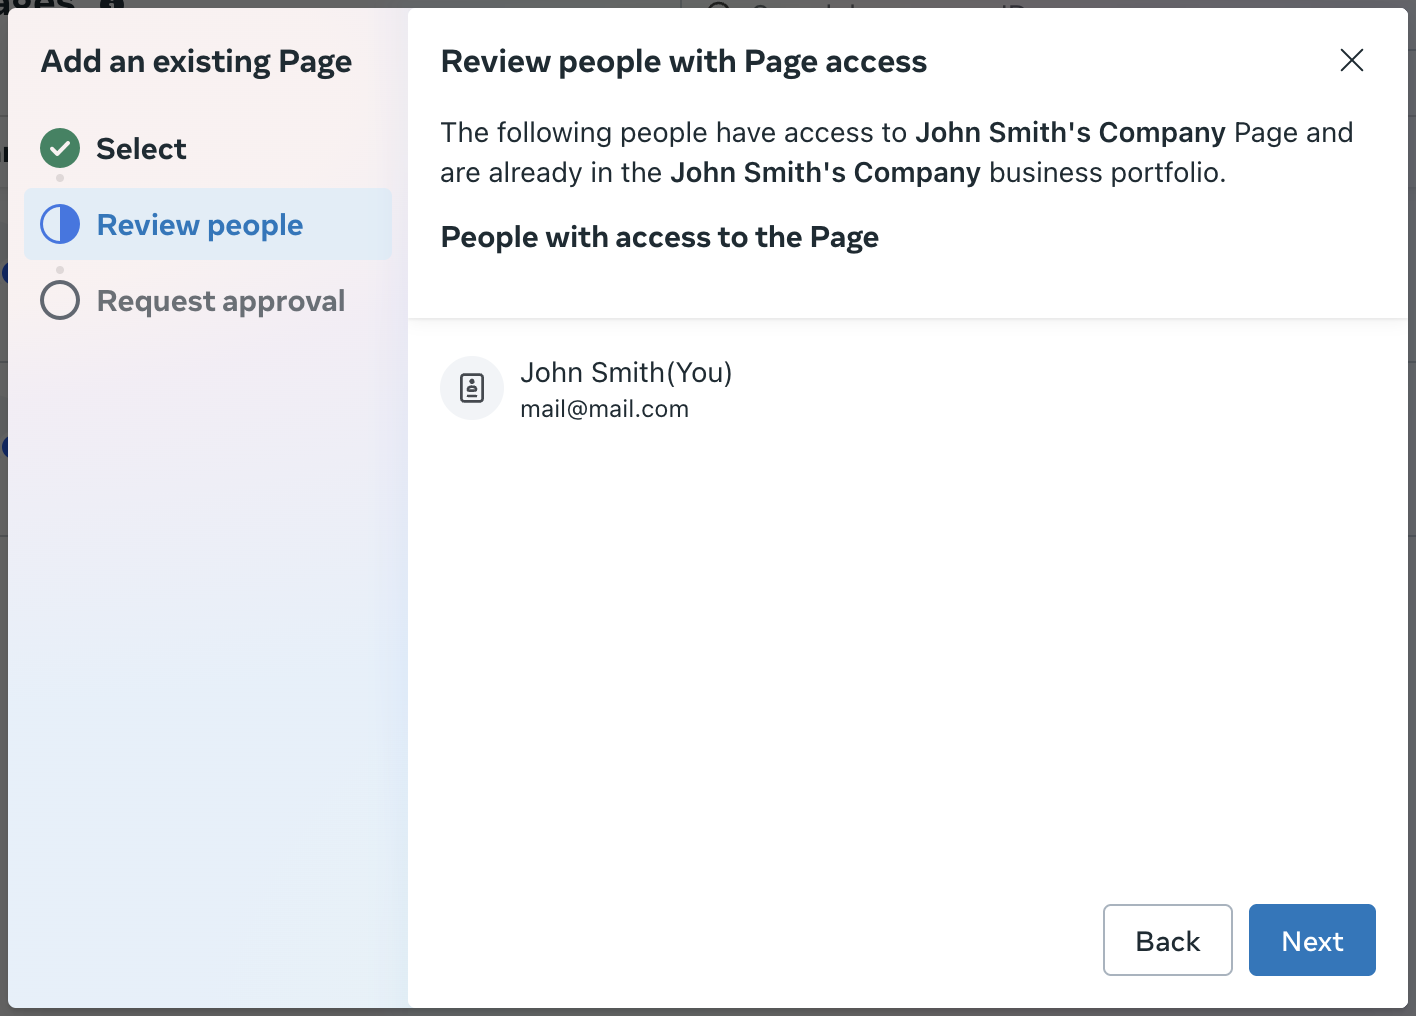
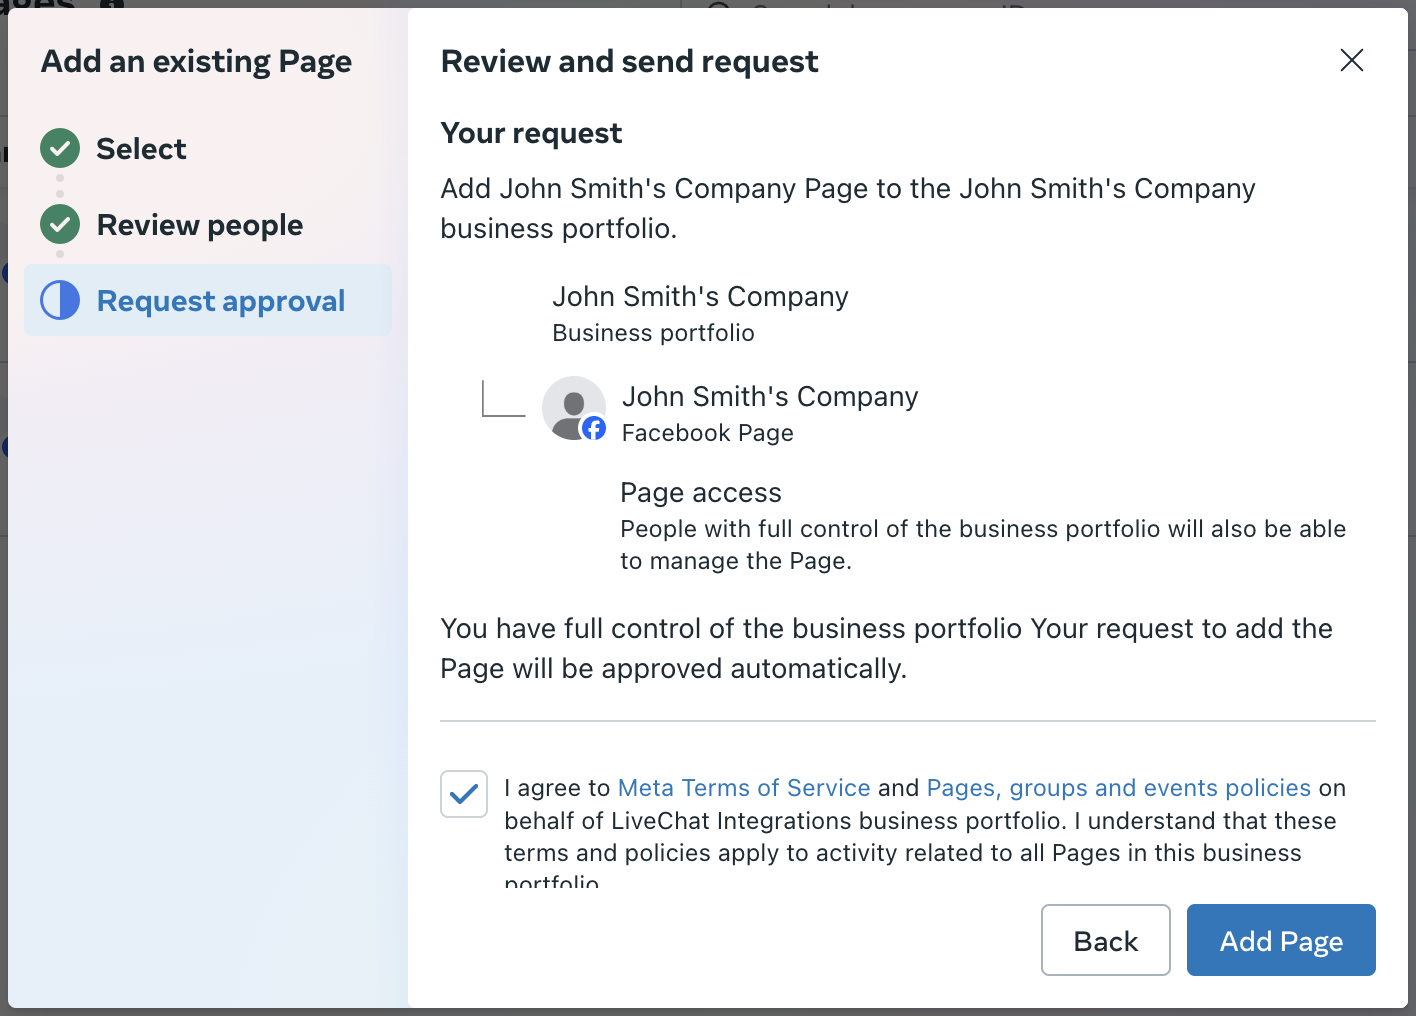
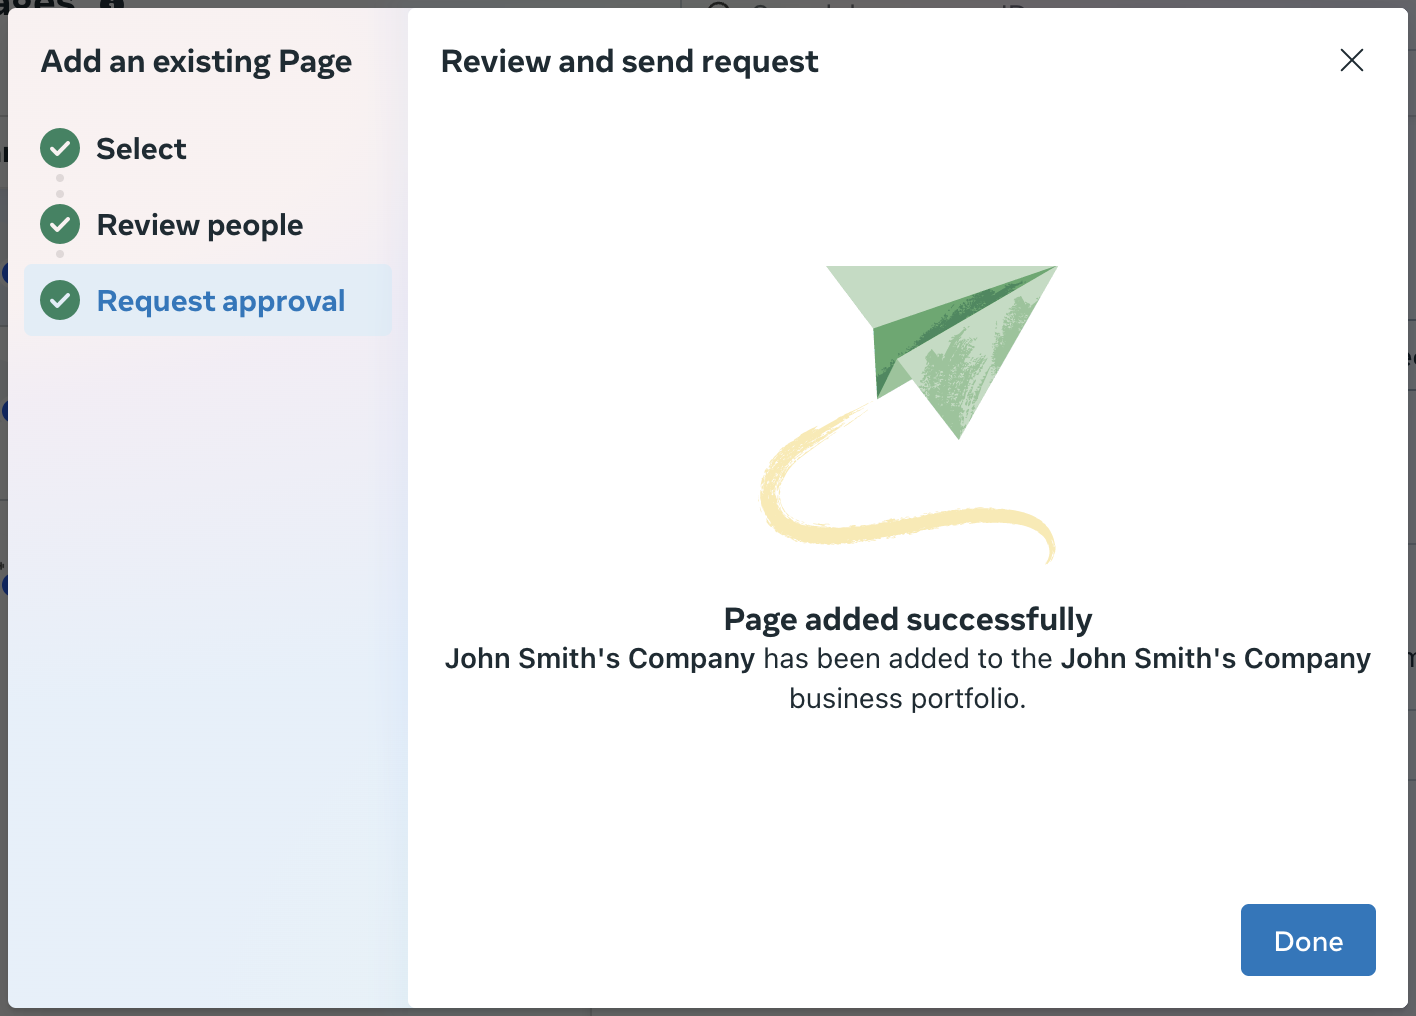
Now you’ll see a review of the request. Click Add Page to send the request. After that, the confirmation screen will appear. Click Done. You’re opt-ins will work from now on.
Adding the Facebook Page to a group
Remember to assign the relevant groups to each Facebook Page for efficient communication. This allows you to assign agents (including bots) to specific numbers, ensuring only the selected group receives messages from that number.
Creating a new group
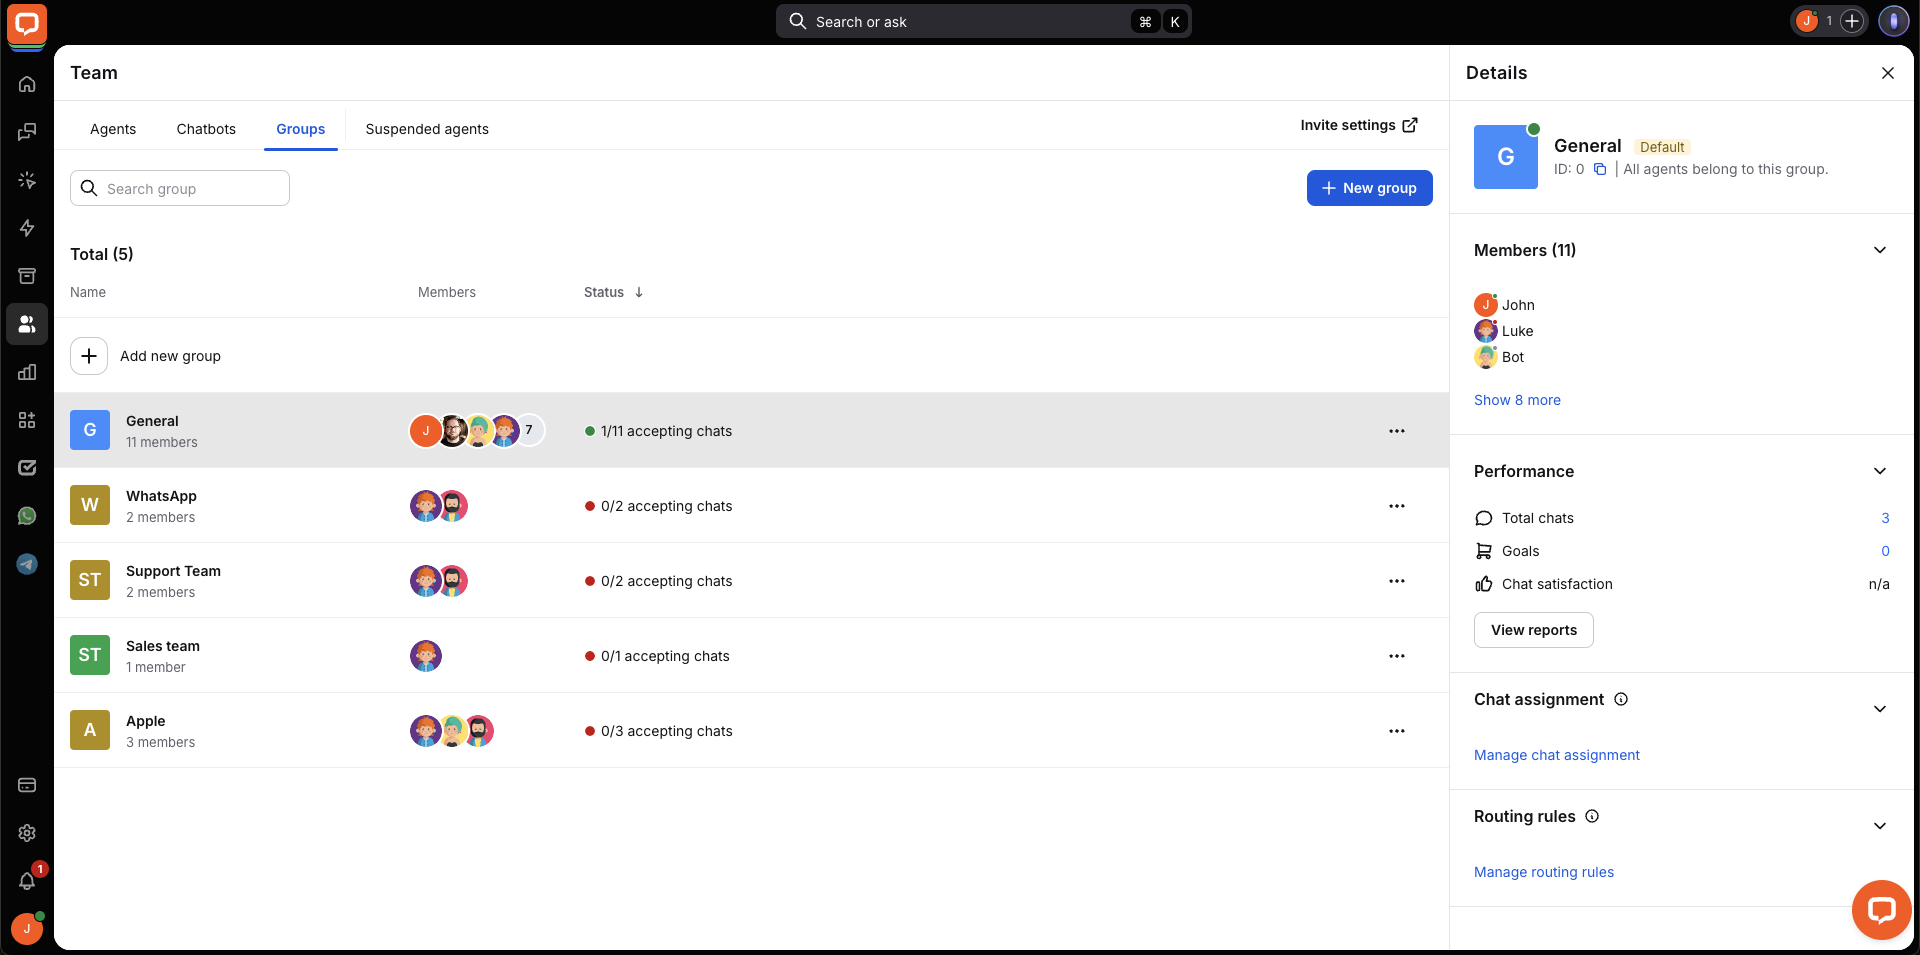
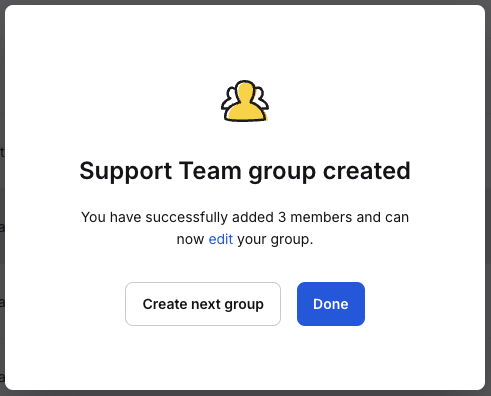
You may need to create a new group. To do this, go to the Groups section under the Team tab and click on the + New group button.
Name it and add agents.
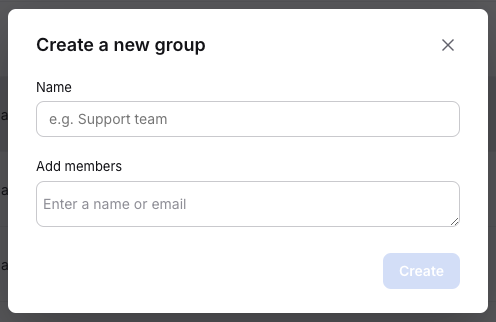
Click Done to finish.
Editing a group
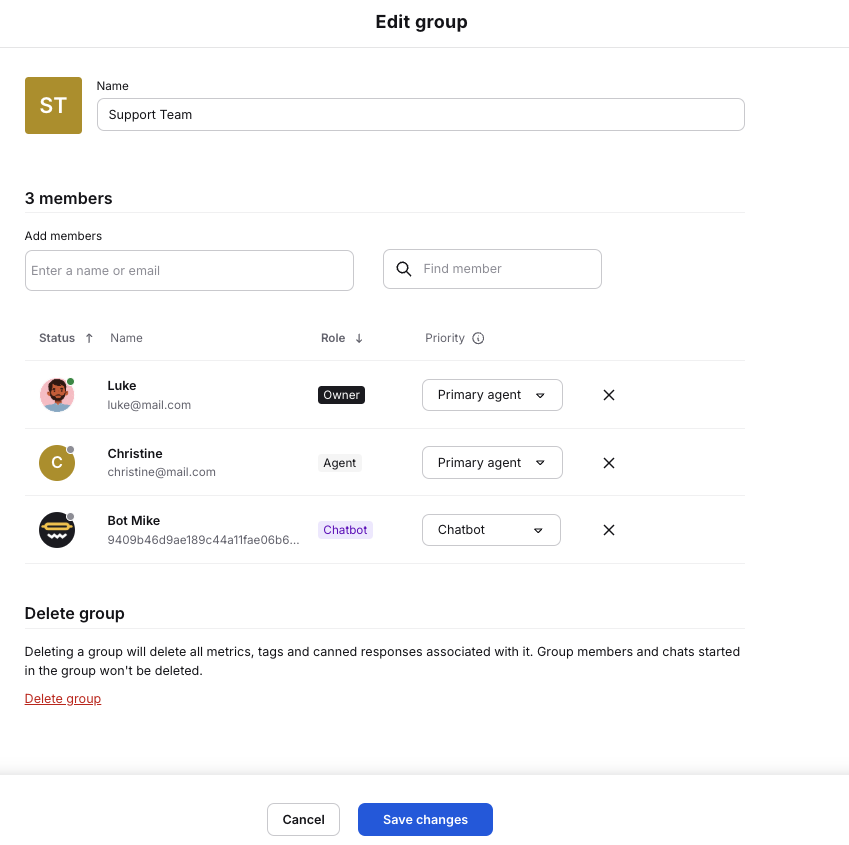
You can edit your groups at any time by clicking the three dots menu next to one of them.

You can change the group name, add or remove members, adjust member priorities, and delete the group. After making changes, two buttons will appear at the bottom of the screen. Click Save changes to finish.
Connecting a Facebook Page to a group
Go to the Facebook Messenger settings, click on the pencil icon next to a selected Facebook Page, and choose the one to which you want all messages from this page to be redirected. Click Save.


Managing Facebook Pages
Besides editing the group that’s connected to the Facebook Page, you can also add another Facebook Page or remove one from the integration.
Adding another Facebook Page
To add another Facebook Page, you need to click Disconnect in the Facebook Messenger app, and then Connect to Facebook once again, and follow the steps in the Starting the integration article.

Disconnecting Facebook Page
In the Facebook Messenger app, click on the X icon next to a selected Facebook Page. Click Disconnect Page.


