First Steps
To get started, you need a Twilio account and at least one phone number added to your account that can accept SMS messages. With those, you’ll be able to receive and reply to text messages.
Creating Twilio Account
Start
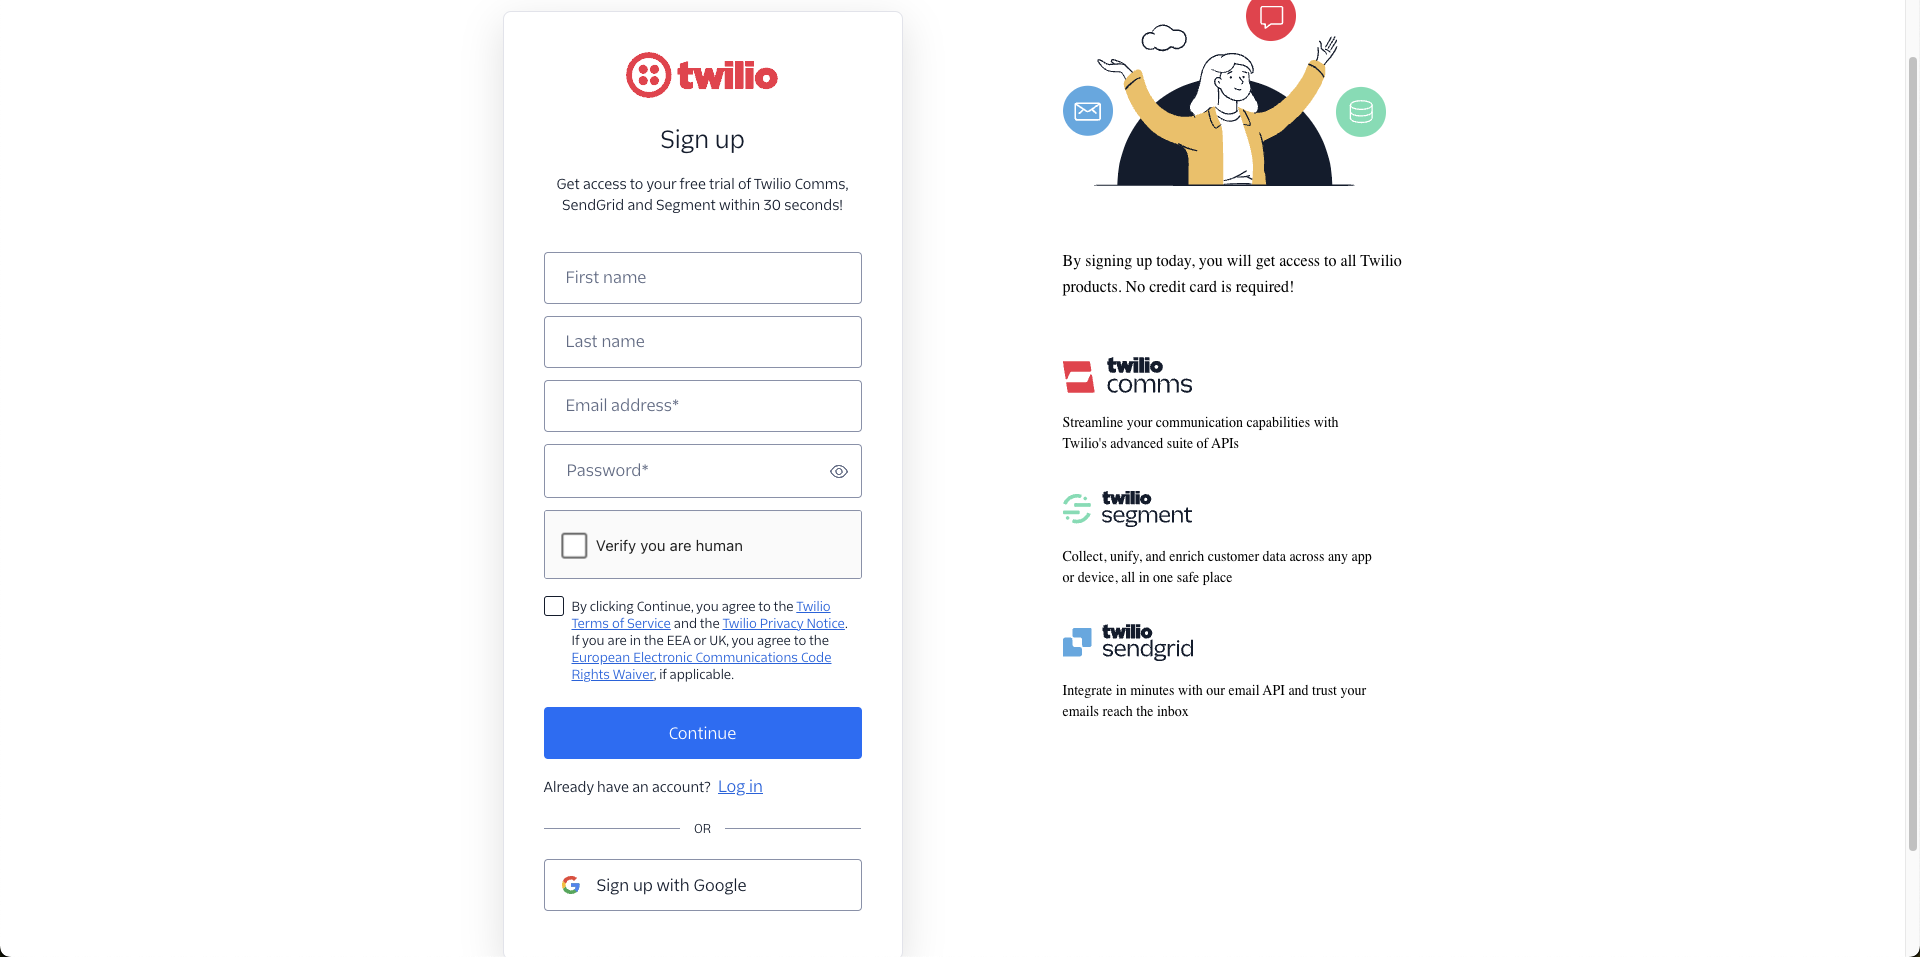
Go to the Twilio website and click Start for free. Fill out the registration form or choose the correct Google account and click Continue.
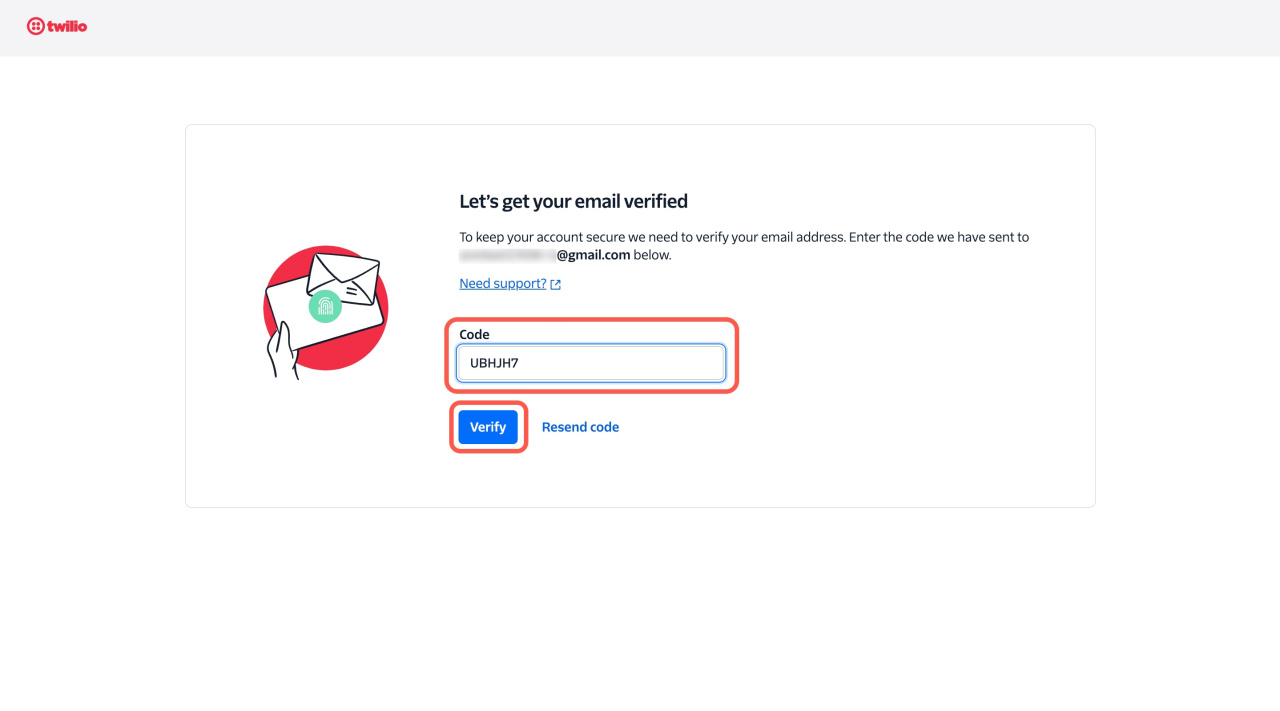
If you choose to sign up with an email address, confirm your email by entering the code sent by Twilio and clicking Verify.
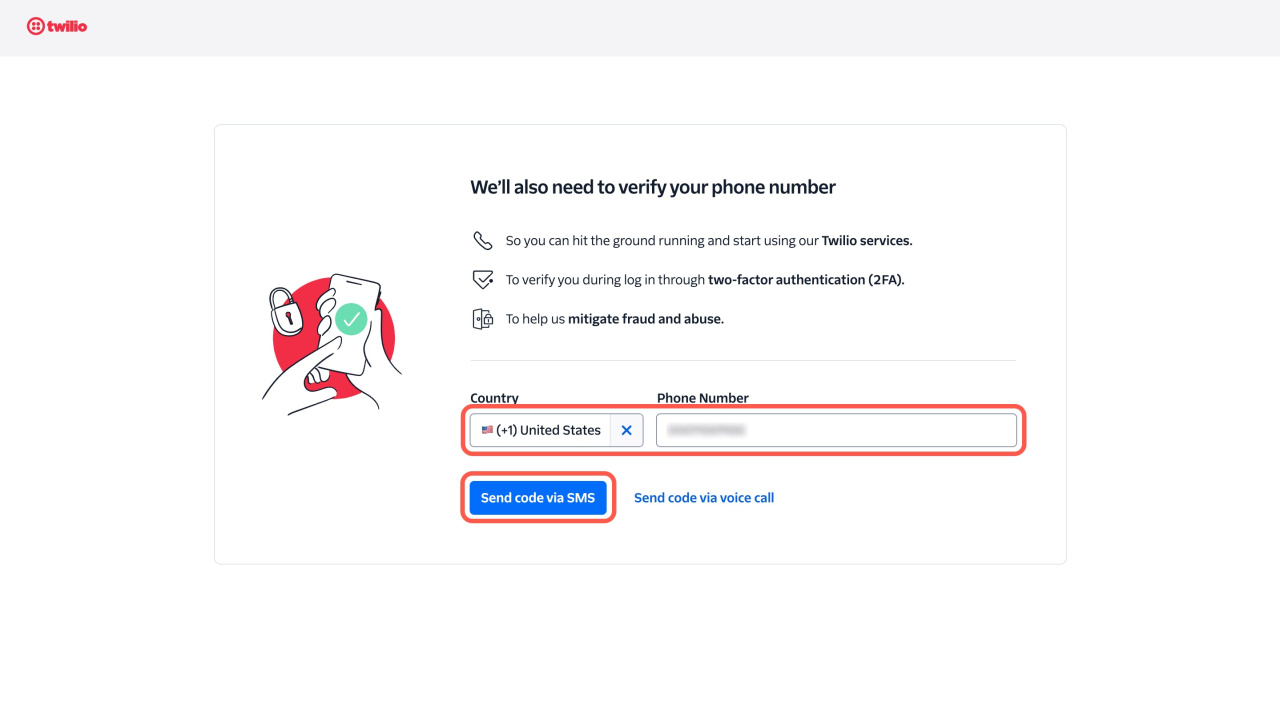
Confirming phone number
Select your country code, enter your phone number, and click Send code.
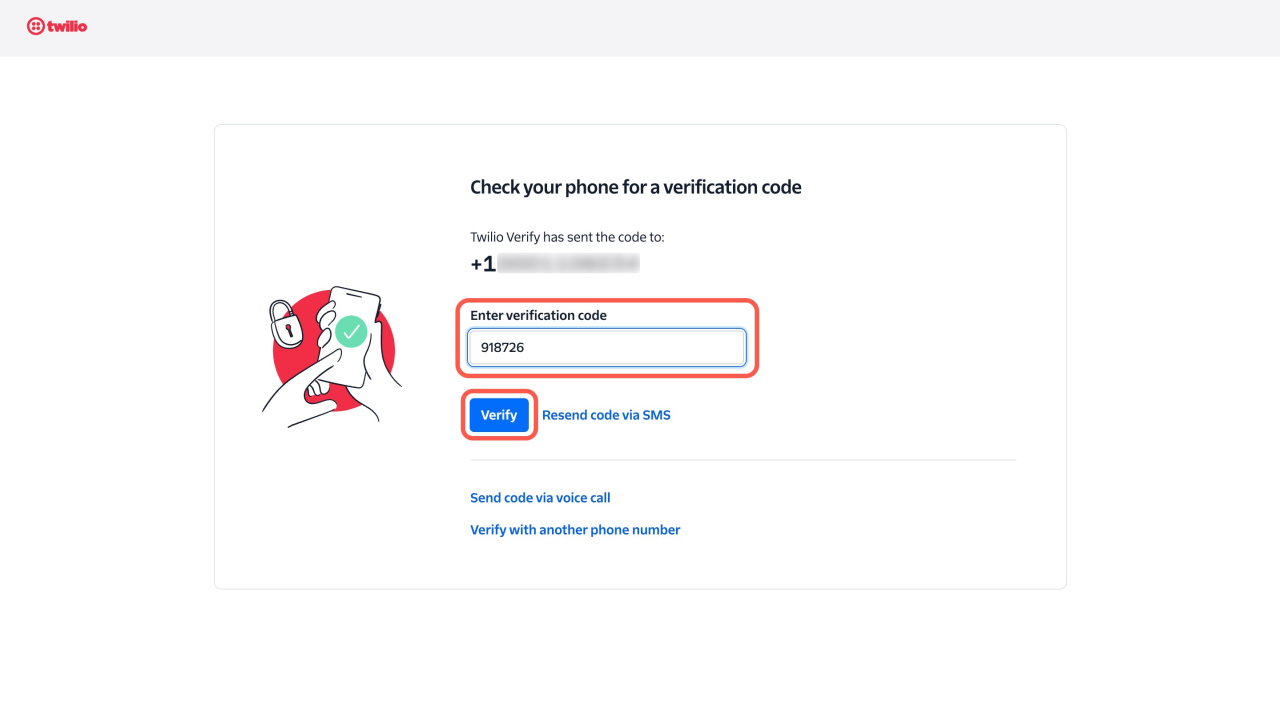
Enter the code you receive in the Enter verification code field and click Verify.
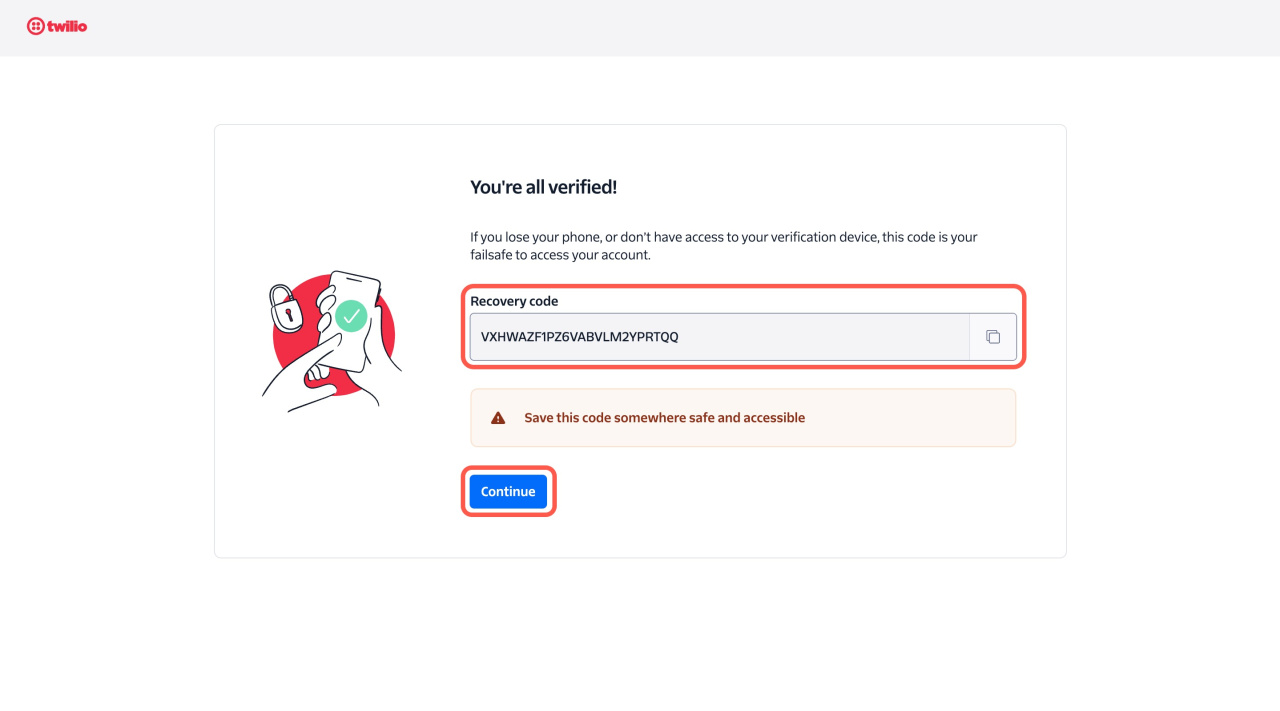
Save the recovery code provided. This code is important if you lose access to your phone or email. Click Continue to finish.
Registering a new number
Searching for the number
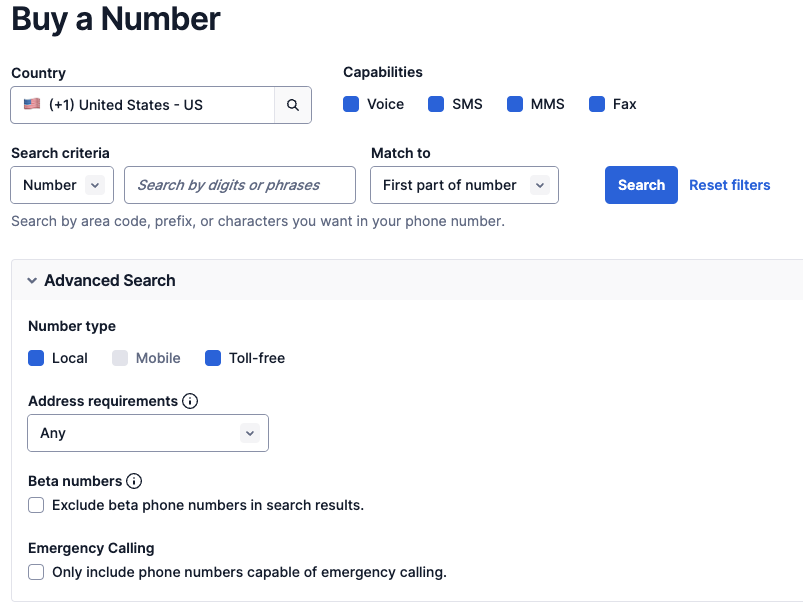
Go to your Twilio Console and find Phone Numbers in the left bar under the Develop section. Next, click on Manage and then Buy a Number. Then, you need to enter the criteria for the phone number you need. You can also try Advanced options for the desired phone number type (local, mobile, toll-free), address requirements, whether you want it to handle Emergency Calling, and whether you want it to allow beta number results. Click Search to find the number.
Buying the number
Search results will be displayed with the phone number, location, type, capabilities, and price listed. Click Buy to purchase a phone number for your current project or sub-account.
To display additional number options, click Refresh results at the bottom of the page.
Many countries require identity documentation for phone number compliance. After clicking Buy in the Console, you'll need to add the required documentation. For details on affected countries and number types, visit our Phone Number Regulations page.
Integrating with LiveChat
Installing Twilio SMS
Start by visiting the Twilio SMS marketplace page and clicking the Install button.

The SMS channel should be installed successfully on your active LiveChat account.

Setting up Twilio SMS
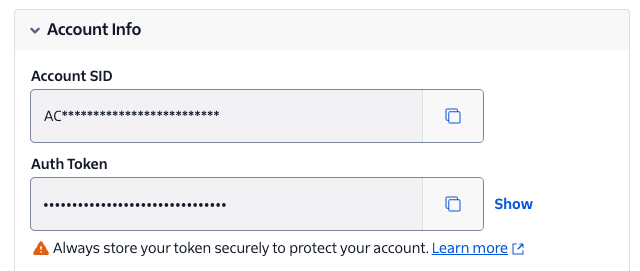
Go to the Settings tab. You need to provide Twilio’s Account SID and Auth token.
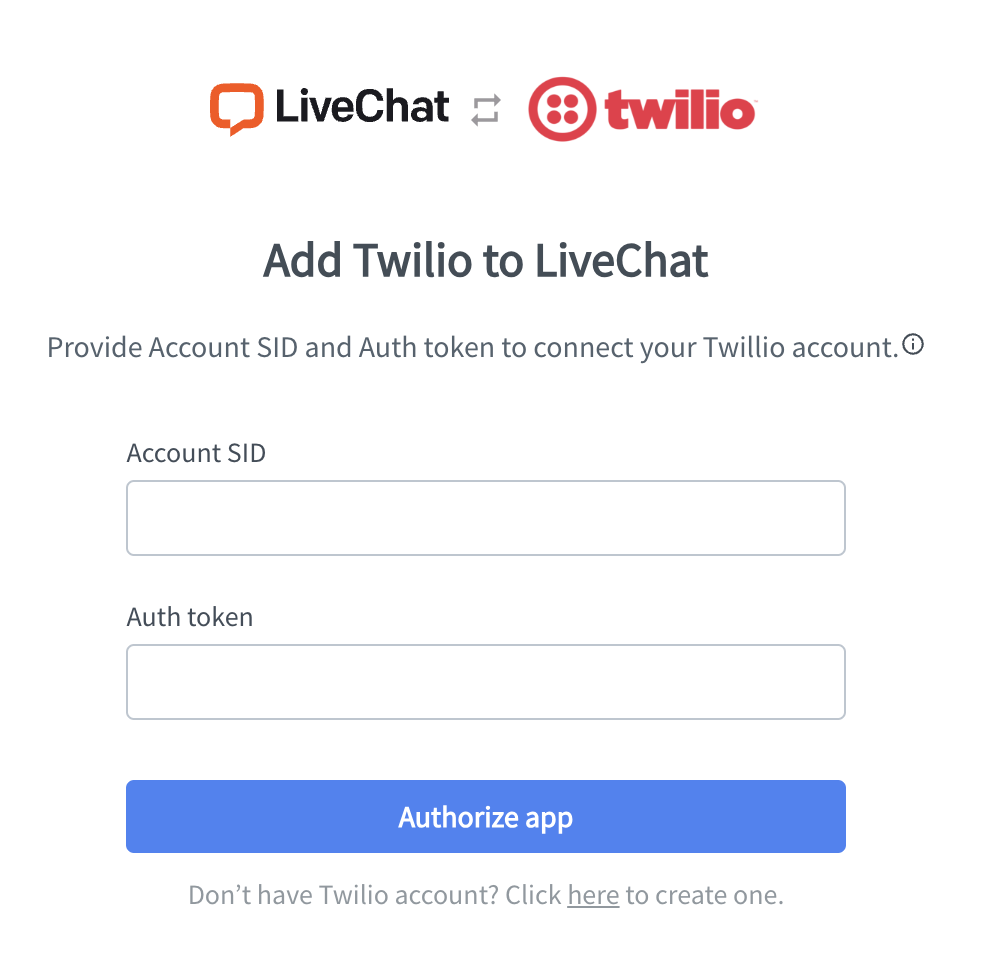
Log in to your Twilio console, and both values will be visible on the main page. Copy-paste them to Livechat and click the Authorize app.
Connecting selected Numbers
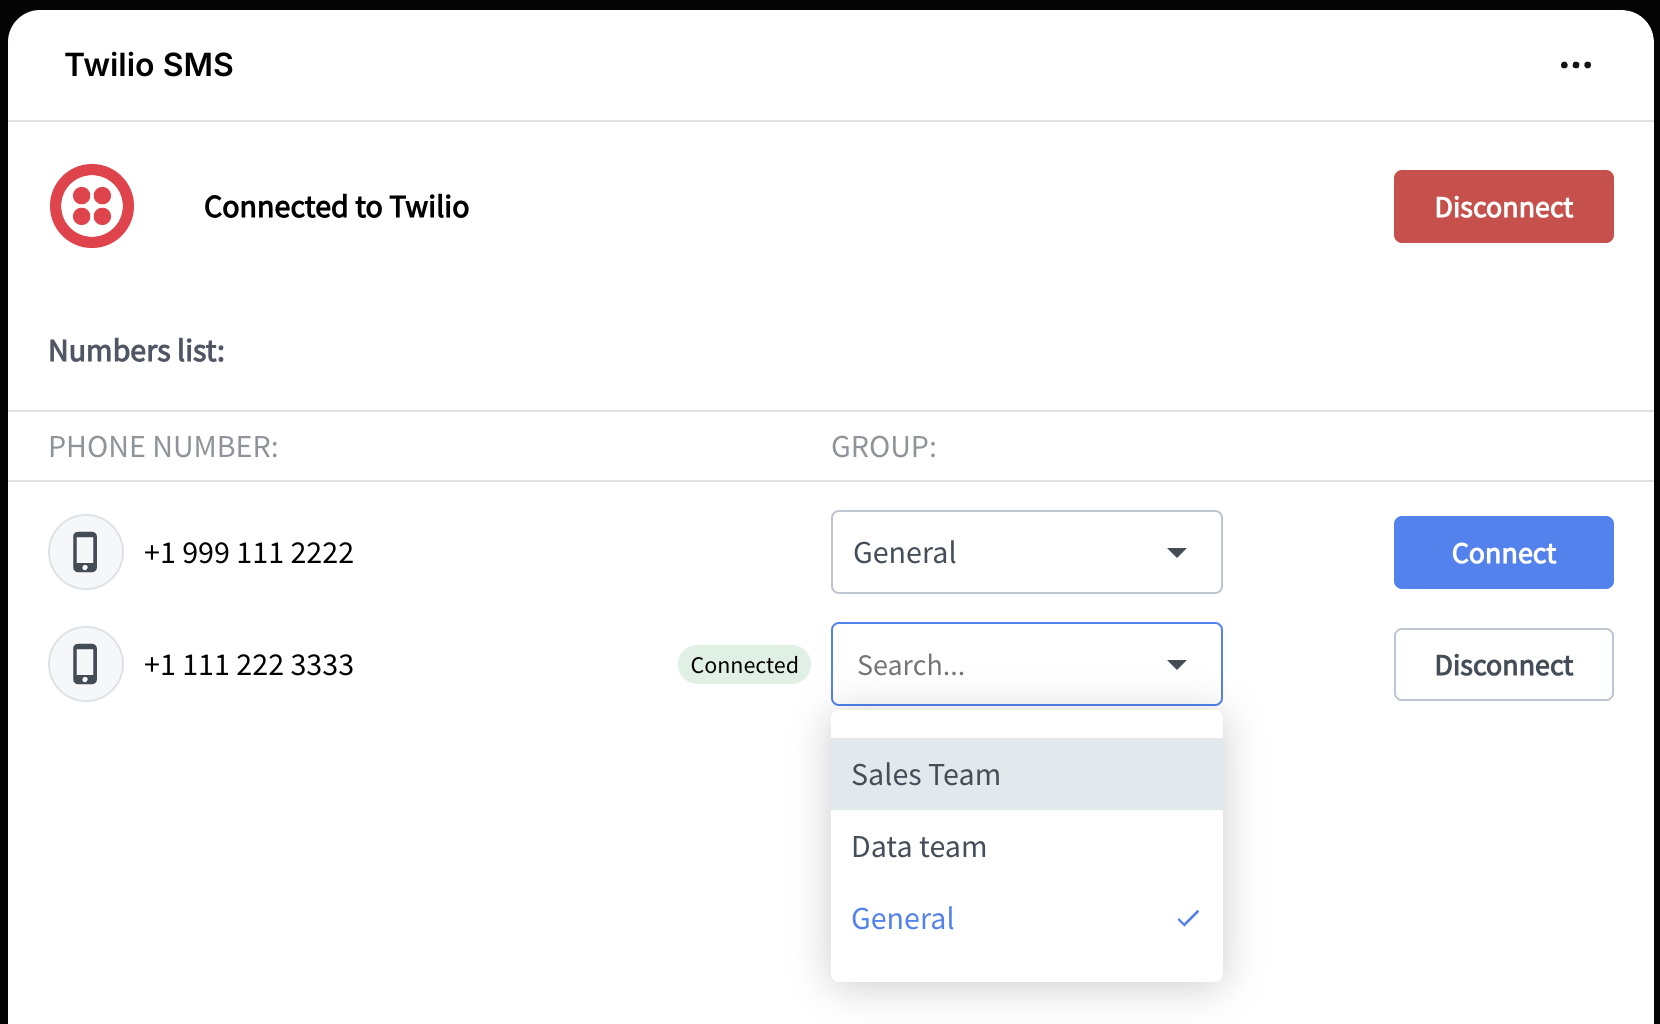
After successfully connecting with Twilio, you should be able to see all your numbers in LiveChat.
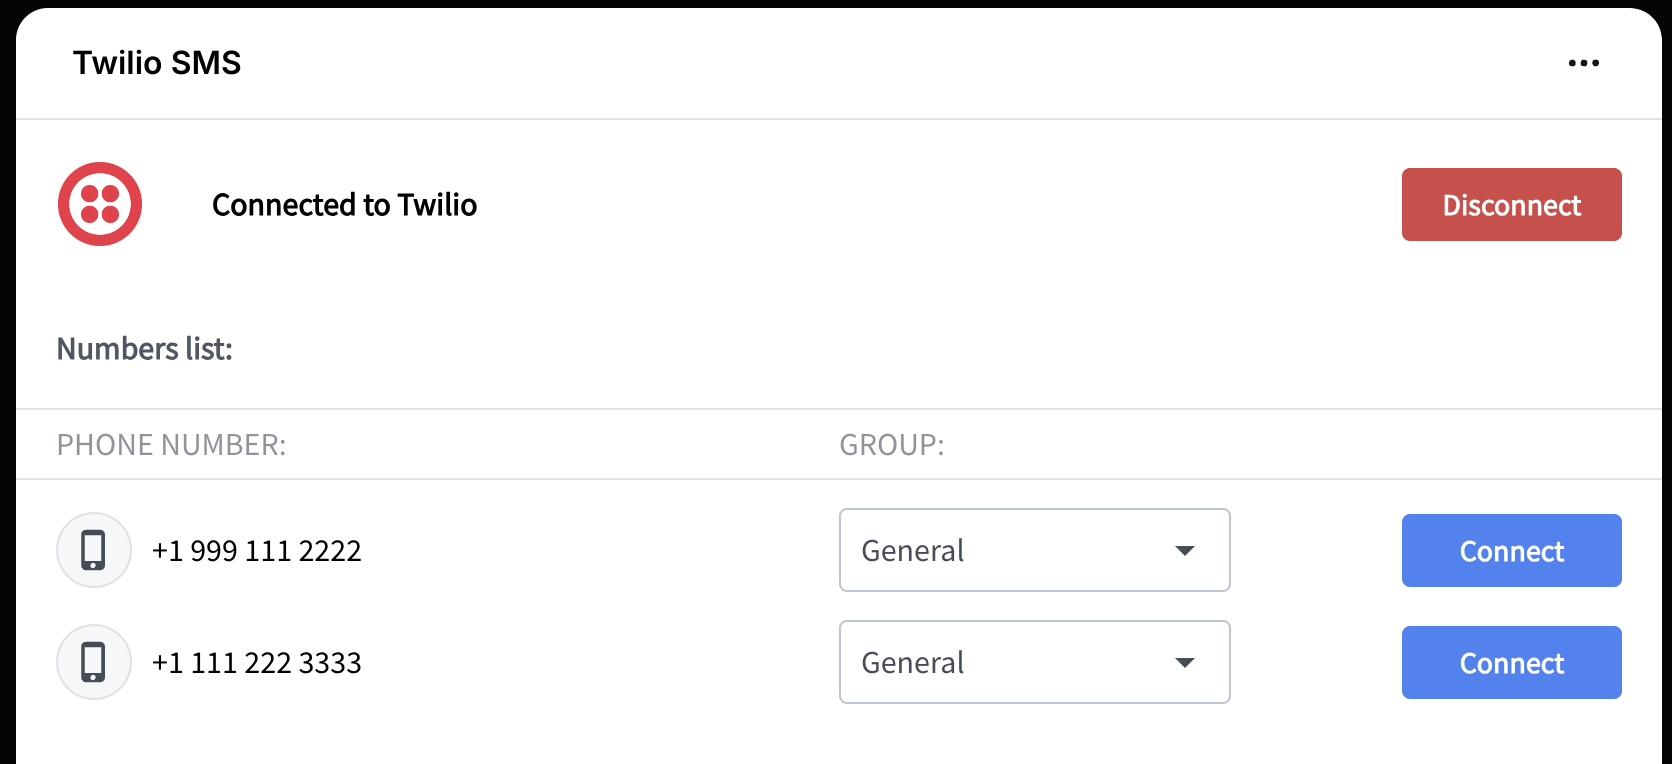
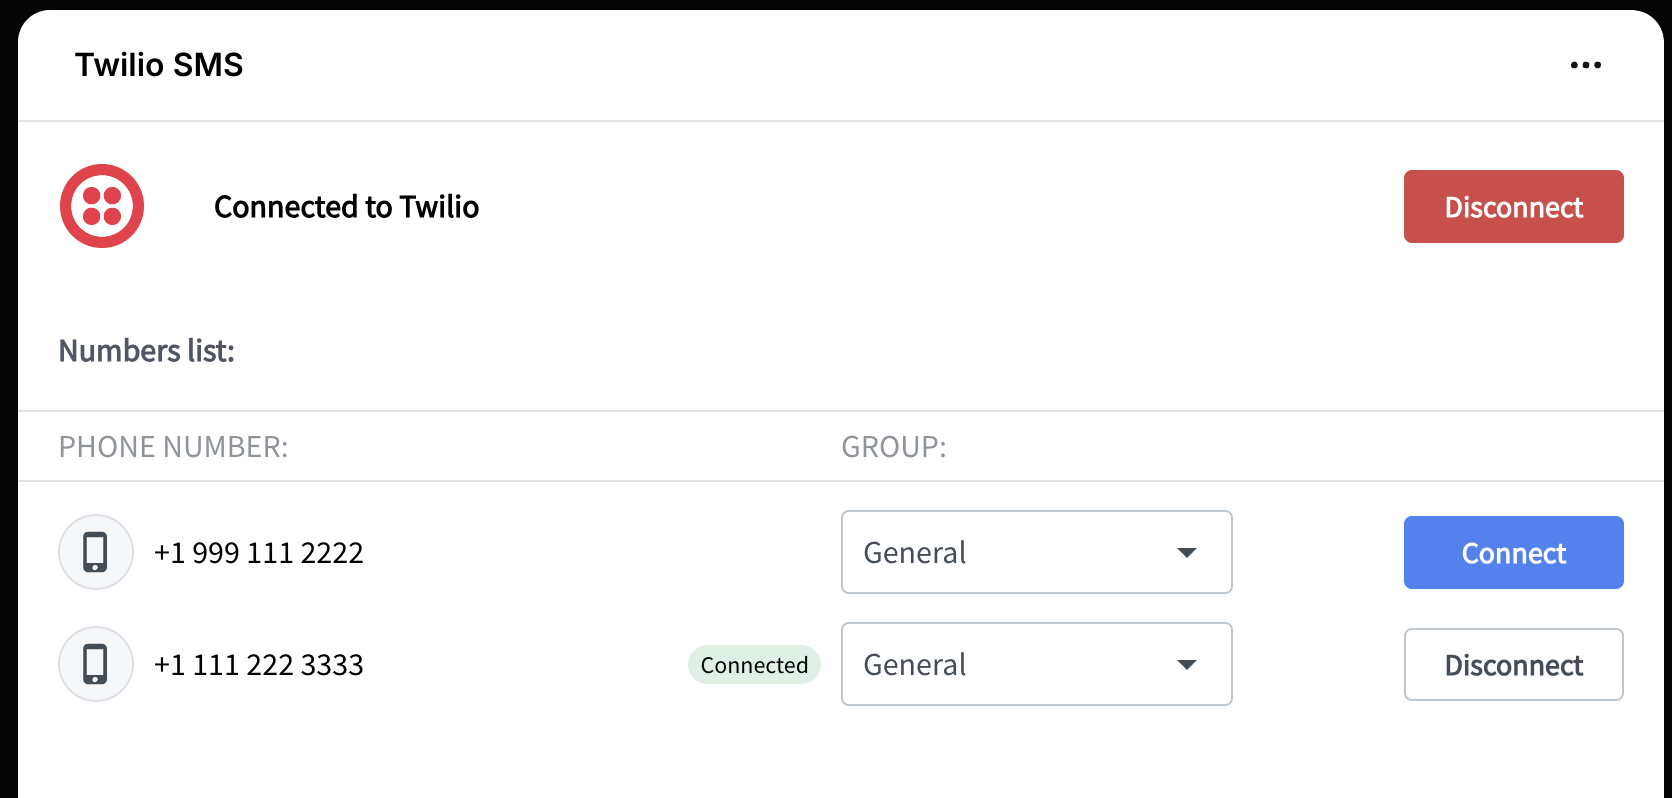
To connect a selected phone number, click Connect next to it. After successfully connecting the number, you’ll see the Connected status next to the phone number.
You can connect as many phone numbers as you’d like.
Now that you have completed your Twilio integration with LiveChat, the next step is to set up SMS Geo Permissions.
Adding the number to a group
Remember to assign the relevant groups to each number for efficient communication. This allows you to assign agents (including bots) to specific numbers, ensuring only the selected group receives messages from that number.
Creating a new group
You may need to create a new group. To do this, go to the Groups section under the Team tab and click on the + New group button.
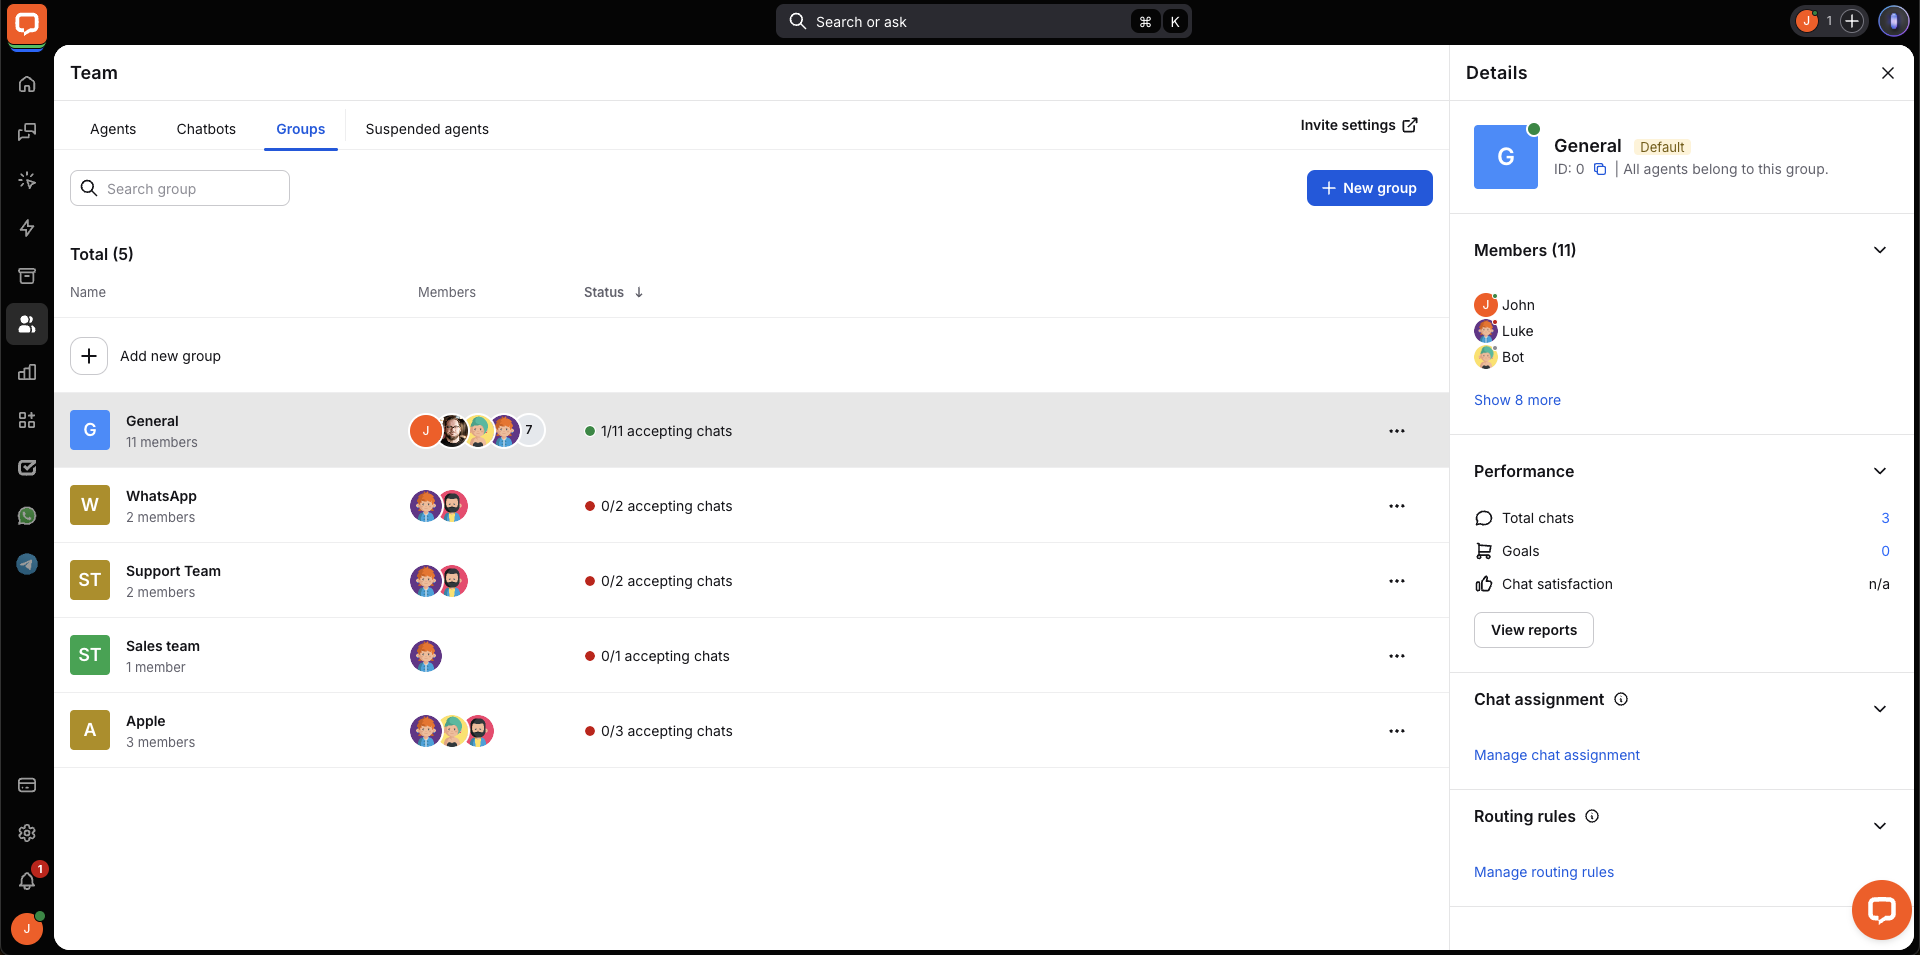
Name it and add agents.
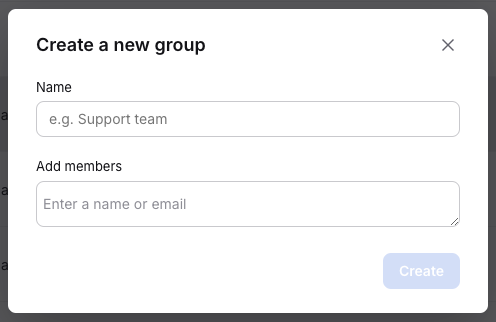
Click Done to finish.

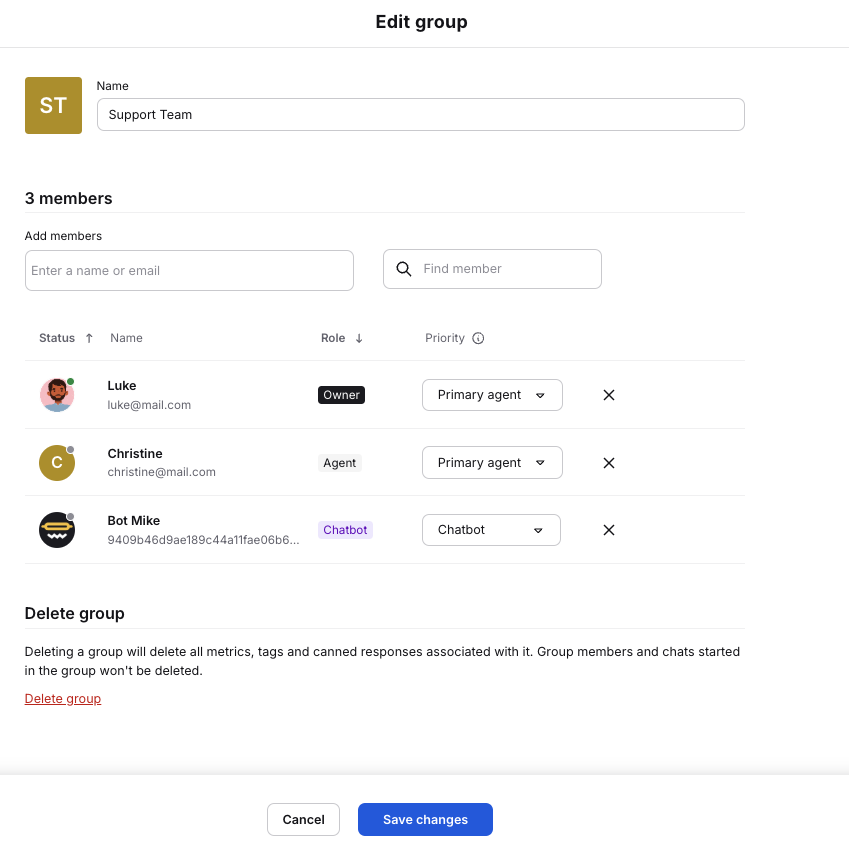
You can edit your groups at any time by clicking the three dots menu next to one of them.

You can change the group name, add or remove members, adjust member priorities, and delete the group. After making changes, two buttons will appear at the bottom of the screen. Click Save changes to finish.
Connecting a number to a group
Go to the Twilio dashboard, click on the group name next to a selected number, and choose the one to which you want all messages from this phone to be redirected.
