FB Messenger campaign
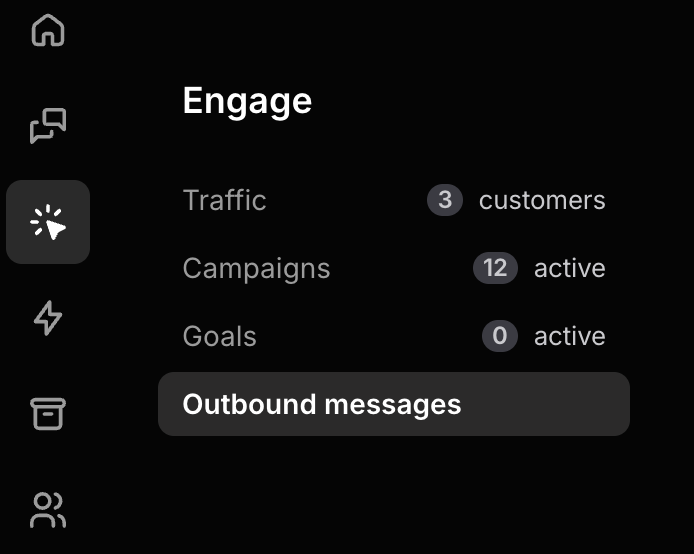
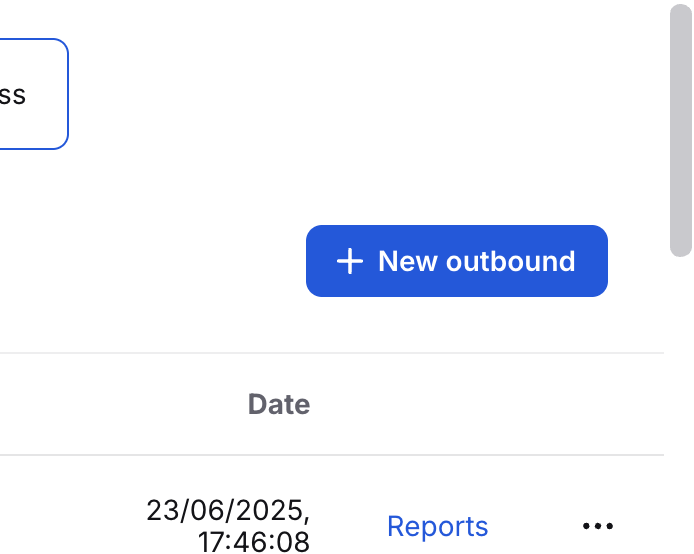
Go to the Engage section and select the Outbound messages tab. Click the + New outbound button.
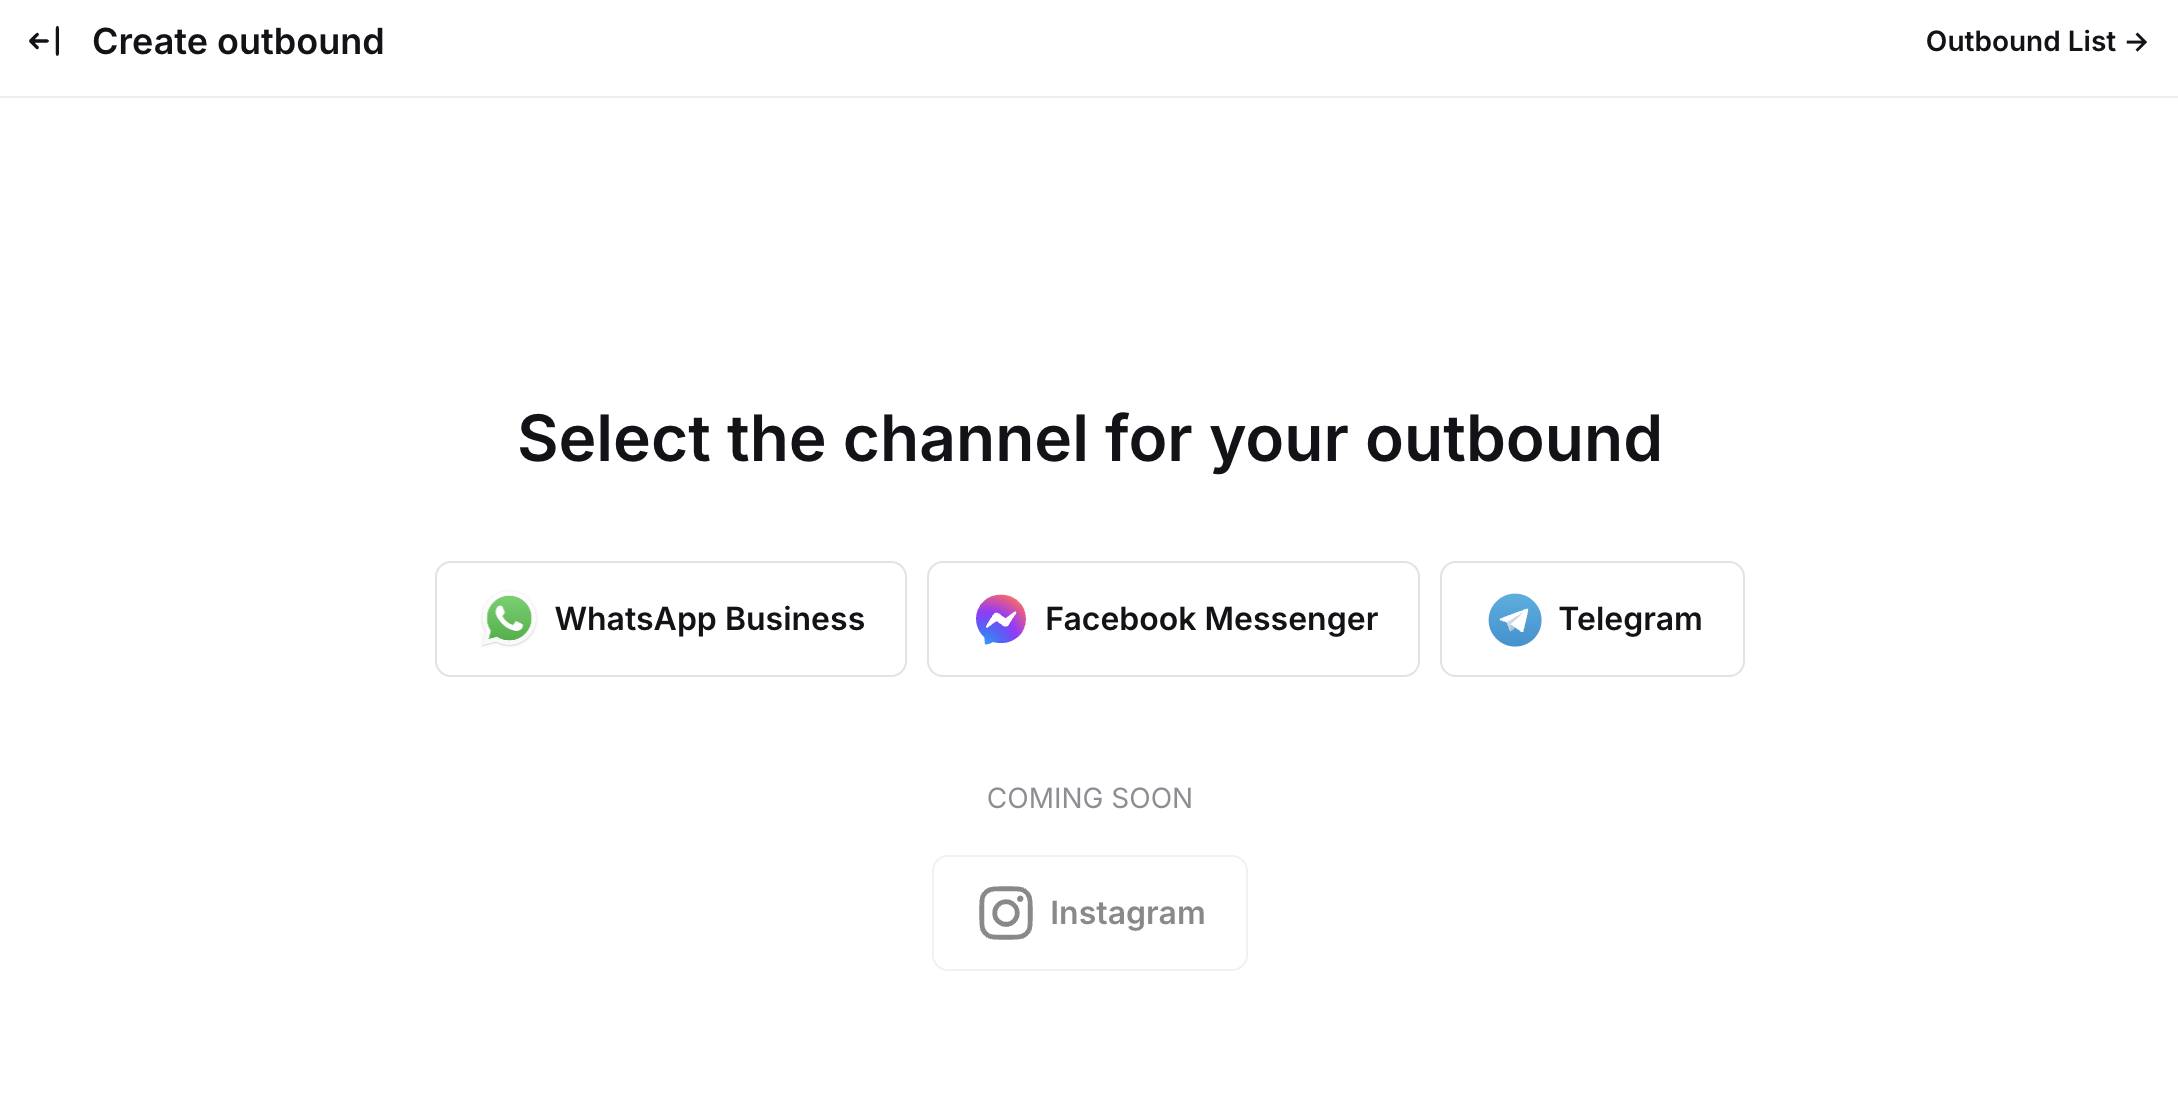
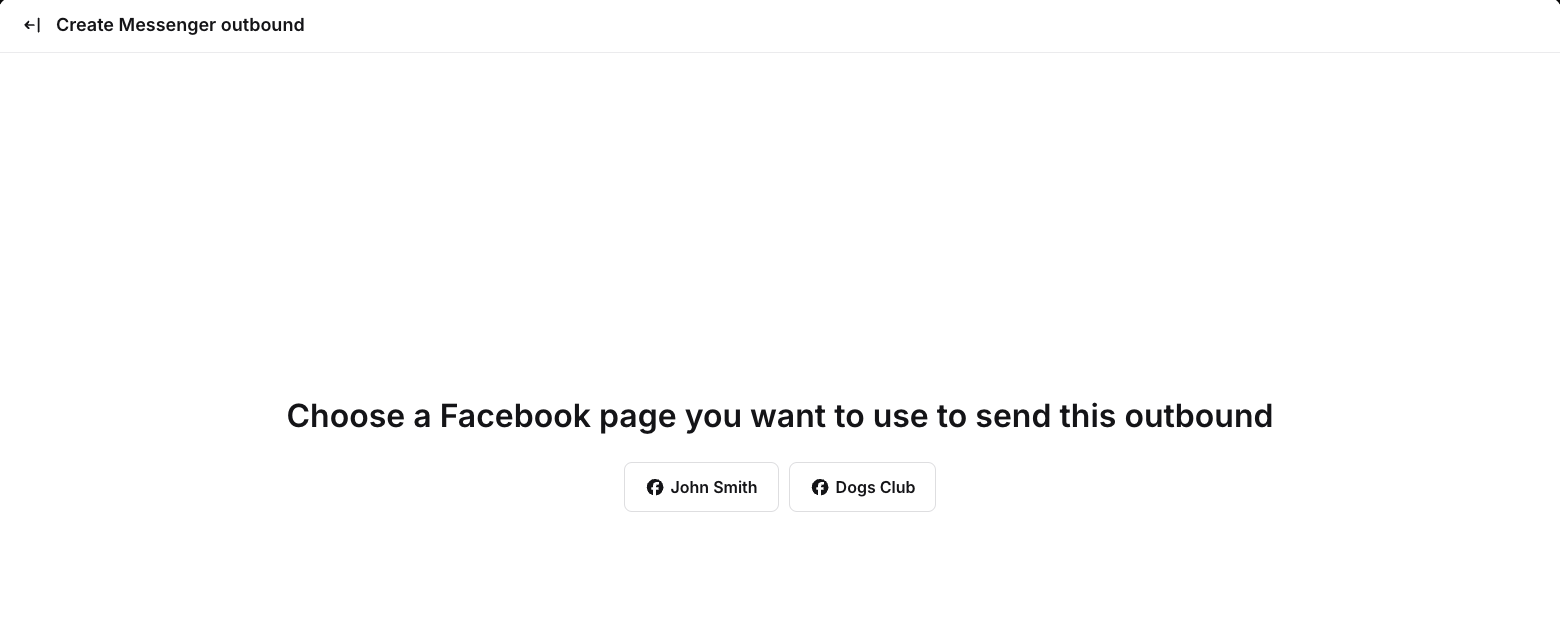
Select Facebook Messenger as the channel for the outbound.
Choose the Facebook Page that you want to use for this outbound.
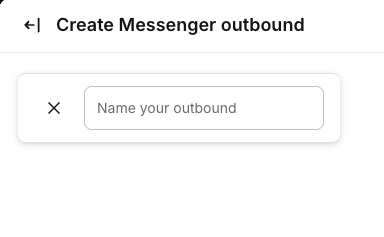
In this step, create an outbound name.
The next step is to edit your message. Here, you need to create a title; you can also change or remove the subtitle and button, as well as add one image or up to three buttons. To add a new feature, click on the plus button in the top right corner. To edit or remove, just hover over a specific item and click on the pencil or trash icon.
You can personalize your outbound by adding variables like {{Name}} (from the Customer Overview) or predefined Custom Fields (saved for each customer).


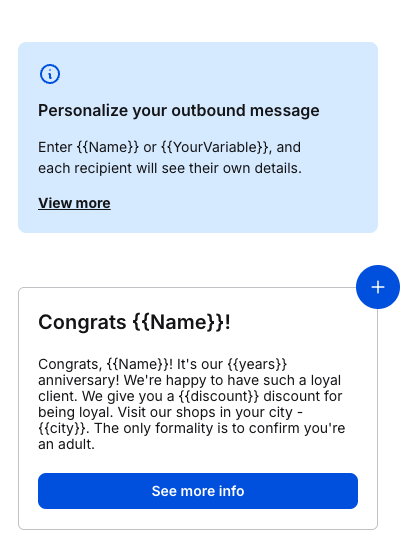
You need to have at least one of the non-required elements besides the title, such as an image, a subtitle, or a button.
After you're done creating it, save it as a draft or go further by clicking on Preview.

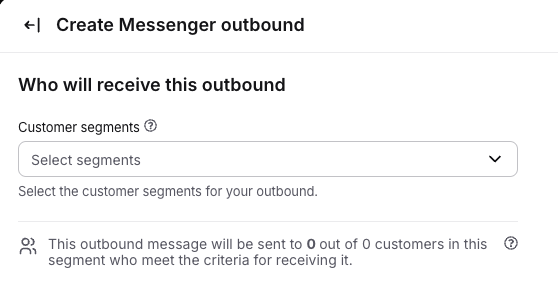
Now, choose customer segments that will receive this campaign. The number of customers below will automatically change. Check if it’s fine.
Click on the Send outbound or the clock icon to schedule it. You can also save a draft during this step.
