First Steps
Requirements
To get your WhatsApp Business channel working, there’s just a handful of elements you need to have to begin:
Facebook account - to onboard the number, you'll need a Facebook account with admin permissions for your business. If you haven't created a Meta business yet, you can do so during onboarding.
phone number - any SMS and voice-enabled number, physical or virtual, will work, but LiveChat does not provide phone numbers.
Meta doesn't allow the same phone number to be connected to multiple WhatsApp accounts. Therefore, if you’re using a number in the WhatsApp app already but want to use it for your business through our integration, you’ll need to remove it from the WhatsApp app before onboarding it.
You can't register with IVR numbers, as you won’t be able to verify your phone number.
Onboarding flow
Watch the video tutorial or follow our step-by-step guide below to learn how to integrate WhatsApp Business with LiveChat.
https://www.youtube.com/watch?v=WEb6fSlpvkEInstalling WhatsApp Business in LiveChat
Start by going to the apps section in LiveChat. Find WhatsApp Business, and click Get.
You can pin the WhatsApp Business app, so it’s always visible in your main menu. Click on the pin icon next to the Fullscreen app under Apps>Your apps>WhatsApp Business.

Choosing a plan
To start onboarding, go to the WhatsApp Business dashboard in LiveChat. Here, you will see three different plans (Starter $39/month, Professional $49/month, Ultimate $159/month). Please choose one of them.
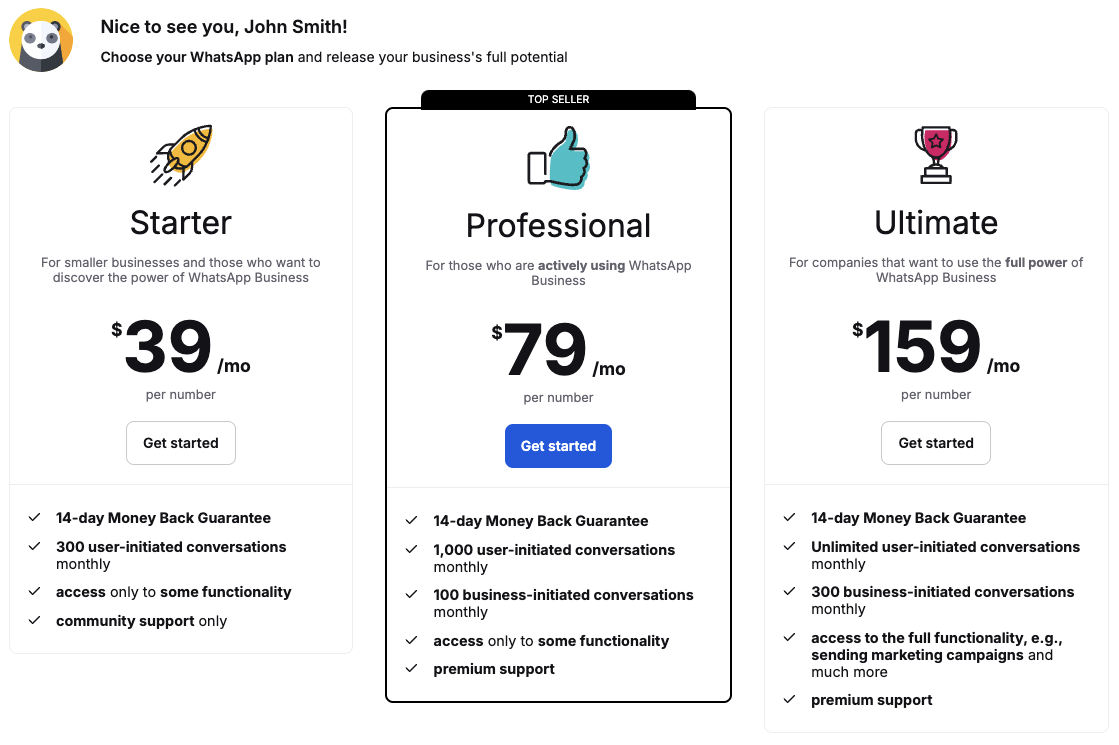
You can find more pricing information here.
Adding payment method
After choosing a plan, a pop-up will appear with an option to add a payment method. Fill in all the data with a credit card and then accept the purchase. Your card will be charged.
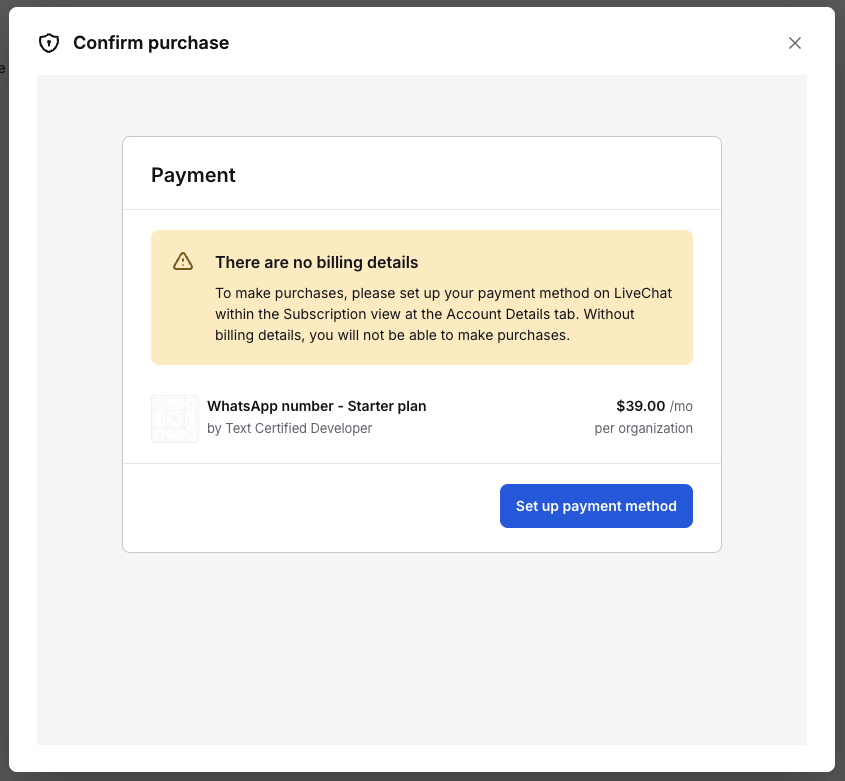
According to the terms of service, you have a 14-day money-back guarantee if you are dissatisfied with our services.
Starting the integration
When the payment is confirmed, click the Continue with Facebook button.

Meta Wizard pop-up and authorization
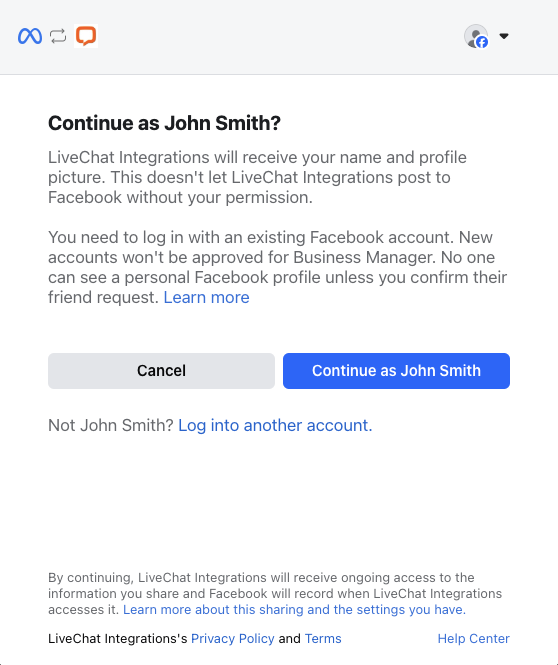
A pop-up with the Meta Wizard will appear on your screen. If the Facebook profile is correct, click the Continue as... button. If not, click Log in to another account and follow the next steps.
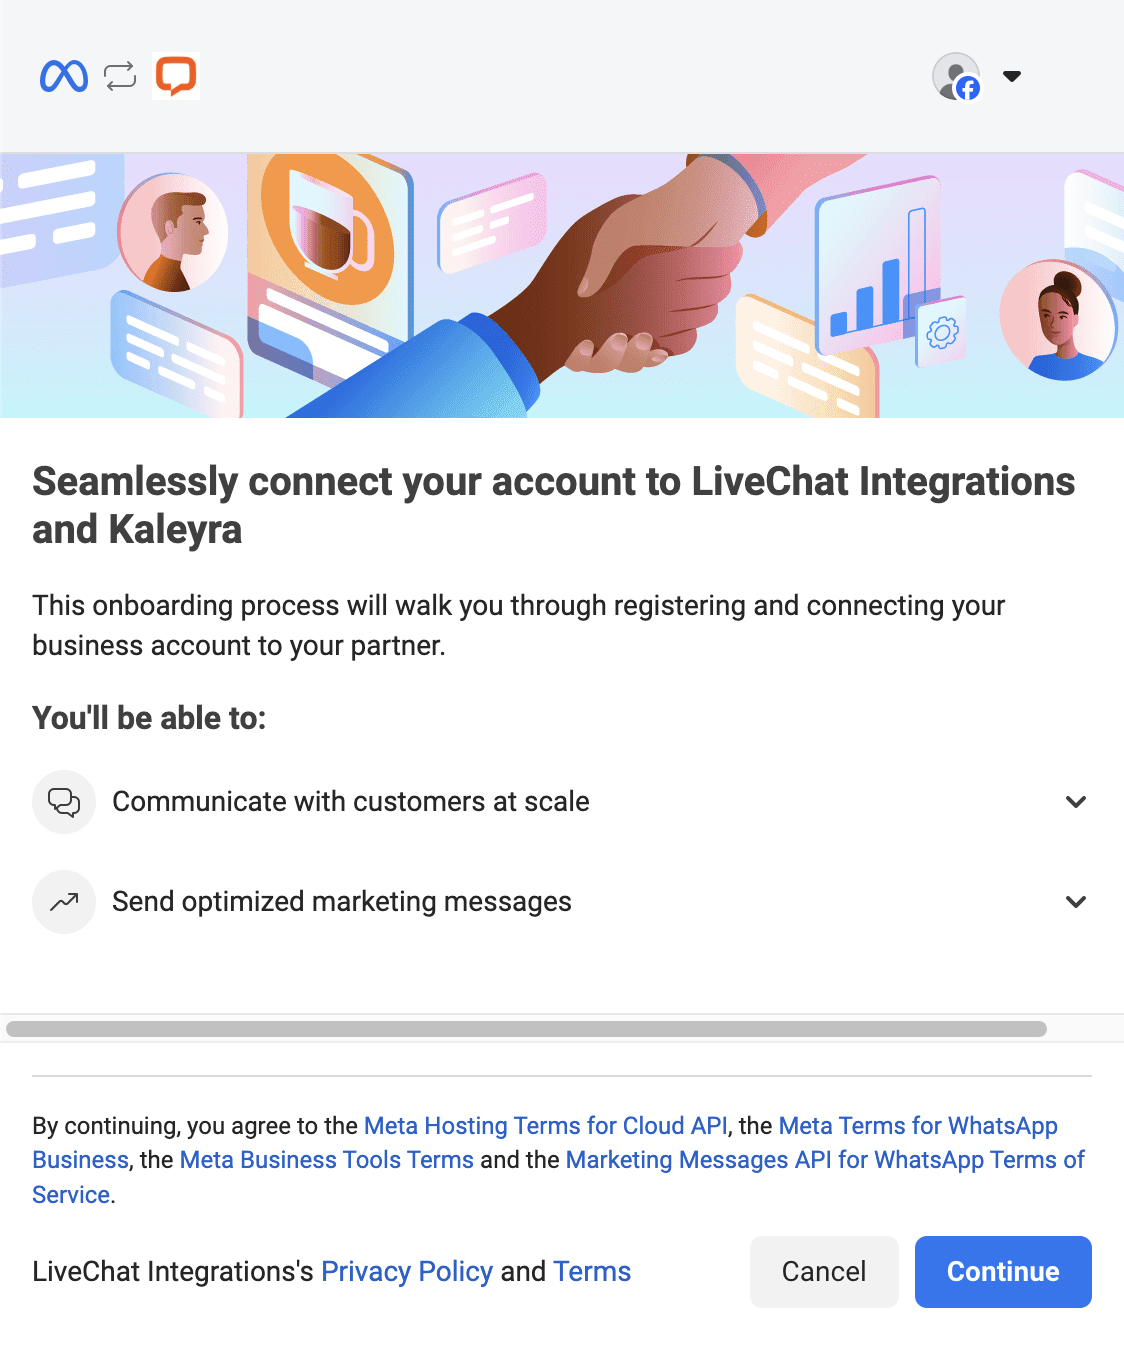
After logging in, you will see what permissions you need to share with LiveChat Integrations to integrate WhatsApp Business. Click on the Get started button to continue.
Filling out data
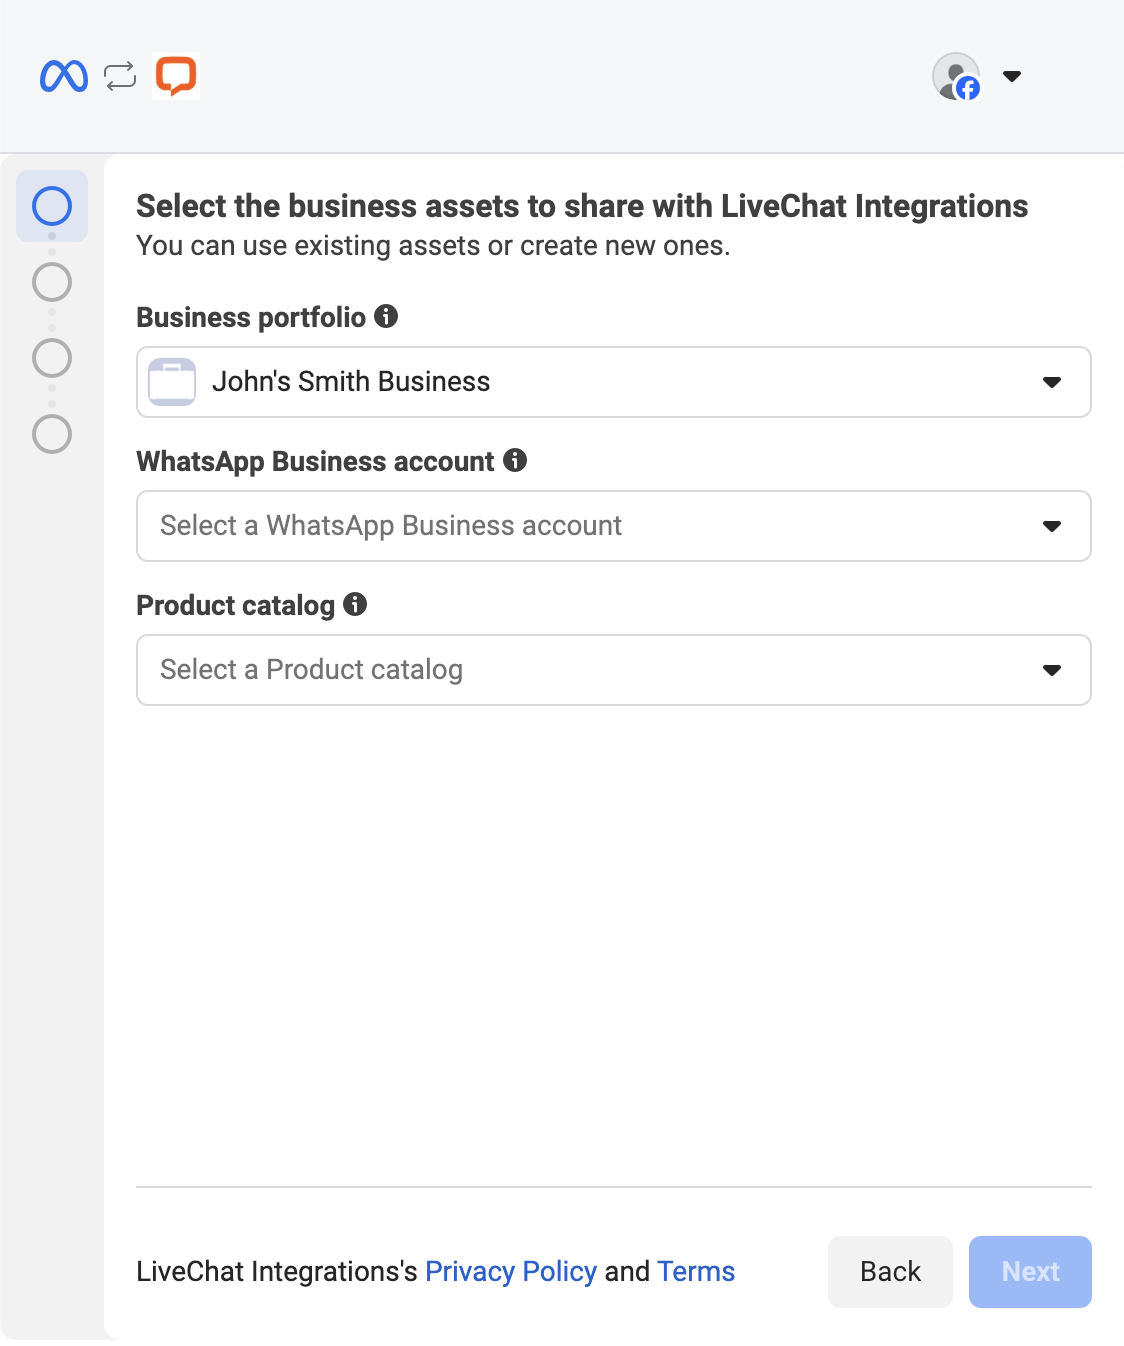
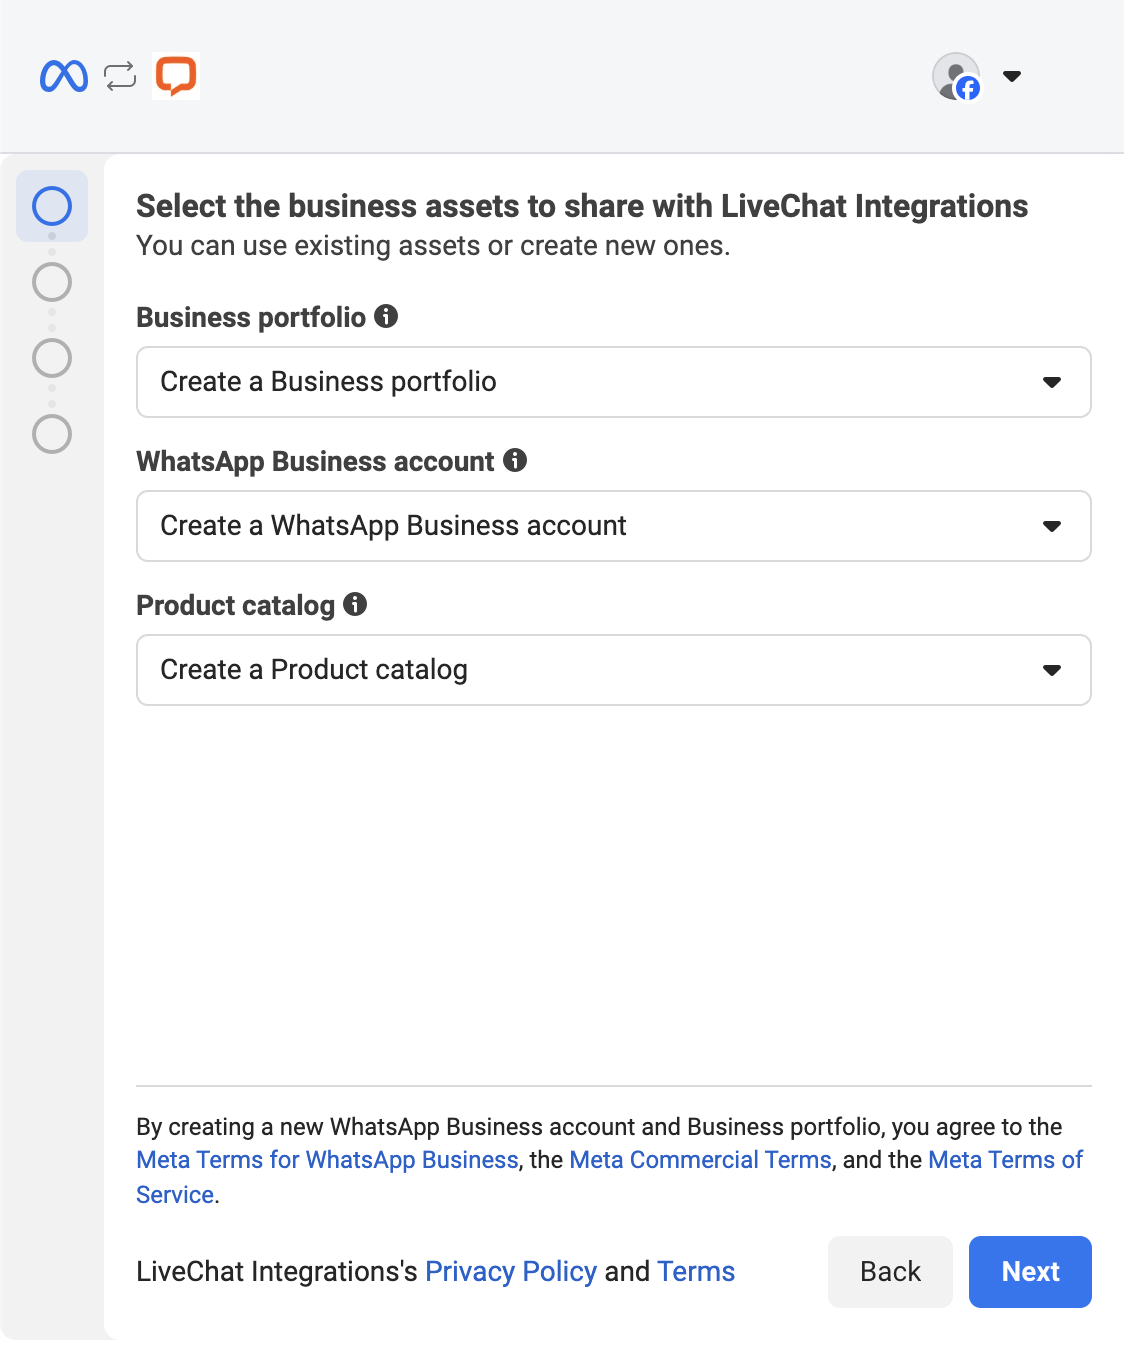
Next, choose or create a Meta Business Portfolio, a WhatsApp Business Account, and a product catalog. If you choose to create any of these assets, you’ll see a form in the next step.
Creating a Meta Business Portfolio also creates a WhatsApp Business Account and product catalog with the same data. Creating a WhatsApp Business account also creates a product catalog with the same data.
Selecting or creating a product catalog now doesn’t make it visible on WhatsApp. To make it visible, check this article.
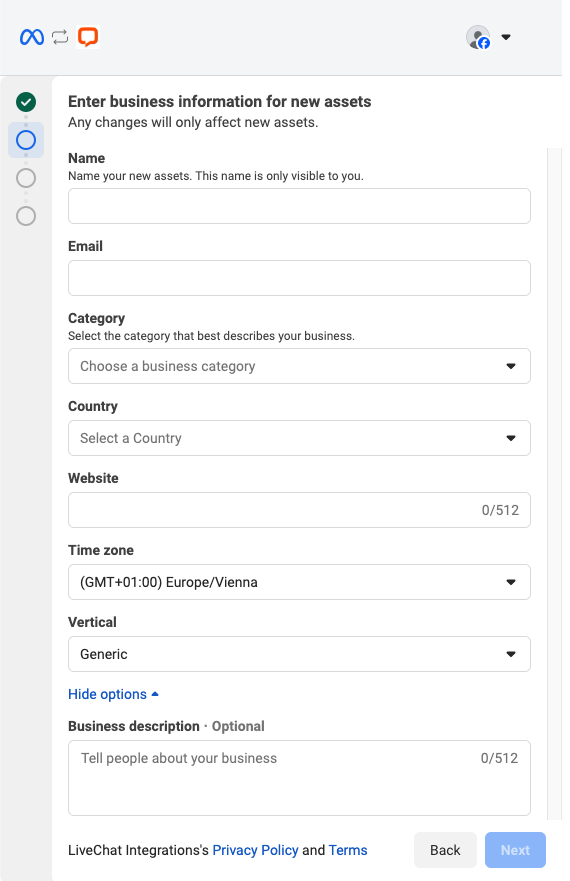
In this step, you need to fill out the data for your assets. This screen may differ depending on the assets you’ve chosen to create. You need to enter your asset's name, email, category, country, website, timezone, catalog vertical, and optionally a description. When it’s completed, click the Next button.
The name you choose will appear as your WhatsApp display name for this number and can be changed later in Meta settings.
OTP and finish installation
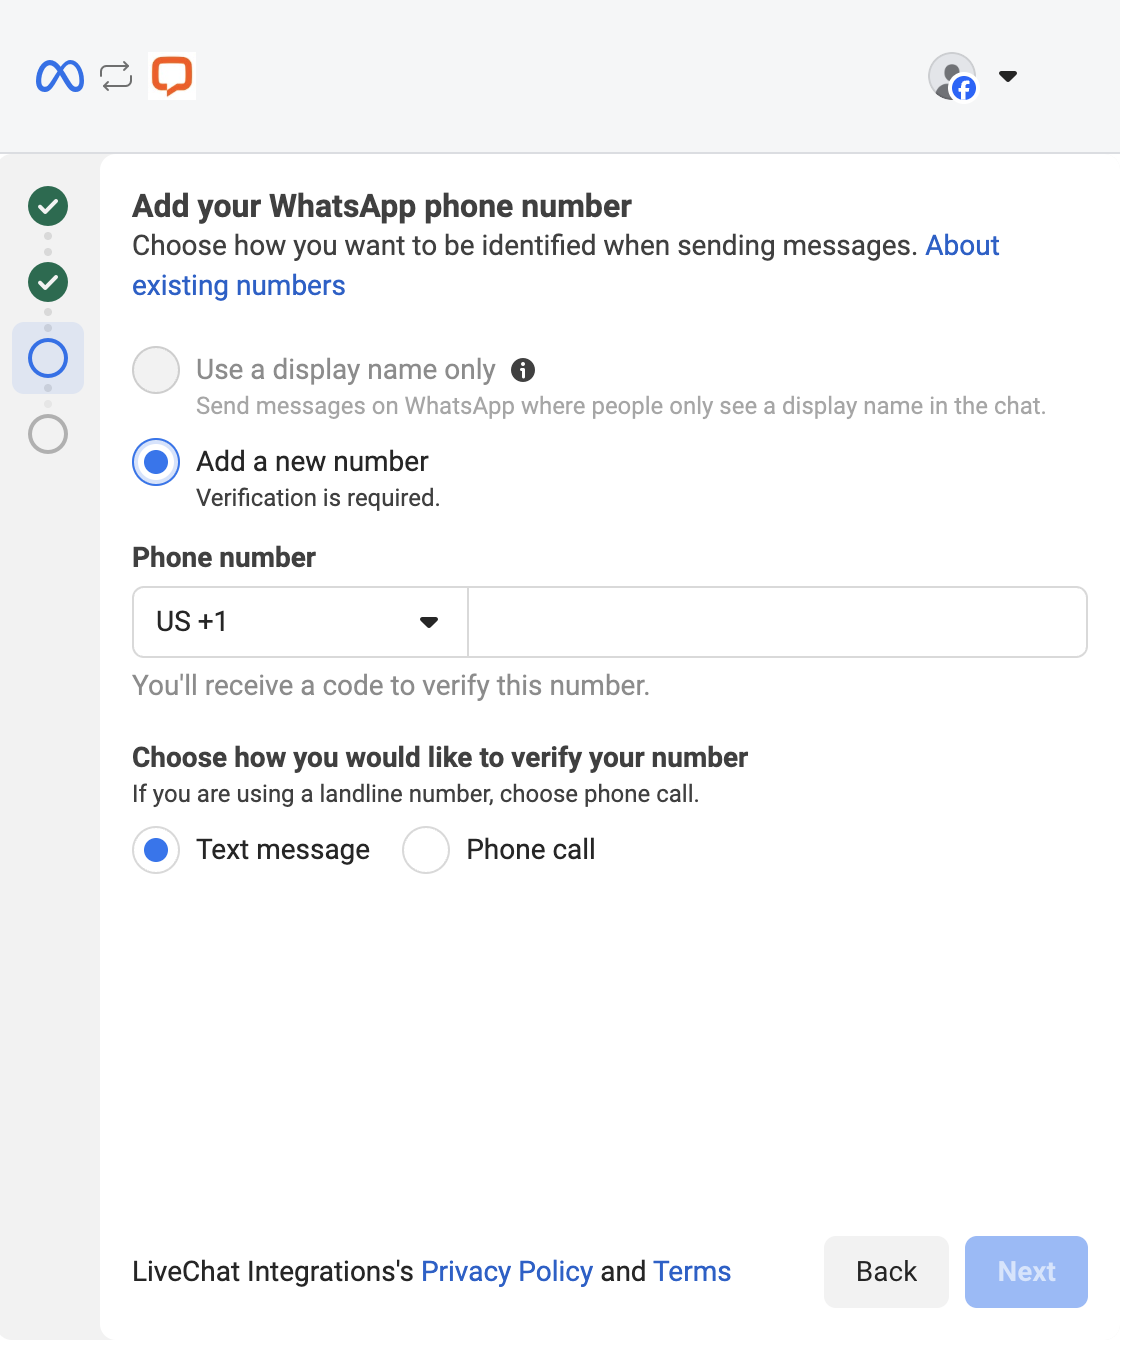
When all required data is provided, you must enter the phone number you’ll integrate with your WhatsApp account. Please choose the verification method for your One-Time Password (OTP).
This can be either via a Text message or a Phone call.

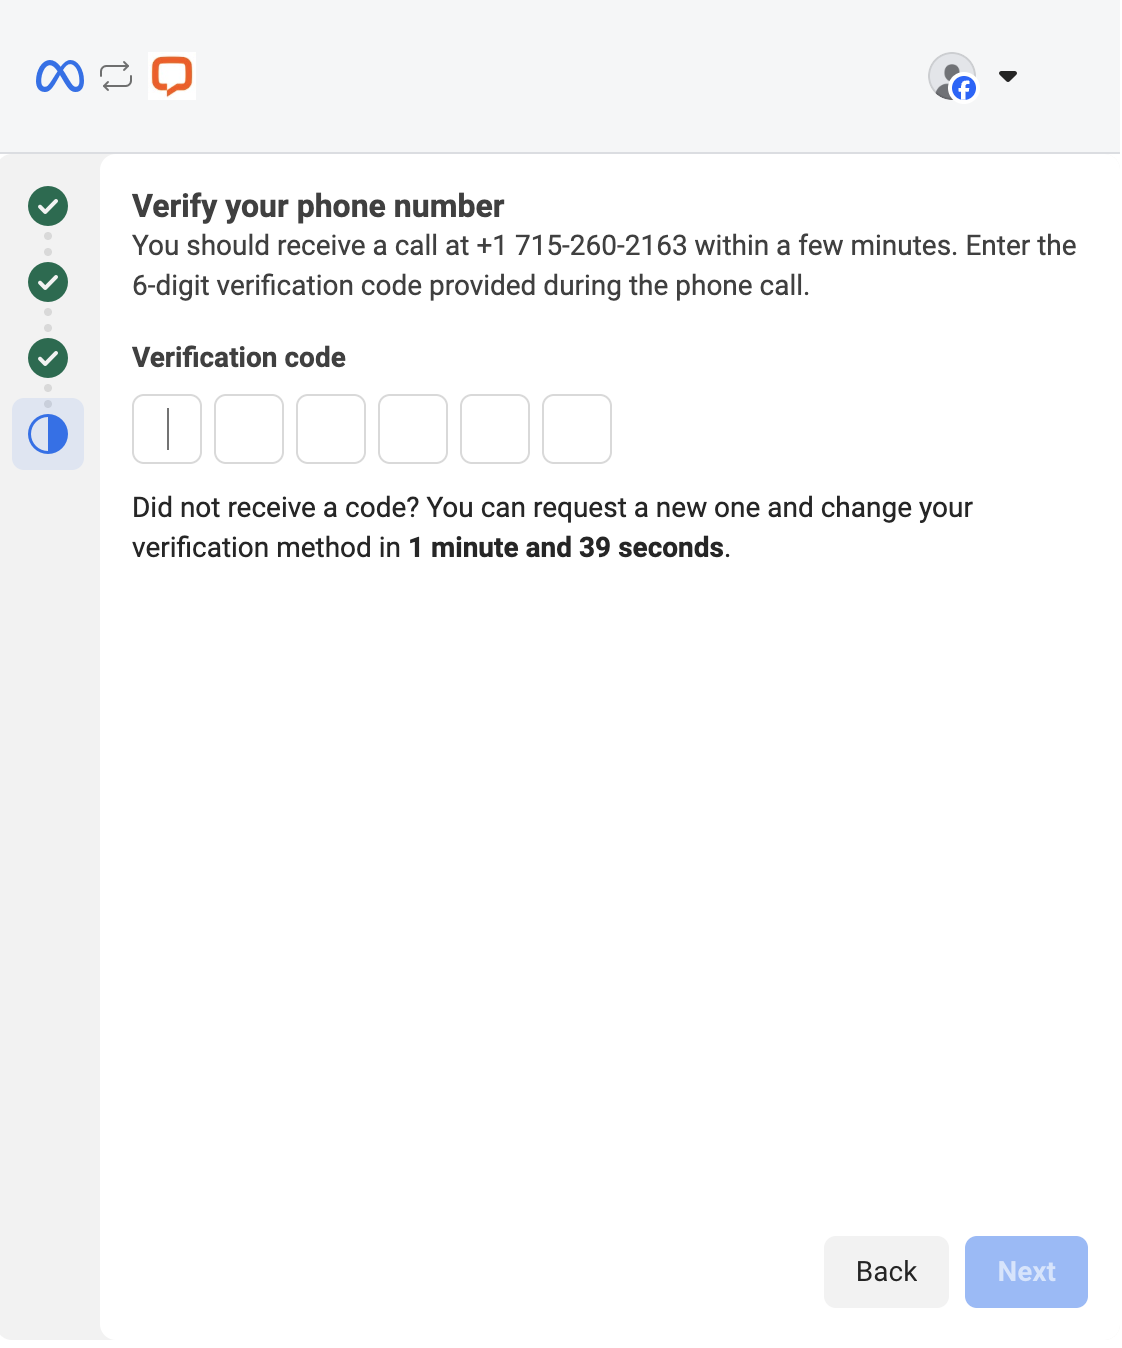
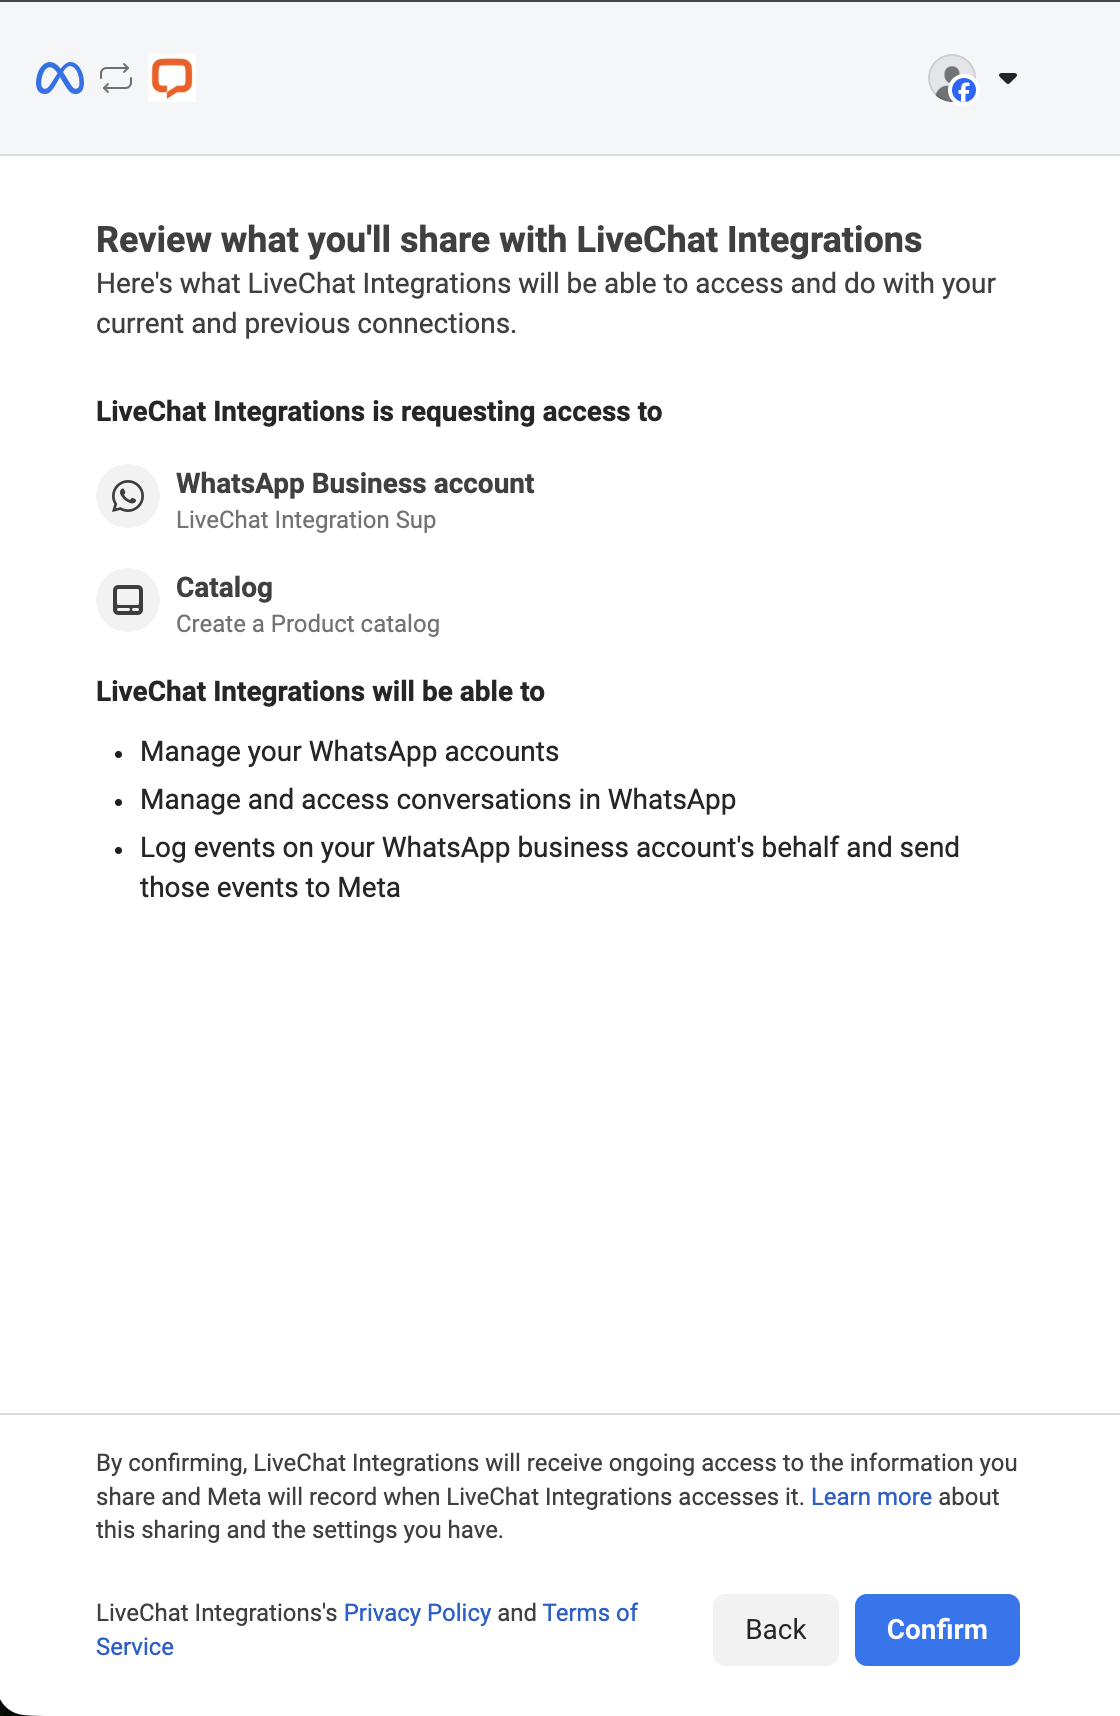
In the next step, you need to enter the verification code (it's valid for the time shown on the screen). After that, you will see the permissions necessary for LiveChat Integrations. To continue, click the Continue button.
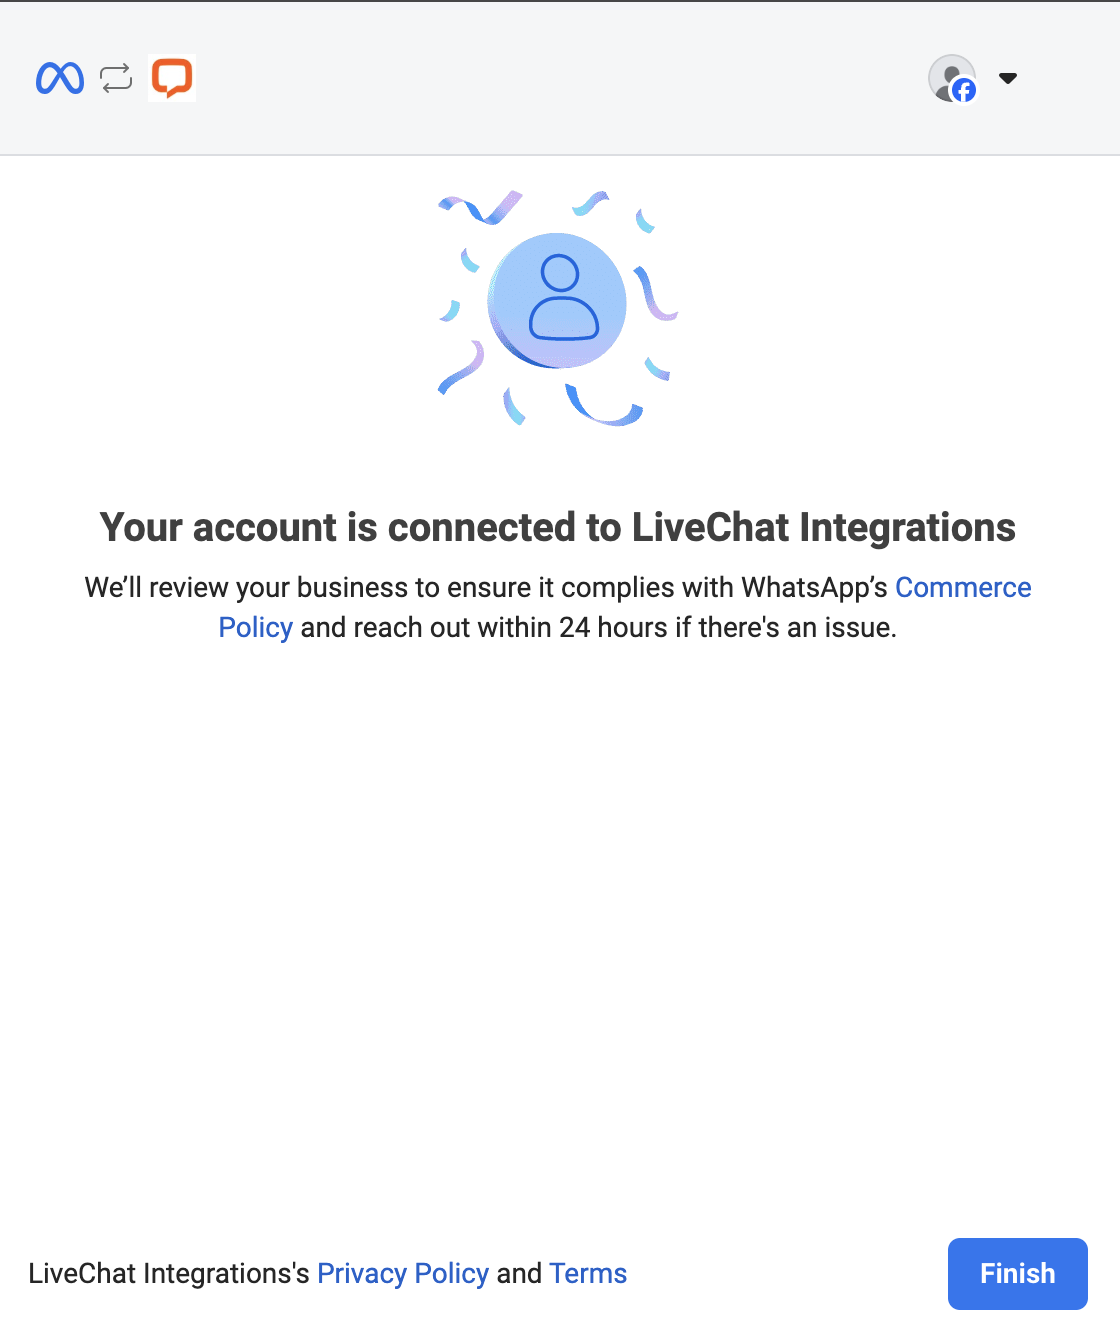
In the last step, you need to wait a few minutes, and then the final screen will appear that says you’re ready. Click the Finish button to complete the integration.

Now that you have completed your onboarding and added your first number, which is ready to use, the next step is to edit your WhatsApp Business profile.
